Getting the transcript
Reading the captions from YouTube. A video nobody has opened here before takes 10 to 30 seconds; this page fills in on its own.
Getting the transcript
Reading the captions from YouTube. A video nobody has opened here before takes 10 to 30 seconds; this page fills in on its own.
Ali Dymock · @AliDymock
Where viewers went back to watch this video again, from YouTube's public Most replayed graph, lined up with what was said at that moment.
Most replayed moment #1
3:272.8x the video's typical replay level
The studs also need to be cut at angle. I designed my roof to have a 1:60 slope. The distance between my front and back walls is 480cm which divided by 60 = 8. That’s why my front and back walls have a difference in height of 8cm. By using an online chart
Said at 3:20
Most replayed moment #2
0:262.4x the video's typical replay level
large as to take up too much of my garden room’s floor area but had a good enough depth to feel rigid enough to support my roof. Insulation was also a consideration, having around 95mm to fill with insulation felt about right to give a decent U-value.
Said at 0:20
Most replayed moment #3
8:252.3x the video's typical replay level
Said at 0:00
The graph counts replays. It does not show where viewers stopped watching.
Words
1,422
Runtime
10:47
Speaking pace
132wpm
Reading time
6min
132 words per minute, below the 160 25th percentile of 349 measured videos. That distribution comes from the 349-video hook study.
Opening (first 30 seconds)
In the last video I built and raised my front and back walls and in this video I complete my side walls ready for the roof. In Part 7 I wanted to concentrate on how to frame a wall so I didn’t explain why I chose the size timbers that I did. I went for 100 x 47mm timbers as I felt they were not too
66 words, the words spoken in the first 30 seconds at 132 words per minute.
Free, no signup. See how the first 30 seconds hold attention, with rewrites.
Sentence shape
| Measure | This transcript |
|---|---|
| Sentences | 63 |
| Average words per sentence | 22.6 |
| Longest sentence | 67 words |
| Questions asked | 0 |
| Sentences containing a number | 18 |
Most used terms
What this transcript is
Every word below is the caption track YouTube publishes for this video, pulled from the video itself and reproduced unchanged. It is not Prepublish's writing, not a summary, and not a re-transcription: it is the video's own published captions. English captions, published by the channel, in the video’s original language. Source: the video on YouTube. A channel that would rather this page did not exist can ask for its removal through the contact page, and it is removed.
In the last video I built and raised my front and back walls and in this video I complete my side walls ready for the roof. In Part 7 I wanted to concentrate on how to frame a wall so I didn’t explain why I chose the size timbers that I did. I went for 100 x 47mm timbers as I felt they were not too large as to take up too much of my garden room’s floor area but had a good enough depth to feel rigid enough to support my roof.
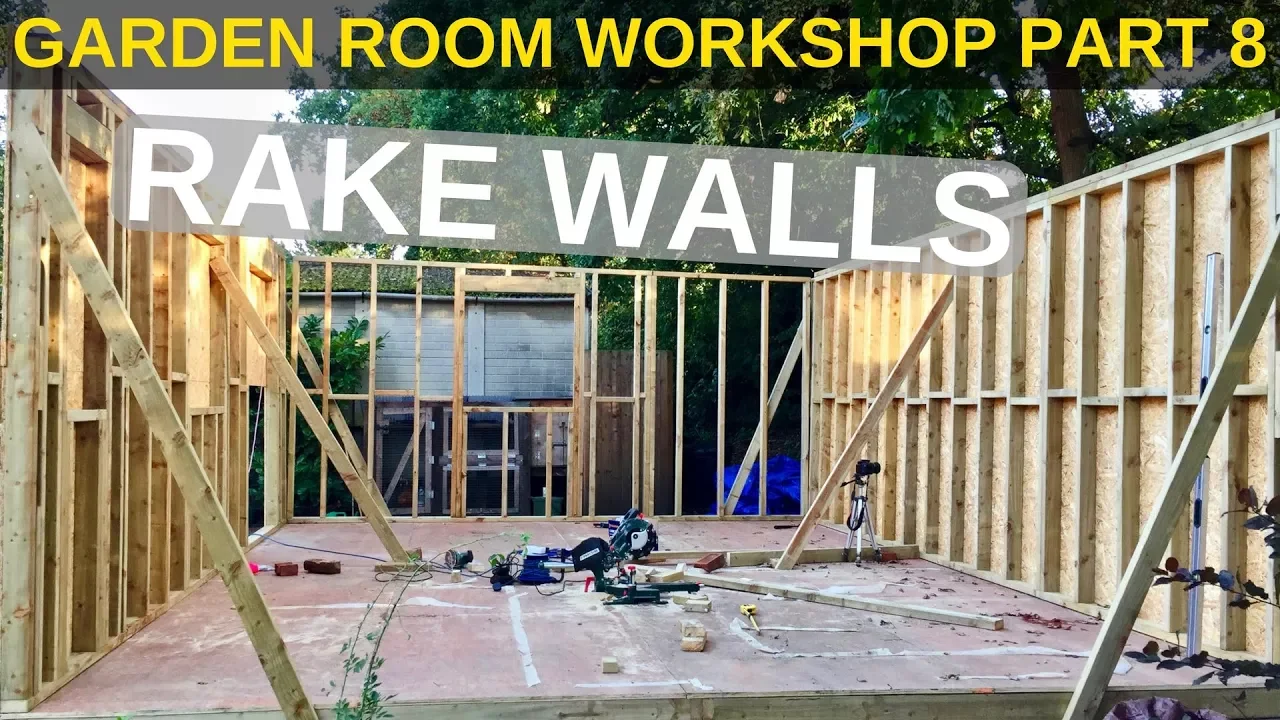
Insulation was also a consideration, having around 95mm to fill with insulation felt about right to give a decent U-value. My plan for a sloped roof meant that my side walls also need to slope from the front to the back. These are known as rake walls. While there’s a lot of information out there on framing a standard wall, details on how to create rake walls is harder to come by and as it was September and I was in a hurry to get the building watertight before Autumn, I had to work out a method so this may or may not be the best way to do it, but it certainly works!
I decided to start on the left wall of my building first. I first marked up the bottom plate. When marking out the this plate, I had to take into account that the OSB sheathing needs to overlap the end wall stud. So instead of pulling back by half the width of a stud as I did in the last video, I also had to deduct the depth of the timber wall as well. I therefore hooked my tape measure over the end of the bottom plate and pulled back by 117.5mm from the 16 inch marking.
As this was a difficult measurement to make, I stuck a nail in on the near side of that stud marking and then continued every 16 inches thereafter. Because the sheathing will overlap the front and back walls, the OSB will need to be attached once the walls are standing. After I did this, I transferred all the marks to the top plate. As the bracing for the front and back walls is in place I could push the bottom plate against that and from there mark up the two sides.
The studs in my front wall are 230cm in length so I measured that amount on the floor from the bottom plate and I hit in a nail. My back wall studs are 222cm (8 cm shorter) so I measured that on the other side and put in another nail. I then used a chalk line, essentially a slightly elastic string with chalk on it, to snap a line between the two. By doing this I had the shape of my wall with the exact slope I needed marked out on the floor.
I then proceeded to cut all the studs in the middle including those around the window and I cut these the length of the front wall studs. I lay them out sandwiched between the bottom and top plate as per my markings. However, as the top plate will be sloped, the markings won’t line up with the top of the studs so in order to know where the studs should be, at this point I drew around them on the floor to show where their position should be.
I could then turn my attention to cutting them. Each one needs to be a different height according to the chalk line. So I first transferred the chalk line to each stud to know where to cut. The studs also need to be cut at angle. I designed my roof to have a 1:60 slope. The distance between my front and back walls is 480cm which divided by 60 = 8. That’s why my front and back walls have a difference in height of 8cm.
By using an online chart I could see that 1:60 equates to roughly a 1 degree angle so this is what I needed to cut. 1 degree isn’t much at all and I probably could have got away with leaving the tops flat but since I had the function on my mitre saw, I thought I’d do it all the same. Something I don’t think I’ve mentioned throughout these videos before is that when you make a pencil mark on a piece of timber, always cut to the side of this line on the opposite side from the piece that you want to keep.
If you were to cut straight down the middle of the line then the saw blade will take out a few millimetres and you’ll end up with a shorter timber than you intended! Once all my studs were cut to the right length, I could screw them all together keeping in mind to line them up with the pencil markings I’d made on the floor, not the stud positions marked on the top plate. I then moved on to my right wall. I made a design change at this point.
If you remember from Part 3, my original plan was to have a roof light behind the bathroom but given my lack of experience and time constraints, I decided this was a little too complicated to tackle. Instead I put in a door and window on this side as it borders my mum’s garden. These will of course need to be removed if either house is sold in the future but there’s no plan to do so anytime soon. I built it in the same way as the left wall and then I could get on to raising both of them.
When I was planning my garden room, I would try to freeze frame building videos to work out exactly how everything fitted together so here’s a full 360 look at the walls so you can pause the video at your leisure. The gap I left at the end of the front and back walls’ top plates in Part 7 could now be filled with the top plate of the side walls. I attached with a mix of 100mm screws and nails and this really helps stop the walls coming apart.
Unfortunately, I made a measuring mistake with my fourth wall which meant that I had to add mini cripples between my two top plates in order to bring it up to the right level. These things happen and you just have to think your way out of them. Now onto the last task. I knew that my 4 corners were all perfectly plumb but I didn’t’ know what was going on in the middles. They could be either cupping or leaning inwards or outwards.
I used both a level and this string test to find out. I attached a string to a nail at both ends and put a piece of ply next to each to pull the string away from wall. Then I could use another piece of ply and run it along the string to see if the wall was straight. If there was a gap then I knew that the middle was bowing outwards and if the ply pushed the string out then the wall was bowing inwards. I check my bottom plates were all straight before screwing to the floor, but now I could also check the tops.
You can see here that there is a gap between the ply and the string so the wall was definitely leaning outwards. I therefore pulled the wall towards the centre of the room using the middle brace and when it touched the string I could screw it to the piece of scrap timber in the floor. I then checked for plumb with my level. I did this for all 4 sides. Once the roof joists are attached, they will keep the walls in place and then I can then remove the braces.
And that is the walls completed. I know that some of you won’t have rake walls in your build, so in the next video I’ll go through all the different options for creating a flat roof and why I chose to create mine the way I did with sloping joists. I’m also aware that quite a few viewers are starting their own projects and builds as the weather improves so by the end of the next episode you’ll know exactly how to fully design your building and get started.
See you then!
The words are the caption track's own and nothing is reworded or re-transcribed. Paragraph breaks are placed between sentences so the text reads as prose.
Free tools for your own script. No signup, no login.
Paste your draft and see where viewers are likely to drop off, with a rewrite for each weak line.
Paste the first 30 seconds of your own draft for a hook score and rewrites.
Check your draft against YouTube's advertiser-friendly guidelines before you record it.
Read this channel's public videos and transcripts, and download a writing brief for it.