Getting the transcript
Reading the captions from YouTube. A video nobody has opened here before takes 10 to 30 seconds; this page fills in on its own.
Getting the transcript
Reading the captions from YouTube. A video nobody has opened here before takes 10 to 30 seconds; this page fills in on its own.
Ali Dymock · @AliDymock
Where viewers went back to watch this video again, from YouTube's public Most replayed graph, lined up with what was said at that moment.
Most replayed moment #1
5:512.8x the video's typical replay level
lot left over so I thought it might do some good to cover the fascia as well. Here’s a good cross-sectional look at the roof build-up so far. I could now move on to the top deck.
Said at 5:46
Most replayed moment #2
4:232.6x the video's typical replay level
Said at 0:00
Most replayed moment #3
2:562.5x the video's typical replay level
and insulation. As the vapour barrier needs to be on the inside of the insulation, unlike the floor where I could use aluminium tape on top, I can’t easily tape the underside of the roof insulation. Mastic can be used where the insulation sheets butt one another
Said at 2:48
The graph counts replays. It does not show where viewers stopped watching.
Words
1,001
Runtime
9:44
Speaking pace
103wpm
Reading time
4min
103 words per minute, below the 160 25th percentile of 349 measured videos. That distribution comes from the 349-video hook study.
Opening (first 30 seconds)
Welcome back everyone! In the last video we covered how to structure a flat roof and I finished the roof joists. We now know how my warm roof will be constructed so in this video we’ll launch straight into building the sub-deck. First, a quick note on accessibility for insulation. If you
52 words, the words spoken in the first 30 seconds at 103 words per minute.
Free, no signup. See how the first 30 seconds hold attention, with rewrites.
Sentence shape
| Measure | This transcript |
|---|---|
| Sentences | 42 |
| Average words per sentence | 23.8 |
| Longest sentence | 53 words |
| Questions asked | 0 |
| Sentences containing a number | 8 |
Most used terms
Filler phrases
2 in total: like 2.
A literal whole-word count of the same phrase list the Prepublish browser extension uses, so a phrase inside another word is not counted and a phrase used in its ordinary sense still is. It is a count and not a judgement.
What this transcript is
Every word below is the caption track YouTube publishes for this video, pulled from the video itself and reproduced unchanged. It is not Prepublish's writing, not a summary, and not a re-transcription: it is the video's own published captions. English captions, published by the channel, in the video’s original language. Source: the video on YouTube. A channel that would rather this page did not exist can ask for its removal through the contact page, and it is removed.
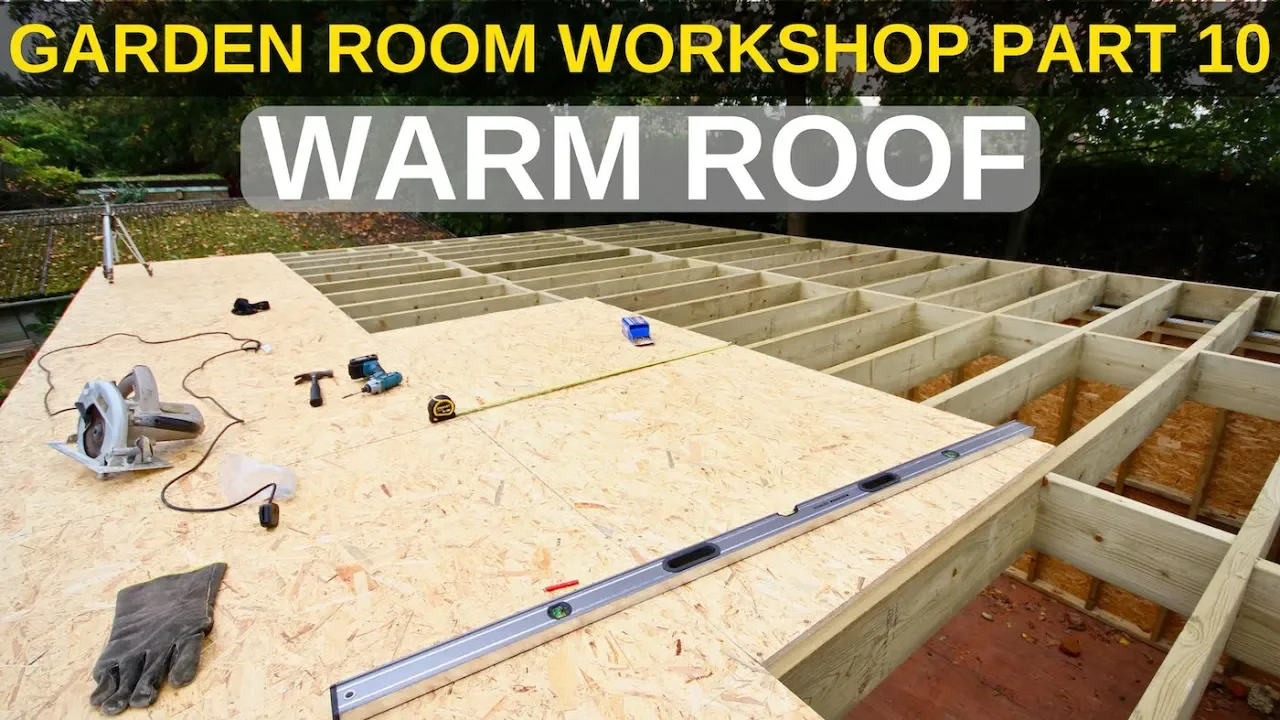
Welcome back everyone! In the last video we covered how to structure a flat roof and I finished the roof joists. We now know how my warm roof will be constructed so in this video we’ll launch straight into building the sub-deck. First, a quick note on accessibility for insulation. If you build your roof joists like mine, it’s important to be able to access the areas above the side walls in order to insulate them. I had enough room under the overhang to get the insulation up-and-in but if you won’t have access after installing the deck then now’s the time to insulate.
Before I finished the sub deck entirely I brought up my 11mm OSB for the top deck through the hole that I’d left open. In case you hadn’t guessed how I was moving these sheets already, I used an 18 foot length of rope with the two ends tied together then looped under each side of the sheet material to create a handle. This turns it from a two person job into something that can be handled quite easily by just one. Once these sheets were up I could turn my attention to the next stage, the vapour barrier and insulation.
As the vapour barrier needs to be on the inside of the insulation, unlike the floor where I could use aluminium tape on top, I can’t easily tape the underside of the roof insulation. Mastic can be used where the insulation sheets butt one another but I chose a polythene sheet instead. Laying the insulation like this was so much easier than cutting it to size to fit the floor joists. Above the overhang there wasn’t really the need to insulate but I still needed the top deck to be supported so I decided that this would be a good place to use all the scraps I had from doing the floor but didn’t want to waste and I made a very nice jigsaw.
Now, we have a slight continuity error here. You can see that there’s a lining covering the timber border. At this point I had covered the walls with a weather proof breathable membrane, something that I’ll explain in more detail in Part 12, and I had quite a lot left over so I thought it might do some good to cover the fascia as well. Here’s a good cross-sectional look at the roof build-up so far. I could now move on to the top deck.
The OSB boards around the edges are secured to the timber border, but the boards in the middle are just floating on top of the insulation. In order to secure them, I used 180mm slab nails that were long enough to reach the roof joists but first I had to find the joists. To do this I made a mark on the tyvek housewrap above each of the joists and secured a nail directly above it, tied a length of string to it and then tied the other end to a nail on the other side.
This gave me a line where the joists lay below where I could hammer in the slab nails. A few did miss so I learnt to leave them a little proud of the surface, then check they weren’t showing on the underside before hammering them flush. If they did miss, I could pull them out and move them accordingly. In case you’re wondering, yes, these nails do create a thermal bridge where heat is lost and also pierce the vapour barrier so the key is not to use too many of them, just enough to hold the OSB down and gravity does the rest.
So that is the warm roof done, quite a few different layers but it can be done quite quickly. The finished product though looks much the same as when I finished the sub-deck so the aesthetic payoff will come in the next episode where I’ll add the fascias and EPDM rubber roof. As this is Part 10 and a little shorter than usual I thought I’d talk briefly about the channel. First up, thank you to the 600 or so of you who subscribed on the back of Keith’s recommendation on his Rag 'n' Bone Brown youtube channel.
If you haven’t come across his channel, he’s a down to earth, UK, self-taught woodworker with a fantastic array of videos, and well worth checking out. So thank you for your support and thank you Mr Brown. In fact just 4 short months ago hardly anybody was watching this series and, while still a really small channel as far as youtube is concerned, it’s a testament that if you serve an uncatered for niche, people do come.
So I thought it would be interesting to share a little about who this community is and viewership based on the stats youtube provides. It probably comes as absolutely no surprise that the majority of you are men, but quite how heavily weighted it is-was unexpected to me. The largest age bracket is from 35-44 which is the one above my own. Given some thought this does makes sense though as one needs a house in order to build a garden room and that age group is more likely to be able to afford a house while still being young enough to want to take on a big building project.
And finally location. Again no surprises that the majority are from the UK but it’s great to see that the US is in second as I learnt so much of the information in these videos from watching US framing and housebuilding channels. Obviously if you are watching from outside the UK you can ignore some of the planning permission and building regs stuff but the main principles should hold wherever you are. So that’s it for this one.
Feel free to ask any questions in the comments, I’ll do my best to answer where I can, and I'll see you next time!
The words are the caption track's own and nothing is reworded or re-transcribed. Paragraph breaks are placed between sentences so the text reads as prose.
Free tools for your own script. No signup, no login.
Paste your draft and see where viewers are likely to drop off, with a rewrite for each weak line.
Paste the first 30 seconds of your own draft for a hook score and rewrites.
Check your draft against YouTube's advertiser-friendly guidelines before you record it.
Read this channel's public videos and transcripts, and download a writing brief for it.