Getting the transcript
Reading the captions from YouTube. A video nobody has opened here before takes 10 to 30 seconds; this page fills in on its own.
Getting the transcript
Reading the captions from YouTube. A video nobody has opened here before takes 10 to 30 seconds; this page fills in on its own.
Ryan King Art · @RyanKingArt
Where viewers went back to watch this video again, from YouTube's public Most replayed graph, lined up with what was said at that moment.
Most replayed moment #1
9:174.3x the video's typical replay level
the high poly detail to the low poly mesh now to make sure it's going to bake this correctly we first need to select the high poly mesh and then we need to hold down the shift key and select the low poly mesh last so they're both selected but the low poly object is selected last so it's the active object
Said at 9:10
Most replayed moment #2
7:064.0x the video's typical replay level
you can just press alt G to bring it back into the center so we now want to select the low poly mesh and the low poly mesh is going to have the normal map so we want to add a material to this object so let's click here to go to the shading workspace and I'll add a new material and I'll rename the material to
Said at 6:59
Most replayed moment #3
8:443.4x the video's typical replay level
can change the render samples to one because the baking actually uses samples but you really don't need that many samples so if you just change the samples to one it'll bake faster so now we can go to the bake settings so let's open up the baking tab here and we can scroll down and here on the bake type we
Said at 8:37
The graph counts replays. It does not show where viewers stopped watching.
Words
3,320
Runtime
13:39
Speaking pace
243wpm
Reading time
14min
243 words per minute, above the 201 75th percentile of 349 measured videos. That distribution comes from the 349-video hook study.
Opening (first 30 seconds)
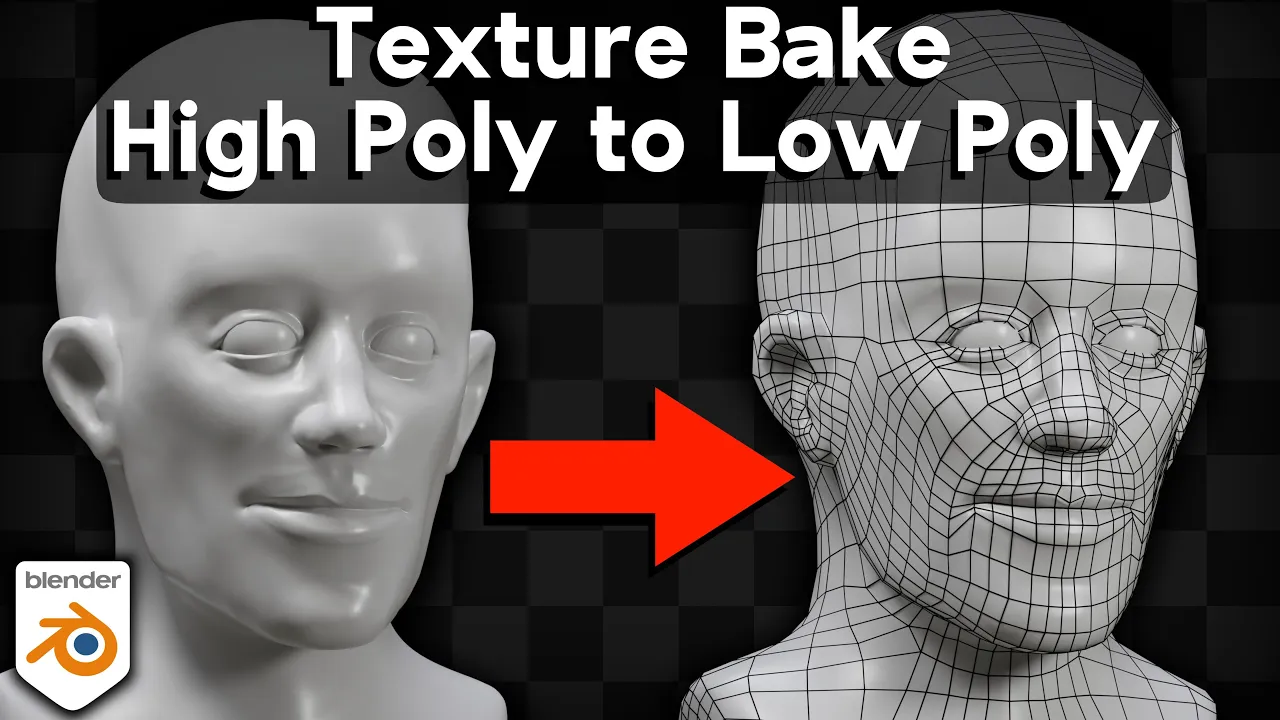
in this blender tutorial I'll show you how to make high poly details to a low poly mesh using a normal map and a common reason why you might want to do this is if you have a sculpted model and then you retopologize the model but you want to keep all of the high poly details on the sculpt and put them on the low poly model so here is a high poly face that I sculpted you can see the topology is really dense and then I retopologized the sculpt and made this low poly model but you can clearly see that the low poly model has lost a lot of details especially around the lips and the eyes and
122 words, the words spoken in the first 30 seconds at 243 words per minute.
Free, no signup. See how the first 30 seconds hold attention, with rewrites.
What this transcript is
Every word below is the caption track YouTube publishes for this video, pulled from the video itself and reproduced unchanged. It is not Prepublish's writing, not a summary, and not a re-transcription: it is the video's own published captions. English captions, generated automatically by YouTube, in the video’s original language. Source: the video on YouTube. A channel that would rather this page did not exist can ask for its removal through the contact page, and it is removed.
in this blender tutorial I'll show you how to make high poly details to a low poly mesh using a normal map and a common reason why you might want to do this is if you have a sculpted model and then you retopologize the model but you want to keep all of the high poly details on the sculpt and put them on the low poly model so here is a high poly face that I sculpted you can see the topology is really dense and then I retopologized the sculpt and made this low poly model but you can clearly see that the low poly model has lost a lot of details especially around the lips and the eyes and the eyebrows however if you bake the high poly detail to the low poly mesh using a normal map then if you plug the normal map into the material you can see that it's going to keep all those details because it's using this normal map so here's the normal map you can see it's baked all of those details into the texture and so now the low poly model looks very high quality now if you want to learn how to do retopology and blender I recently released a retopology for beginners tutorial so you can find that tutorial with the link in the description and in the tutorial I use this head sculpt as an example and I show you the basics of retopology using this head and you can also check out my texture baking tutorial playlist if you want to learn more about texture painting or learn the basics of texture baking in blender and then just one more thing before we start I want to let you know about a really great blender add-on for quick and easy texture baking quick Baker is a great blender add-on for quick and easy texture baking once you install the add-on you can access the add-on on the 3D viewport side panel first add a name and a bake group you can then choose the objects and materials that you want to bake make sure you also UV unwrap your objects you can then choose what texture Maps you want to bake like the base color roughness normal metallic and many more maps then hit bake and the add-on will automatically bake all the textures and will save the texture maps to your computer you can also use the add-on to bake High poly detail to a low poly mesh check out my full add-on review video with the link in the description and if you purchase the add-on through my affiliate link you'll be helping to support this Channel all right so let's now bake the high poly details to the low poly mesh using a normal map so the first thing that we need to do is UV unwrap the low poly object so that the model actually has UVS so that we can bake to an image texture so I'm going to select the low poly head and we'll go into edit mode and I want to First add seams to cut out the mesh and then we'll UV and wrap it and if you'd like to learn the basics of UV and wrapping you can check out my UV and wrapping for beginners tutorial the link to that is in the description but I'm just going to do a basic uvn wrap to uvn wrap the head so what I'm first going to do is hold down the ALT key and select that Loop there and then hold down the shift and ALT key and select that Loop there now what you could also do if you have a symmetrical object like this is you could delete half of it and add a mirror modifier and then you could just UV and wrap half of it but I'm just going to select the loops for both sides and then UV and wrap it that way let's also go down here and I'll hold down the ALT key and the shift key and select that Loop there and then shift select these two shift alt select that Loop there and shift select these two vertices all right so I'll hit the U button and then what I'm going to do is click on Mark seam so now it's added these red lines here which is telling us where the seams are I also want to UV unwrap the ears so I'll hold down the ALT key and select that Loop there and then I can hold down the shift key and select that there and I'll just shift select that entire Loop going around there going around to the ear I'll press U and let's mark seam and then I'll do the same thing for the other side so I can just select this object in object mode press h to hide it and each to hide it let's go back into edit mode of this object hold down the ALT key select that Loop there and then I'll just hold down the shift key and I'll select that Loop all the way around the ear all right hit the U button and we're going to mark C let's also hold down the ALT key and select this Loop right here going around but then what I want to do is deselect the parts which are on the front of the face so I'll hit the B for the Box select and I can click down with my middle Mouse wheel and drag just to deselect those vertices also deselect that there let's go down here B for the Box select click and drag with the middle Mouse to deselect that part there and then we can also deselect this bottom part here we'll be uvn wrapping that separately so deselect that there so now that we have the back of the head selected I'll hit U let's mark seam so hold down the ALT key select that Loop there all right that's pretty good let's hit U Mark seam and also right here I want this to be connected so we'll select these two vertices we'll hit U and Mark seam now if you have a character which has an open mouth or if you're creating some sort of character where you're going to animate the mouth then you've probably modeled the mouth that it's going back into the face so if that's the case for your model then you might want to add a seam around the mouth but in my case I'm not going to have this mouth open you can see the mouth is completely closed but if you're modeling some sort of character that you're going to animate you probably would have created a hole in the mouth so you might need a UV unw wrap that as well and if you wanted to you could select the jaw or select like the top of the head there and add seams there and UV unwrap the front of the head and make that a separate Island but this is what I'm going to do for my object so now that I've added the seams I'll select everything in edit mode I'll hit the U button again but this time we're going to choose unwrap so now let's go over here to the UV editing so we can see the islands kind of zoom in here you can see here's all the UV islands and this is the main part of the face and the head you can see there's like the eye holes and the nose holes now I want this part to be the largest part because I want this to have the most detail so I'll select everything with the a key let me just make this smaller so we have more space and I'll hit R to rotate maybe rotate around like that so I want this island to be as big as it can because this is the main part of the face so you can deselect everything with the a key you can then hover your mouse over the other Island and press the L key to select the link vertices and this bottom part here we're not really going to be able to see it so I'm going to scale it way down cuz we don't really need it to be that high quality because if the islands are bigger they're going to be using more of the pixels of the texture so we really don't need this to be very big we can make it pretty small all right press the L key with your mouse hovered over the other Island you can scale it up and maybe move this over here press the the L key to select the linked vertices to select the island there make that bigger and you just want to make these as big as you can just to use as much of the texture space so I'll make this one a bit bigger also this one make that a bit bigger and then if I select these two little pieces maybe put one there so I just want to make sure that none of the islands are overlapping and you also want to make sure that none of the islands are going out of the texture space you want to bring them in here inside the texture space all right so let's go back over here to the layout and I'll press alt H to unhide the object now we want the high poly mesh and the low poly mesh to be in the exact same spot in the 3D space so when you retopologize the object you probably had both of the meshes on top of each other now the origin points are both in the very center you can see I have the origin points in the center so I'm going to select this object here I'll press alt G to bring it back into the center I can select this object here and press alt G to bring it back into the center or if it's a little bit off you can just move it manually and make sure it's right in the very center but hopefully you can just press alt G to bring it back into the center so we now want to select the low poly mesh and the low poly mesh is going to have the normal map so we want to add a material to this object so let's click here to go to the shading workspace and I'll add a new material and I'll rename the material to like baked details whatever you want to call it so now we need to add a new image that we can bake to so I'll go to the add menu and I'm going to search for an image texture let's drop this here and I can click on new to make a new image texture now on the name here I could just call it like baked normal map or details or whatever you want to call it now on the width and height here I'm going to use the 496 by 496 that is the standard resolution for a 4K image so that's what I'm going too just a standard 4K image now what's also really important is you turn on the 32bit float this is important for normal Maps because it helps the normal map to be a lot higher detail so I'll turn on the 32bit float now we can click on New Image and now we've added that new image now because this is a normal map it's not going to be contributing to the base color of the material and so any texture Maps which aren't contributing to the base color of the material need to be set to non-color on the color space so if you click on this color space here we want to change this to non- color so let's now go over the bake settings so I'm going to open up the side panel here and we want to go to the render properties and on the render engine make sure you're using the Cycles rendering engine because EV doesn't support baking now if you are using blender Eevee you just need to change it over to cycles and do the baking and then once you're done doing all the texture baking you can change it back to Eevee but while we're doing the baking we need to use Cycles now also on the samples here we can change the render samples to one because the baking actually uses samples but you really don't need that many samples so if you just change the samples to one it'll bake faster so now we can go to the bake settings so let's open up the baking tab here and we can scroll down and here on the bake type we want to bake a normal map so we're going to change this to the normal now we're not just baking a normal nor normal map we're not baking a regular normal map we are baking a special one which is the high poly detail to the low poly mesh so we want to check mark the selected to active and that way it's going to bake the high poly detail to the low poly mesh now to make sure it's going to bake this correctly we first need to select the high poly mesh and then we need to hold down the shift key and select the low poly mesh last so they're both selected but the low poly object is selected last so it's the active object now what you also want to do is make sure that you have the normal map selected in the Shader editor and that way blender actually knows what image it's going to bait to now the last setting that we want to change is the Extrusion here under the selected to active and this is because the high poly sculpt might be popping out a little bit from the low poly mesh so you can see right here the high poly sculpt is popping out a little bit and also back here and if we don't add an extrusion value then there's going to be some weird glitches and issues in the bake normal map and these areas might kind of have these black areas or the normal map might look wrong so this Extrusion value we just want to turn this up to a very small amount so this Extrusion here I'm going to turn this up to a very small number of like 8.01 and then before we actually hit the bake button I just want to click on file and just save this again I always like to save the blender file before I bake just in case it crashes for some reason and let's click on the bake button and it shouldn't take very long you can see there's a loading bar right there and now it's finished so now to see the Bak texture map we can click right over here to go to the UV editing and if the Bak texture map doesn't show up you can click right here on the drop down and you can add the bake normal map and let me just look around here and make sure that there aren't any issues now it looks like right here there's a tiny tiny little issue there and that's what I was talking about with the Extrusion so it might be one of these little spots right here so you might just need to make the Extrusion a tiny bit bigger so if I go back here to the shading workspace here's the bake settings and this Extrusion here instead of like a 01 let me just make it like a 2 so it's a little bit bigger so then again we just want to make sure the high poly object is selected first and then shift select the low poly object we have the bait normal map selected we can just save this again with contrl s and then again we'll just hit the bake button and it's finished so because we turned up that Extrusion value it's basically going to pop out the low poly mesh just a little bit and so it's going to make sure that those overlapping Parts don't have any issues so we can go back over here to the UV editing and you can see that spot right there is completely gone because we turned up that Extrusion you also want to make sure you don't turn that that Extrusion value up too high because if you turn it up too high then there might be parts of the mesh which overlap with themselves like if you turn it up to a really large value it's going to extrude this part out and this part out and they might overlap so you just want to turn up to the smallest number that you need so let's go back here to the UV editing and we can now just save this baked texture you can click on image and you can click on save as and I'll just save it as baked normal map in the folder with my project files I'll just save it as a PNG image and I'll just click on save as image so once the image is saved we can go back here to the shading workspace and I'm going to select these objects and pull them apart so that they're not overlapping so we can take the bake normal map color and we're going to put that into the normal and then we need to add a normal map to convert the color data into normal data so I'll go to the add menu and I'm going to search for the normal map node and we'll put this between the image and the principal Shader so it's converting it to normal data so I can hold down the Z button move my mouse into the material preview to see the bait texture map so if I play around with the strength here here's the strength at zero you can see the low poly mesh it is low poly so the topology is better but it's lost all of the detail from the high poly mesh but if I turn the strength up to one you can really see how much detail it's adding so it's adding in all that detail there and all the creases from the mouth and the nose and the eyes so that's going to wrap it up for this tutorial so I hope you found the video helpful and thank you for watching and if you'd like to learn how to do R topology and blender then you can check out the previous tutorial on R topology for beginners with the links in the description and if you'd like to learn more about texture baking and blender then definitely check out my texture baking tutorial playlist where I have a texture baking for beginners tutorial and some more specific texture baking tutorials where you can learn how to texture bake other Maps like a color map a roughness map a metallic map and other maps and if you'd like to help support me and this YouTube channel you can also check out my gumroad store store and patreon page where you can get access to lots of blender content and help support the channel but I hope you found the video helpful and thank you for watching
The words are the caption track's own and nothing is reworded or re-transcribed. Paragraph breaks are placed between sentences so the text reads as prose.
Free tools for your own script. No signup, no login.
Paste your draft and see where viewers are likely to drop off, with a rewrite for each weak line.
Paste the first 30 seconds of your own draft for a hook score and rewrites.
Check your draft against YouTube's advertiser-friendly guidelines before you record it.
Read this channel's public videos and transcripts, and download a writing brief for it.
Sentence shape
| Measure | This transcript |
|---|---|
| Sentences | 1 |
| Average words per sentence | 3320.0 |
| Longest sentence | 3,320 words |
| Questions asked | 0 |
| Sentences containing a number | 1 |
Most used terms
Filler phrases
28 in total: like 18 · actually 4 · kind of 2 · sort of 2 · basically 1 · you know 1.
A literal whole-word count of the same phrase list the Prepublish browser extension uses, so a phrase inside another word is not counted and a phrase used in its ordinary sense still is. It is a count and not a judgement.