Getting the transcript
Reading the captions from YouTube. A video nobody has opened here before takes 10 to 30 seconds; this page fills in on its own.
Getting the transcript
Reading the captions from YouTube. A video nobody has opened here before takes 10 to 30 seconds; this page fills in on its own.
Photoshop Training Channel · @PhotoshopTrainingChannel
Where viewers went back to watch this video again, from YouTube's public Most replayed graph, lined up with what was said at that moment.
Most replayed moment #1
7:464.0x the video's typical replay level
and click on the channels panel's red copy thumbnail. Here it is. That loads it as a selection. Then I can go into the layers panel and just create a layer mask. And notice that the background is now all gone. Let me go into the new adjustment layer icon and create a solid
Said at 7:38
Most replayed moment #2
3:392.2x the video's typical replay level
darken with the burn tool or to brighten with the dodge tool. So, in this case, I'll select the burn tool. From the options bar, I can select the range of pixels that I want to affect. So, I want to affect the shadows. That way, I can darken the shadows and not
Said at 3:32
Most replayed moment #3
5:192.2x the video's typical replay level
I'm just going through the outside here. And then I can fill this with black. Black is my foreground color, so I can press alt and backspace on Windows, that's option delete on the Mac to fill with the foreground color, which is currently black. Then I can press control D on Windows, command D on the
Said at 5:12
The graph counts replays. It does not show where viewers stopped watching.
Words
2,283
Runtime
11:05
Speaking pace
206wpm
Reading time
10min
206 words per minute, above the 201 75th percentile of 349 measured videos. That distribution comes from the 349-video hook study.
Opening (first 30 seconds)
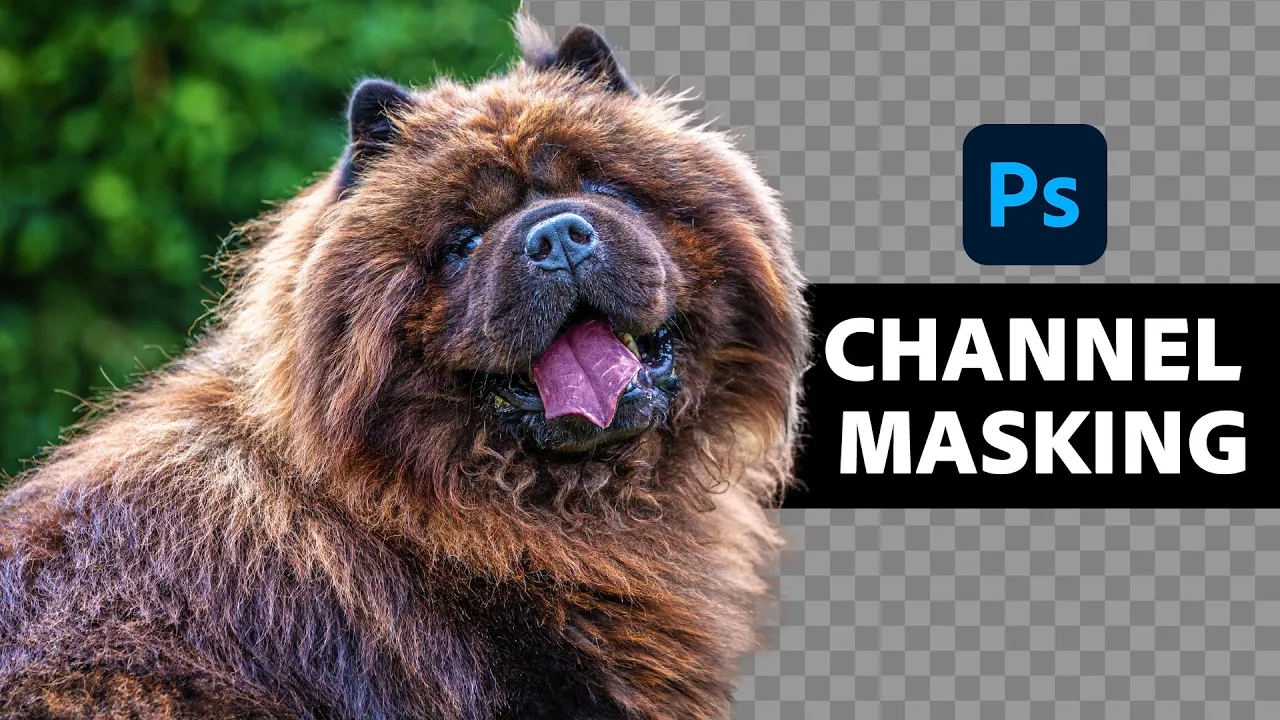
A lot of times when you're doing cutouts in Photoshop, you may come across images like this one where the fur is up against a busy background and it may be difficult to select. So, what I'm going to do is show you a technique where you will use the channels panel to better select those difficult to select areas. Before we do anything, I want to show you the relationship between a selection or a mask and the channels panel. So, if I were to make a selection, the selection doesn't matter, so I'll just make a rectangular marquee selection. Then, if
103 words, the words spoken in the first 30 seconds at 206 words per minute.
Free, no signup. See how the first 30 seconds hold attention, with rewrites.
Sentence shape
| Measure | This transcript |
|---|---|
| Sentences | 132 |
| Average words per sentence | 17.3 |
| Longest sentence | 57 words |
| Questions asked | 6 |
| Sentences containing a number | 0 |
Most used terms
Filler phrases
23 in total: like 15 · actually 5 · basically 1 · sort of 1 · um 1.
A literal whole-word count of the same phrase list the Prepublish browser extension uses, so a phrase inside another word is not counted and a phrase used in its ordinary sense still is. It is a count and not a judgement.
What this transcript is
Every word below is the caption track YouTube publishes for this video, pulled from the video itself and reproduced unchanged. It is not Prepublish's writing, not a summary, and not a re-transcription: it is the video's own published captions. English captions, generated automatically by YouTube, in the video’s original language. Source: the video on YouTube. A channel that would rather this page did not exist can ask for its removal through the contact page, and it is removed.
A lot of times when you're doing cutouts in Photoshop, you may come across images like this one where the fur is up against a busy background and it may be difficult to select. So, what I'm going to do is show you a technique where you will use the channels panel to better select those difficult to select areas. Before we do anything, I want to show you the relationship between a selection or a mask and the channels panel.
So, if I were to make a selection, the selection doesn't matter, so I'll just make a rectangular marquee selection. Then, if I were to go into select, save selection to save the selection, I can give it a name. I'll just call it selection. The name is not important for this example. Photoshop will save that selection. Where does Photoshop save the selection? Well, it saves it in the channels panel. Here it is. That's my selection.
See that? Also, if I were to just create a random selection here with the lasso tool and create a layer mask by clicking on the layer mask icon, then go into the channels panel, you'll see that the background mask is here. So, what does all this mean? Well, this means that selections and masks are really the same thing as channels. What is a channel? Well, a channel, the RGB channels, there's three of them. The red, the green, and the blue channel.
And these channels allow you to create the images that you see on screen. The red channel controls the red light, the green channel controls the green light, and the blue channel controls the blue light. When you see bright areas in the channel that you're on, that means that there's a lot of light in the color of that channel, and dark areas means that there's less light of the color of that channel, and you'll see the opposite color.
So, the opposite color of red is cyan, the opposite color of green is magenta, and the opposite color of blue is yellow. That's not important for that tutorial, but I still wanted to give you that information. The point is that you can use these channels, the ones that you can see here in the channels panel, to create a selection or a mask. So, the red channel, the green channel, and the blue channel. To not confuse you, I'm going to delete the selection channel that we created earlier.
And what we're going to do is use one of these RGB channels to create our selection. And what you have to do is click on all the channels and see which one has the most contrast between the foreground and background. In this case, I'm only really concerned about the edges here on the fur. So, I'm trying to see where the fur looks its brightest and where the background looks its darkest. And I think that the red channel probably does a better job in creating that type of contrast that I'm looking for.
Now, before we continue, I do want to mention that if you're actually looking at the color of the channel, for example, if you see red on the red channel, you need to disable that. To do so, you can press control K on Windows, command K on the Mac to bring up the preferences panel, and from the interface tab, make sure that you disable show channels in color. See that? See how the channel is now looking red because I have that enabled?
So, make sure that you disable that and you should be able to see what I'm looking at now. Once you identify the channel with the most contrast between the foreground and background, or at the very least the channel that has most contrast between the edges of the foreground and the background, you can duplicate it. You can duplicate a channel by clicking and dragging it into the new channel icon. You do not want to work in the original channel because if you alter the original channel, then you'll destroy the colors in the image and you don't want to do that.
So, always duplicate the channel that you're going to work on. So, with my red copy selected, I can start making adjustments. And what I want to do is keep the dog as bright as possible and the background as dark as possible. So, usually what I like to do is start with the dodge or burn tools to darken with the burn tool or to brighten with the dodge tool. So, in this case, I'll select the burn tool. From the options bar, I can select the range of pixels that I want to affect.
So, I want to affect the shadows. That way, I can darken the shadows and not the highlights. The exposure is a bit high, so I'll reduce it. And that way, when I paint along the edges, you'll see that the background gets darker and I don't really affect the fur in the foreground, like so. So, I can keep painting over the image like you see here. Obviously, take a little more time in your projects. I'm going a little quickly here to save your time, but as you'll see I will still get good results.
Notice that I'm having an issue down here where the fur is actually black, but the background is white. That's not too difficult to fix. All I have to do is select this area, like so, and then press control I on Windows, command I on the Mac to invert so that now the fur that's inside is white and the background is black and I can continue the same technique that I was doing on the top part of this dog. And I'll just keep painting the edges here, like so.
Notice that I'm not being precise. I'm being very loose and that's okay. You don't need perfect selections to create good layer masks. So, it's okay to be a little sloppy, but not too sloppy. As long as you have defined edges and defined fur, you should be okay. So, you don't have to get every single strand and it's okay to disregard things that are too difficult to select. But anyway, now that the outer edges are black, I can select the lasso tool and from here I can just make a very loose selection around the image, like so.
It doesn't have to be precise at all. I'm just going through the outside here. And then I can fill this with black. Black is my foreground color, so I can press alt and backspace on Windows, that's option delete on the Mac to fill with the foreground color, which is currently black. Then I can press control D on Windows, command D on the Mac to deselect. And I can continue painting with the brush tool using black just to get rid of these areas, like so.
And then I can do the opposite. I can select the dodge tool, make sure that I have highlights enabled. Exposure, I'll bring it down lower as well and I'll just paint on here. Just to try to make these edges brighter. So, anything inside the dog should be bright. You can always go into image, adjustment, levels, and also fine-tune the adjustment this way as well. So, you can decide which adjustment or tool gives you the right brighten effect for your image.
It really doesn't matter, to be frank with you, which technique you use as long as you make the right pixels bright and the right pixels dark. Once you're done, you can grab the lasso tool once again and just make a very rough selection around the dog like so, and you can just fill with white. Control-backspace on Windows to fill with the background color, which is currently white. Control-D on Windows, command-D on the Mac to deselect, and make sure that the foreground color is white, so I'll tap on the X key to swap the foreground and background colors, and I'll paint on the edges.
You might want to be a little more careful in areas like the ear. I'll zoom in in a moment to work on those. But, I just want to get these edges first. And we have a really sharp edge here that might not work, so I'm just going to push up a little bit to soften that edge up, and I'll zoom in to the ear, and I can paint. And I'm tapping on the left bracket key on the keyboard to reduce my brush size, as you see here, and I just have my hand on those bracket keys so that I can adjust the brush size as I paint.
And again, notice that I'm being very loose. I don't like to be precise with my layer mask until the very end, until I actually put it up against the background, because a lot of times the background that you have will actually conceal some of the imperfections of your mask. So, it doesn't make much sense to me to spend a lot of time fine-tuning the mask if ultimately it's not going to make a difference on the background that you're going to put it on.
So, everything looks good to me at the moment, so what I'll do is I'll hold control on Windows, command on the Mac, and click on the channels panel's red copy thumbnail. Here it is. That loads it as a selection. Then I can go into the layers panel and just create a layer mask. And notice that the background is now all gone. Let me go into the new adjustment layer icon and create a solid color fill layer. And I'll just make it a dark gray and drag it to the bottom so that you can see the result.
As you can see, the mask looks pretty good. All we got to do now is make a few minor adjustments to fine-tune the edges to get better results. So, what I'm going to do now is zoom in and show you a couple problems. You can see the green of the original background above the dog and other areas. So, what I like to do at this point is create a new layer, a blank layer, clip it to the layer below. A clipping mask makes it so that the layer below controls the visibility of the layer on top.
So, that way we don't have to worry about creating mask and we can paint freely without worrying about going over the edges. So, with this layer, you can press control alt G on Windows, command option G on the Mac. Then I can select the brush tool. And while the brush tool is active, you can hold alt on Windows, option on the Mac to temporarily enable the eyedropper tool, and then you can click to sample the color, and you can paint.
Notice that when I paint, I'm just painting a solid color, and that sort of fixes the problem. But I think you'll get much better results if you change the blending mode to color so that you keep the original brightness, but you just hide the edges, the green edges. And you can just keep sampling from different areas like so. And just try to remove those green edges. That way the image looks much much better. And just keep sampling from the areas that you're painting on.
Um I know I'm being pretty loose here, but as I said before, do a better job in your image. Notice that we have a problem here on this area, and that's actually quite easy to fix. What you can do is select the lasso tool and just make a selection like so. I'm going to press control shift C to do a copy all, so basically everything that's below that layer, not just the layer that I'm currently on. And then control V to paste.
And I'm going to make this into a clipping mask. Control alt G on Windows, command option G on the Mac, and just drag that over and press control T command T to transform and rotate it so that the fur follows the fur below. Then I can hold alt on Windows, option on the Mac, and click on the layer mask icon to make it into a black layer mask to hide everything in there. And with the brush tool with white as the foreground color, I can just selectively paint these areas back in just so that it looks like the fur is extending all the way to the edge.
So, this is the before and the after. And what I'll do now is select the zoom tool and zoom in so that you can see the edges. They look really, really good. And if I were to throw in a background that had more detail, maybe with trees and other distracting elements, those edges would look even better. So, keep that in mind. In some cases, you might get these pieces of fur that don't look that good. I might consider removing those.
It totally depends. And another way that you can fix the edges on the fur is by creating a custom brush and painting in the fur by hand. And if you want to learn how to do that, make sure that you check out this video here. Thank you so much for watching, and I'll talk to you again very soon.
The words are the caption track's own and nothing is reworded or re-transcribed. Paragraph breaks are placed between sentences so the text reads as prose.
Free tools for your own script. No signup, no login.
Paste your draft and see where viewers are likely to drop off, with a rewrite for each weak line.
Paste the first 30 seconds of your own draft for a hook score and rewrites.
Check your draft against YouTube's advertiser-friendly guidelines before you record it.
Read this channel's public videos and transcripts, and download a writing brief for it.