Getting the transcript
Reading the captions from YouTube. A video nobody has opened here before takes 10 to 30 seconds; this page fills in on its own.
Getting the transcript
Reading the captions from YouTube. A video nobody has opened here before takes 10 to 30 seconds; this page fills in on its own.
Ali Dymock · @AliDymock
Where viewers went back to watch this video again, from YouTube's public Most replayed graph, lined up with what was said at that moment.
Most replayed moment #1
1:442.9x the video's typical replay level
these are the current new values for new builds in England and Wales for both residential and commercial the floor should have a u value of naught point 2 5 or lower kingspan a brand of PIR insulation provides a useful calculator
Said at 1:36
Most replayed moment #2
7:422.3x the video's typical replay level
happened not great but the council were happy to put it right the plywood is really heavy and quite awkward to move but I'll show in a later video how I actually move my sheet material
Said at 7:36
Most replayed moment #3
7:152.3x the video's typical replay level
more resistant to swelling if it gets wet for my 16 inch joist spacing I needed 18 millimeter 3/4 inch thick plywood I chose external plywood of grade B / BB which denotes the quality of each face
Said at 7:09
The graph counts replays. It does not show where viewers stopped watching.
Words
1,357
Runtime
11:30
Speaking pace
118wpm
Reading time
6min
118 words per minute, below the 160 25th percentile of 349 measured videos. That distribution comes from the 349-video hook study.
Opening (first 30 seconds)
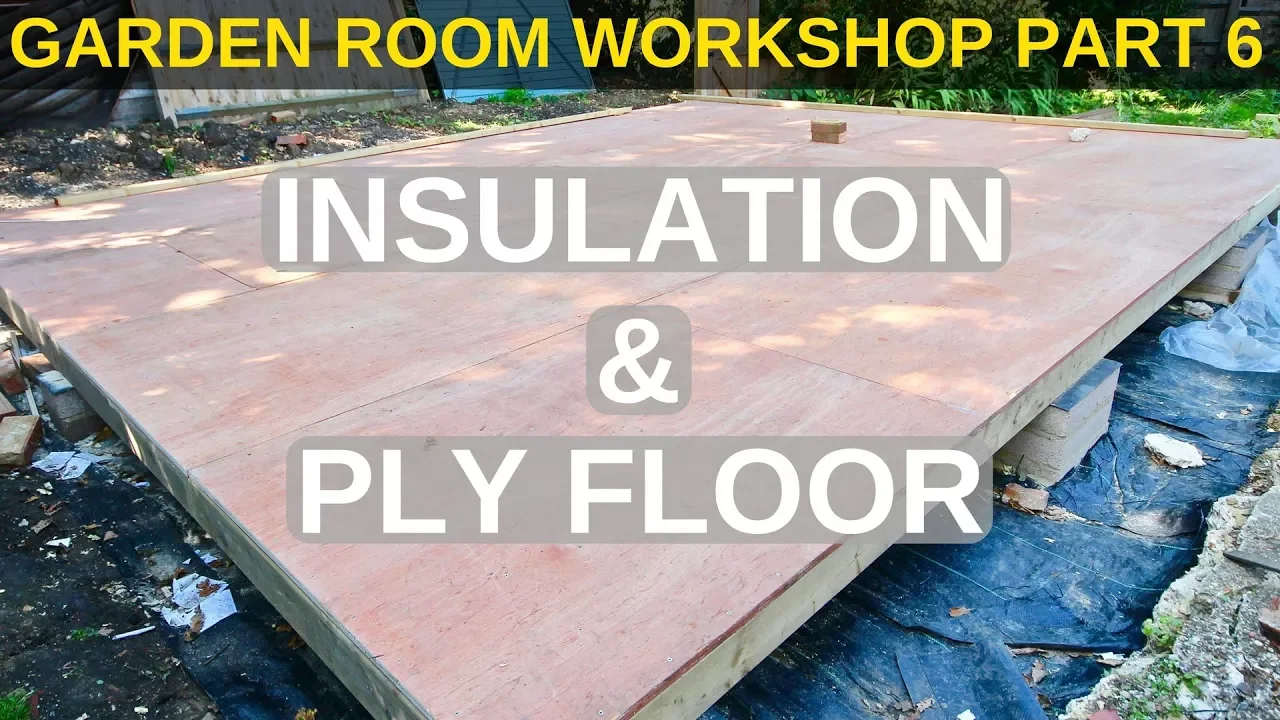
in the last video I built the timber floor of my garden broom and in this video I complete the floor with insulation and a plywood covering it's important to me that I'm able to use my gun room year-round so it needs to be warm in winter and cool in summer as heat travels upwards the floor is
59 words, the words spoken in the first 30 seconds at 118 words per minute.
Free, no signup. See how the first 30 seconds hold attention, with rewrites.
Sentence shape
| Measure | This transcript |
|---|---|
| Sentences | 1 |
| Average words per sentence | 1357.0 |
| Longest sentence | 1,357 words |
| Questions asked | 0 |
| Sentences containing a number | 1 |
Most used terms
Filler phrases
3 in total: like 2 · actually 1.
A literal whole-word count of the same phrase list the Prepublish browser extension uses, so a phrase inside another word is not counted and a phrase used in its ordinary sense still is. It is a count and not a judgement.
What this transcript is
Every word below is the caption track YouTube publishes for this video, pulled from the video itself and reproduced unchanged. It is not Prepublish's writing, not a summary, and not a re-transcription: it is the video's own published captions. English captions, generated automatically by YouTube, in the video’s original language. Source: the video on YouTube. A channel that would rather this page did not exist can ask for its removal through the contact page, and it is removed.
in the last video I built the timber floor of my garden broom and in this video I complete the floor with insulation and a plywood covering it's important to me that I'm able to use my gun room year-round so it needs to be warm in winter and cool in summer as heat travels upwards the floor is of lower importance for insulation but will still make a good bit of difference towards heating costs there are many different types of thermal insulation a few that are readily available in the UK are polystyrene PIR and the wool types with all insulation just like a piece of clothing the thicker it is the more heat it will keep in polystyrene well not bad in great thicknesses or as something cheap to insulate a shed isn't that effective the wool types have better thermal efficiency but require the use of netting under the floor to stop it from falling out and also rodents like to make their homes in it by far the best is PIR which has the greatest thermal properties doesn't need to be that thick so will fit nicely between timbers and it's rigid so it's perfect for insulating floors with PIR the law of diminishing returns applies where after about 100 millimeters any extra width provides less and less thermal insulation so how thick should the insulation be well whether or not you need Building Regulations it's well worth taking a look at them new value is a measure of thermal transmittance across the surface the lower the better these are the current new values for new builds in England and Wales for both residential and commercial the floor should have a u value of naught point 2 5 or lower kingspan a brand of PIR insulation provides a useful calculator in putting the details of our floor construction the perimeter to area ratio of the floor and my chosen insulation thickness of 100 millimetres gives a u value of naught point 2 3 which means that my floor would pass building regs if I required them at a later date for a quick comparison on rock walls calculator we can see that I would need a depth of 140 millimeters to achieve the same you value which is even thicker than the floor joist themselves the building regs you values differ for Scotland but as long as your garden room doesn't need them a common-sense approach is best if you even come close to these you values your garden will probably better insulated than your house just consider budget and how you intend to use your garden room it's worth mentioning that at the time of building mine PIR insulation had gone up shockingly in price as the raw material used in its manufacturing had been short supplied due to a fire in a German factory where it's produced I paid about four to two pounds per 8x4 board and I think I used about eleven boards in my floor P IL insulation though is much the same regardless of brand so it's not worth getting picky about which one to get just go for the cheapest a few of the bigger names of sealer Tex Kings ban and rec to sell you can get secondhand PIR as well and I'll give a link to that in the description below PIR is designed to be installed with a friction fit but as timber can swell and shrink depending on the weather there is a chance that it could fall at the bottom to stop this from happening I cut roughly six inch sections of red cedar that I had to hand [Music] I created a simple jig that I could set on top of my floor timbers and but my cedar sections underneath before nailing I made the depth of the jig a hundred and two millimeters a couple of mils over the insulation [Music] the next step was to cover the joist with aluminium foil tape this does three things one it stops any remaining air leaks two it creates a continuous reflective barrier to radiate heat back towards the inside of the garden room and three most importantly it creates a vapor barrier we breathe out a tremendous amount of water vapor and inside a building the water vapor in the air will seep into the floor the walls and roof where it can pass into the timber and insulation in winter as the outside of the building is cold the water vapor as it moves through the structure will condense and turn into water droplets and over time this will rot the wood and fill the air pockets inside the insulation rendering it ineffective a vapor barrier stops this vapor from entering the structure in the first place soil is a great vapor barrier but plastic can also be used since I've used foil back to PIR it made sense just to take the joists moving onto the floor covering there are two main options OSB and plywood do not use chipboard OSB is cheaper and might be the way to go if you intend to put down laminate or similar over it though it's really important to keep it dry throughout the build I chose plywood though as it gives a smooth and attractive finished floor which is good for a workshop and is much more resistant to swelling if it gets wet for my 16 inch joist spacing I needed 18 millimeter 3/4 inch thick plywood I chose external plywood of grade B / BB which denotes the quality of each face of the plywood lower grades have more knots in them while still structurally sound I ordered them along with my timber for the walls and oh yeah this happened not great but the council were happy to put it right the plywood is really heavy and quite awkward to move but I'll show in a later video how I actually move my sheet material [Music] if I may [Music] every day [Music] to secure the plywood the screws should be used the length of which should be roughly three times the width of the sheet material I use 50 millimeter screws but do not use nails for this the ply must be screwed into each timber joist under it each screw is spaced six inches apart around the edges where there are Timbers to screw into and eight inches apart for the Timbers in the middle or as the Americans say six on the edge and eight in the field you can use a tape measure but your hands act as a very good guide a thumbs up is roughly six inches and spreading your thumb and little finger part is roughly eight inches where two sheets are butted up against each other offset the screws because as they are sharing one joist they need to be driven in at an angle to locate the joist in the middle the three millimeter spacing is useful as you can see where the joists are and then you can draw a pencil line across with a straight edge to give the greatest strength the floor it's important that each sheet is offset from the others where a sheet is cut I'd recommend it covers at least three joists for stability at the back you can see that I didn't think about my sheet material when designing and setting out my building so I had to cut thin strips to cover it as this just covered the joists that would hold up the back wall it wasn't really a problem something I didn't do at this stage but I'd recommend doing if using the plywood as the finished floor is to protect it with a varnish or something similar so that is the floor complete it took me a while both in real time and in these videos to get to this stage but in the next phase of building the walls we really see the garden room taking shape stay tuned and I'll see you then you
The words are the caption track's own and nothing is reworded or re-transcribed. Paragraph breaks are placed between sentences so the text reads as prose.
Free tools for your own script. No signup, no login.
Paste your draft and see where viewers are likely to drop off, with a rewrite for each weak line.
Paste the first 30 seconds of your own draft for a hook score and rewrites.
Check your draft against YouTube's advertiser-friendly guidelines before you record it.
Read this channel's public videos and transcripts, and download a writing brief for it.