Getting the transcript
Reading the captions from YouTube. A video nobody has opened here before takes 10 to 30 seconds; this page fills in on its own.
Getting the transcript
Reading the captions from YouTube. A video nobody has opened here before takes 10 to 30 seconds; this page fills in on its own.
Mr.HighTide · @mr.hightide
Words
2,331
Runtime
12:12
Speaking pace
191wpm
Reading time
10min
191 words per minute, between the 181 median and the 201 75th percentile of 349 measured videos. That distribution comes from the 349-video hook study.
Opening (first 30 seconds)
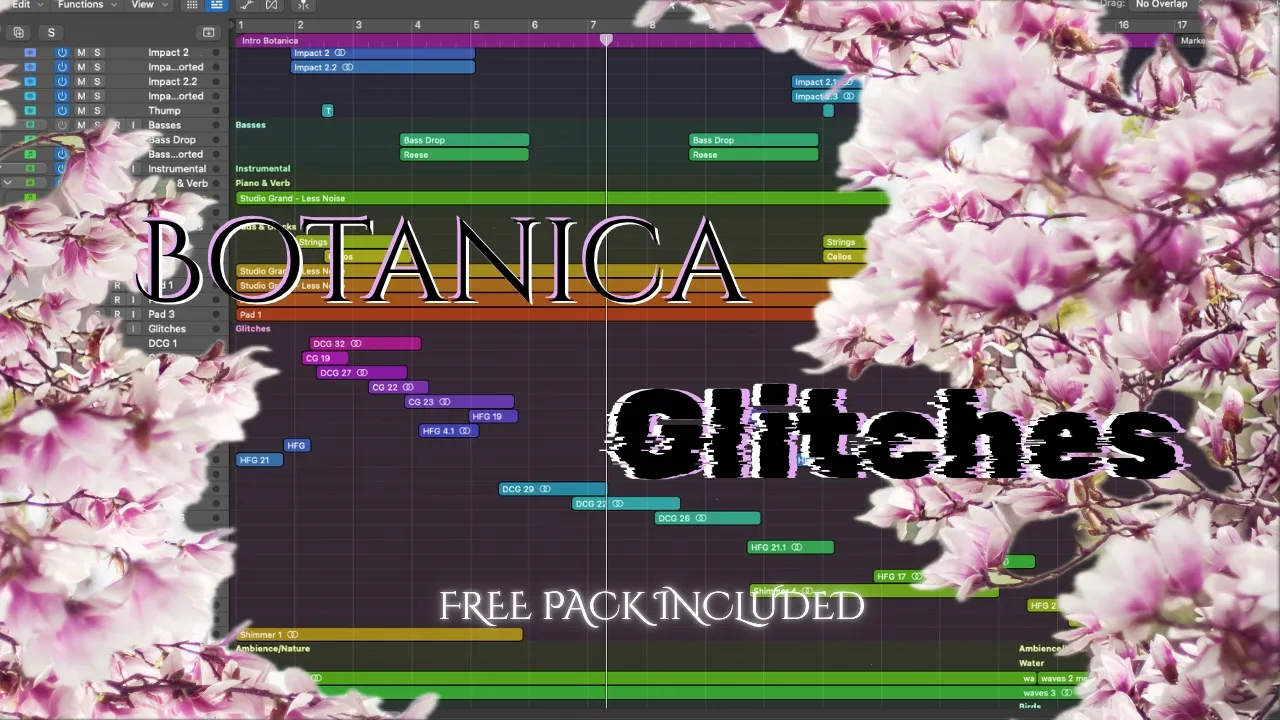
So, couple days ago I made a video and I posted everywhere. Basically was showing how I was making these botanica glitches. I asked y'all if you wanted a tutorial, so I'm going to go ahead and make a tutorial for y'all. It's actually pretty simple. This is actually the same glitch that I had in the video. So, it sounds like this. So, yeah, these are actually pretty easy to make. I'm going to show y'all how I made the process of making all of this. We're going to do this completely from scratch and
96 words, the words spoken in the first 30 seconds at 191 words per minute.
Free, no signup. See how the first 30 seconds hold attention, with rewrites.
Sentence shape
| Measure | This transcript |
|---|---|
| Sentences | 158 |
| Average words per sentence | 14.8 |
| Longest sentence | 52 words |
| Questions asked | 1 |
| Sentences containing a number | 7 |
Most used terms
Filler phrases
82 in total: like 38 · basically 13 · kind of 10 · um 8 · actually 6 · uh 4 · you know 2 · right? 1.
A literal whole-word count of the same phrase list the Prepublish browser extension uses, so a phrase inside another word is not counted and a phrase used in its ordinary sense still is. It is a count and not a judgement.
Run the check on the words above: where attention is likely to drop, with a rewrite for each weak line. The free check shows the scores and the one issue costing the most.
What this transcript is
Every word below is the caption track YouTube publishes for this video, pulled from the video itself and reproduced unchanged. It is not Prepublish's writing, not a summary, and not a re-transcription: it is the video's own published captions. English captions, generated automatically by YouTube, in the video’s original language. Source: the video on YouTube. A channel that would rather this page did not exist can ask for its removal through the contact page, and it is removed.
No Script X-ray for this video: YouTube shows a Most replayed graph only once a video has enough views.
So, couple days ago I made a video and I posted everywhere. Basically was showing how I was making these botanica glitches. I asked y'all if you wanted a tutorial, so I'm going to go ahead and make a tutorial for y'all. It's actually pretty simple. This is actually the same glitch that I had in the video. So, it sounds like this. So, yeah, these are actually pretty easy to make. I'm going to show y'all how I made the process of making all of this.
We're going to do this completely from scratch and kind of make this generator right here that makes these cool sounds with Alchemy. So, yeah, let's go ahead and just open a new project. All right, so first things first, we're going to open Alchemy. And honestly, you're going to want to find some type of high-frequency type of noise. So, what I've been using lately is I've been using keys shaking like on a keychain. I basically just screen recorded this from YouTube.
You could honestly sample it yourself with some keys that you have laying around. But, this is what we're working with. So, we're going to take the high-frequencies from this and these kind of randomness textures and we're going to flip it into some botanica glitchy nice texture. So, just kind of trim up your sample. So, now the next thing we're going to do is in our Alchemy, we're going to drag this sample in Alchemy and on the It doesn't matter which letter, but I usually just use A.
You're going to import it into the granular setting, so you're going to get this. Go ahead and select the A oscillator and then you're going to put this loop mode on forward and back so that the sample continuously happens. And then what I like to do is I like to draw a really long MIDI note so that we can just have a nice long recording. You can mute your original sample. And then when you push play, you can see how it it's going to play all the way forward, and then it's going to play back.
And you can see how when we're playing backwards, we're actually already getting some pretty cool sounds, but we're going to really glitchify this more and make it sound cool. So, let's go ahead and start with that. Let's do about two grains, and honestly, these effects you can play with yourself. You don't have to necessarily have these specific effects, but this is what I think sounds really good. So, if you want to follow me, I'm just basically what I'm explaining what I'm what I'm doing here.
We do about four taps on the granulator, and what we're going to do is we're going to open the sequencer right here. We're going to like just draw a random pattern like this. Some of them can be empty, there's no no problem with that, but just make it random, honestly. Just make it random, it doesn't have to be anything. And what you're going to do is on this tap interval knob, you're going to right click, and you're going to add modulation to the sequencer that we just made, so sequencer one.
So, you're going to see whenever we push play that this sequencer is going to modulate this knob right here, and that's what we want. That's why we wanted it random. So, I like to turn this down a little bit, and then put like about 80% on this depth knob. Doesn't really matter though, whatever you feel like is good. So, you're going to see when I push play these sequencer numbers are going to modulate this knob right here.
So, that's really cool. I like to turn the swing up all the way, so it's pretty random. And I also like to go a little bit slower, about 1/8 on the rate. So, let's try it again. Okay, and that's really really cool. What I also I like to do is I like to modulate the coarse tuning right here. So, you can use another sequencer to do that, but what I like to do, I just like to play around with different modular things, so I'm just going to grab an LFO from this LFO one, and I like to go to these random patterns or really anything that's just weird.
Complex actually has some weird ones to like random sweeps. This is perfect. So, what you're going to do is you're going to right click the course tune. Going to add modulation to our LFO of our random sweeps. And we're going to put this on bipolar and we're going to just modulate it like this about 50% ish. Now, that's pretty cool. Maybe slow down the rate. Now, that's pretty sick already. So, what we're going to do is we're going to record this.
I'm assuming that maybe you've never recorded anything in Logic before like as an audio sample um because it's kind of different than just bouncing it in place. So, this is how we set up a recording track in Logic. So, with this this is our Alchemy, right? So, our Alchemy we're going to send that out directly instead of the stereo out, we're going to send it out directly to a bus. So, we're just going to use bus one.
So, now this is going out to a bus directly. We're going to just name our bus so that we don't get confused later. I'm going to just name it input. We're going to make a audio track and in the input of this audio track, we're going to make it to that same bus that we set. So, now what you'll be able to notice is that you can solo this track because you're taking from the output of this track right here and it's inputting into this one.
So, now you can record. So, let's see what we got here. Cool. So, we can see that it's working. So, now what we're going to do what we're going to hit record and while I'm recording, I'm going to play around with the sample tempo knob right here and it's going to speed it up and slow it down. We're going to get some more cool glitchy textures so that we can mess with them later. So, let's go ahead and do that. And also remember that you can use any different LFO shape, any different sequencer shape.
So, the possibilities are basically endless for this type of sound design. So, we're just going to trim up our sample right here, and we're going to add some effects to this recording that we did. So, what we're going to do is we're going to add, first of all, spectral gating. This spectral gate is a free plugin you can get for It's by Step Wise. Um so, what we're going to do is we're going to enable the tilt on this gate.
And this is kind of like the cutoff to show like kind of like a compressor. So, you basically set the cutoff for how much you want it to do the spectral reduction type of thing and gating. And then you set the balance or basically the strength of the whole gate itself. Um so, if you do have it all the way over here, it won't do any gating. And if you do all the over here, it does a lot of gating. So, let's go ahead and try to get a sweet spot for this.
So, let's just keep going. Let's throw some OTT on there. This is upwards and downwards compression. So, we're just going to throw that on. We'll see that it's now emphasizing a lot of the things that got silenced out by the spectral gate, a lot of the quiet parts. I'm going to go ahead and just put some EQ to cut out this low end because um with the OTT, it kind of brings out a lot of those low end frequencies that we really don't need.
So, let's just go ahead and cut that out at about 200 Hz. So, we're going to go ahead and bounce this in place. We'll just call it bip. Cool. So, we got our bip here. So, now what we're going to do is this is something a lot of people don't know about in Logic, but if you push control X, you open this remove silence window. And you can set the threshold to whatever you want. And what this is really cool for doing is making the little bitty chops like this.
This is how you get really, really cool samples. I'm also going to add some fading as as So, now we can see it's more glitchier than it was before cuz now we have these little snippets. So, that's really, really cool. I really, really like that. What we're going to do next is we're going to go ahead and open a vocoder. So, what we're going to do is open Voc 20 PS vocoder. And this bip that we have right here, we're going to have the vocoder listen to this bip so that we can make some cooler, nice granular sounds.
So, let's go ahead and set the sidechain to do this bip audio that we have. So, now it's listening to it. And what we're going to do is we're also going to change this to analyze. We can keep everything the same. If you want to turn off the chorus, you can do that. So, what we can do is throw s- chroma on there. I already love this sound. We're going to add some OTT as well. Cut out some of that low end cuz it's getting really harsh now.
Like that's crazy. Oh my god. Listen to that. So, that I can definitely bounce and use that later. Whether it's in a botanica track or a type of other place where I need some type of glitchy texture. But, what's also really cool is if you don't like the vocoder sound, you can just throw chroma on the actual sample and you can just bounce it like that. Personally, I really like the vocoder sound, but I actually do a mixture of both cuz sometimes I don't really like the vocoder sound in some things.
The only other way you'll be able to get other sounds, change this LFO rate and you change the sequencer. Basically, the modulation that we put, we're going to be able to get different effects and it's going to start sounding way different from what we originally had. So, just keep that in mind that every time you push record and you do the slicing and things like that, you're going to end up with different varieties, different sounds every single time.
That's why I really love making these type of instruments or generators because you can basically just play with sounds anytime you want and just make really, really cool stuff. So, once you make your generator, you can honestly just make a stack like this. You're going to do shift command E. And when you have your stack, you can name it whatever you want. And then what you can do is you can basically just hit save right here in your library.
Go to instrument. Can make folders here as well. So, you can go to my sound generator and just push save. So, if you're ever in a project and you want to make some generators, you can just go to a empty sample instrument track and then you can just go to your generators and there's the one that we just made right there. So, I'm also going to give you guys a free sample pack that is basically loaded up with a lot of these glitch samples.
It's basically for those that don't have Chroma or maybe you don't have access to Chroma. What you're going to get in the pack is it's not a huge pack. So, I'm just going to start off with the fourth thing here. You're going to get some background shimmers that you can kind of add in the background at low volume for your botanica tracks. And they just kind of have this like shimmering. It's like basically uh a sample like this.
So, we got some background shimmers. We also have some of these high frequency glitches are my favorites. Um so, like kind of like the ones that we made right now. Um we have uh 27 samples of these. So, you're going to get some of those. You're also going to get some of these delay color glitches, which is me just basically bouncing them with a delay and reverb. So, these sound pretty nice. Uh you get 36 of these. You're also going to get some basic color glitches, which are these.
So, yeah. There's going to be a link to this pack um in the description. It's completely free, it's just my little gift to y'all as a welcome to my channel. If you just would wouldn't mind subscribing and liking the video, commenting, saying if you if this helped you out or not, then you know, that would really mean a lot to me. Um I know it's not a huge pack, but it's just something that I can give to you guys just you know, for trying to start off the community and stuff like that.
But yeah, I really appreciate you guys this time. I really do hope that this helped y'all out in some type of way and uh I do have a lot more videos like this coming out. So yeah, thank you all so much for for being here. Y'all have a wonderful day and have fun sound designing.
The words are the caption track's own and nothing is reworded or re-transcribed. Paragraph breaks are placed between sentences so the text reads as prose.
Free tools for your own script: paste a draft and see where it stands before you record it.
Paste your draft and see where viewers are likely to drop off, with a rewrite for each weak line.
Paste the first 30 seconds of your own draft for a hook score and rewrites.
Check your draft against YouTube's advertiser-friendly guidelines before you record it.
Read this channel's public videos and transcripts, and download a writing brief for it.