Getting the transcript
Reading the captions from YouTube. A video nobody has opened here before takes 10 to 30 seconds; this page fills in on its own.
Getting the transcript
Reading the captions from YouTube. A video nobody has opened here before takes 10 to 30 seconds; this page fills in on its own.
Shy Young · @ShyYoung
Words
1,403
Runtime
8:09
Speaking pace
172wpm
Reading time
6min
172 words per minute, between the 160 25th percentile and the 181 median of 349 measured videos. That distribution comes from the 349-video hook study.
Opening (first 30 seconds)
The Fujifilm X1006 is an incredible camera, but unlocking its full potential takes a little knowhow. As someone who shoots on Sony for so many years now and recently started using Fujifilm, I'm sharing my top 10 beginner tips and tricks, plus a few settings that you'll want to dial in right away to get the best results. My name is Shai. Welcome back to the channel. Let's jump right in. So, when you normally format your card, we all know you got to go to
86 words, the words spoken in the first 30 seconds at 172 words per minute.
Free, no signup. See how the first 30 seconds hold attention, with rewrites.
Sentence shape
| Measure | This transcript |
|---|---|
| Sentences | 87 |
| Average words per sentence | 16.1 |
| Longest sentence | 42 words |
| Questions asked | 1 |
| Sentences containing a number | 3 |
Most used terms
Filler phrases
10 in total: actually 7 · like 2 · kind of 1.
A literal whole-word count of the same phrase list the Prepublish browser extension uses, so a phrase inside another word is not counted and a phrase used in its ordinary sense still is. It is a count and not a judgement.
Run the check on the words above: where attention is likely to drop, with a rewrite for each weak line. The free check shows the scores and the one issue costing the most.
What this transcript is
Every word below is the caption track YouTube publishes for this video, pulled from the video itself and reproduced unchanged. It is not Prepublish's writing, not a summary, and not a re-transcription: it is the video's own published captions. English captions, generated automatically by YouTube, in the video’s original language. Source: the video on YouTube. A channel that would rather this page did not exist can ask for its removal through the contact page, and it is removed.
No Script X-ray for this video: YouTube shows a Most replayed graph only once a video has enough views.
The Fujifilm X1006 is an incredible camera, but unlocking its full potential takes a little knowhow. As someone who shoots on Sony for so many years now and recently started using Fujifilm, I'm sharing my top 10 beginner tips and tricks, plus a few settings that you'll want to dial in right away to get the best results. My name is Shai. Welcome back to the channel. Let's jump right in. So, when you normally format your card, we all know you got to go to menu, scroll down to the wrench, go to user setting, and then you hit format.
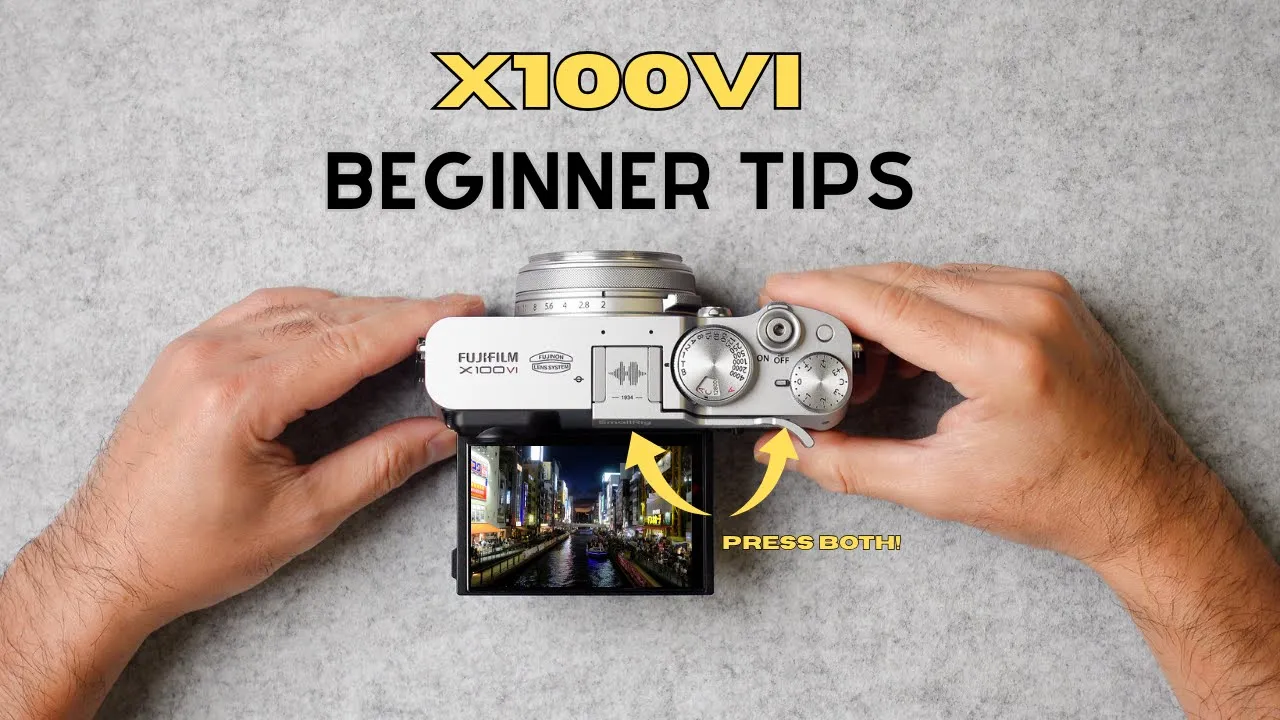
There, I'm going to show you a shortcut in a much quicker way. So, no matter where you are in the screen, all you got to do is press and hold on the drive delete button here, and then press and hold on the dial over here. And right away, you can get to formatting your card. Hit okay and you're done. Now, we all know that when you press the Q button, it goes to a bunch of shortcuts that you have saved. So, if I press it real quick, here's all my different shortcuts.
For example, white balance. And if I want to change the white balance, I can hit the dial here and change the different settings for white balance. However, if you wanted to change the actual shortcut there, there's a really quick way. So rather than just pressing Q, you want to press and hold it. And if you notice now, the icons look really different. In fact, they look smaller. So when I hit the button here again, I'm not changing white balance anymore.
I can actually change what the shortcut is. So let's say, for example, from white balance, I want to change it to sharpness. I select that. And now when I hit that Q button, the new shortcut there is sharpness. So when you hit your display button, it obviously changes the display on the screen. So now it's the normal view when I shoot. You can have it blank and you can have it display all your settings. Now, I'm not sure if you knew if you actually press and hold on the displayed button.
So I'm going to press and hold it. And now I can toggle through the different buttons and the dials and I can save different favorites to the buttons and dials. So really quick way to set up my running gun settings. Now on your focus mode, whether you're in landscape or portrait, that focus mode will pretty much just stay where it is or wherever you moved it with the joystick. Now, if you want it to stay based off the orientation in a specific spot, there's a nice setting that you can use to keep it there.
So, all you want to do is hit menu, go to AFMF, and then I'm going to scroll down to store AF mode by orientation. Currently, it's off. I'm going to set it to focus area only. So now what happens here is if I have the focus point here on landscape, it's going to stay there. And then if I jump to portrait mode, let's say I want it to stay here now, it's going to stay exactly where it is. So let's toggle back and forth.
Portrait mode, landscape mode, portrait mode, and landscape mode. Nice little setting to keep on. Now, as a photographer, we always want to follow the rule of thirds and have our grid lines up here. I noticed on my Fujifilm camera, I tried to activate it, but it wouldn't show up every time I would try. So, I found out that you actually have to go into your menu, go to the wrench, go to display, custom settings, EVF LCD, and right there at the top, you check framing guideline.
And so now when we go back to the camera, I got my grid lines and I can practice my rule of thirds. Now, I'm not sure if you knew that you can put a white frame outline around the actual screen here. Cuz if you look closely, this space right here, this big chunk here is not actually part of the screen. Now, if you're in a dark spot and you're shooting in dark areas, you actually want to know what you're getting in the shot.
So to put that frame outline, go to your menu, back to the wrench, display, custom setting, EVF LCD, and you're going to go to the last page here, page five, and it's right there at the bottom, framing outline. So I'm going to check that. And now, as you can see, there's a white frame around the actual screen. And as you can also see, as I mentioned, there's a lot of black blank space here, a little on the left side, top and bottom.
But I'll never miss a shot now in the dark cuz I can see where the framing outline is. Now, when you're trying to transfer photos from your camera to your smartphone, you can either do it through Bluetooth or do it through the app. But I have found that the fastest way to do it is actually just using a USBC cable. Here's a keychain cable that I carry with me all the time. It's nice because it's kind of multi-purpose.
USBA to lightning and you can pull these up and you got USBC to USBC. So, this would just connect directly to your camera and straight to your smartphone. And if you hit the link in the description or here, I got a quick tutorial to show you how to transfer those photos. But a nice little secret and hack on how to transfer your photos quickly. Now, we all love Fujifilm because of the recipes and the simulations, and we like to look at people's different settings and copy them.
However, have you ever copied one and when you took a shot, see how it says storing and the camera actually has to think before it takes the shot? That's because your clarity is above zero. So, you want to go to IQ here on the menu and then go to clarity. And as long as it's above zero, it's going to do that. So, you want to make sure you just toggle that back to zero and when you take a shot, it's instant. So, that's super important because you never want to miss a shot.
Now, I know this is going to sound silly, but don't forget that this does have an ND filter built in. I tend to always forget. So, remember to activate that, there's the notch here. You just want to pull on it and hold all the way to the right here. And when you do that, it activates the ND filter. And to deactivate it, you want to just pull on that notch again, hold on it to the right, and then now the ND filter is off.
Now, if you bought this camera and you're trying to get into street photography, of course, you want to be stealth when you're shooting. Now, we all know, especially with mechanical shutters, when you hit that button, it can be a little bit loud. So to make sure that you're silent and stealth when you're shooting, all you got to do is go to menu, go to the wrench, and on mechanical shutter and electronic shutter, just turn the sound off.
I'm also going to go to mechanical here. Turn it off. And now when we're out shooting, when I hit that button, no sound at all. So super silent. And that's a wrap on my top tips and tricks for the Fujifilm X1006. Switching from Sony to Fuji has been such a fun journey, and with a few simple tweaks, you can really get the most out of this camera. I want to know which tips are you excited to try first. Drop a comment below and feel free to share the tip with the community that I didn't mention.
If this video helped you out, don't forget to like, subscribe, and hit that notifications bell for more photography tips, tricks, gear reviews. And until next time, keep creating, and I'll see you on the next video. [Music]
The words are the caption track's own and nothing is reworded or re-transcribed. Paragraph breaks are placed between sentences so the text reads as prose.
Free tools for your own script: paste a draft and see where it stands before you record it.
Paste your draft and see where viewers are likely to drop off, with a rewrite for each weak line.
Paste the first 30 seconds of your own draft for a hook score and rewrites.
Check your draft against YouTube's advertiser-friendly guidelines before you record it.
Read this channel's public videos and transcripts, and download a writing brief for it.