Getting the transcript
Reading the captions from YouTube. A video nobody has opened here before takes 10 to 30 seconds; this page fills in on its own.
Getting the transcript
Reading the captions from YouTube. A video nobody has opened here before takes 10 to 30 seconds; this page fills in on its own.
America's Test Kitchen · @AmericasTestKitchen
Where viewers went back to watch this video again, from YouTube's public Most replayed graph, lined up with what was said at that moment.
Most replayed moment #1
11:004.5x the video's typical replay level
that we want for maillard browning. As this continues to cook, water's gonna evaporate from that pan. By the time that water's all gone, we'll have all of the starting materials for the browning that we want. (upbeat music) - Now it's just a matter of cooking up my aromatics, turning those brown bits into a broth,
Said at 10:54
Most replayed moment #2
9:272.1x the video's typical replay level
We've seen how water can help vegetables brown, but it can work wonders with meat as well. (upbeat music) I'm making a chicken gravy today, and chicken gravy's like all gravies, they start with a really intense broth.
Said at 9:20
Most replayed moment #3
6:361.9x the video's typical replay level
I'm just gonna get them into my skillet. And to that, I'm going to add water, this time a quarter of a cup. (stove clicking) So now I've got the burner set to high, and I want that water to start to boil so that it can cause these mushrooms to cook
Said at 6:31
The graph counts replays. It does not show where viewers stopped watching.
Words
2,303
Runtime
12:56
Speaking pace
178wpm
Reading time
10min
178 words per minute, just under the 181 median of 349 measured videos. That distribution comes from the 349-video hook study.
Opening (first 30 seconds)
- Here I have some bacon in a skillet, boiling in water. You might be thinking, "Boiling in water, what gives?" Counterintuitive as that seems, this water is gonna help the bacon go from this, to this, crisp, tender and beautifully brown. What if I told you that water could be the key to better browning in food? (Lan Lam crunching) (upbeat music) So there are two types of browning, caramelization and maillard browning. Now, caramelization is what happens when sugars are heated past about 300 degrees. They'll start
89 words, the words spoken in the first 30 seconds at 178 words per minute.
Free, no signup. See how the first 30 seconds hold attention, with rewrites.
Sentence shape
| Measure | This transcript |
|---|---|
| Sentences | 136 |
| Average words per sentence | 16.9 |
| Longest sentence | 49 words |
| Questions asked | 7 |
| Sentences containing a number | 10 |
Most used terms
Filler phrases
23 in total: kind of 10 · like 9 · actually 4.
A literal whole-word count of the same phrase list the Prepublish browser extension uses, so a phrase inside another word is not counted and a phrase used in its ordinary sense still is. It is a count and not a judgement.
Run the check on the words above: where attention is likely to drop, with a rewrite for each weak line. The free check shows the scores and the one issue costing the most.
What this transcript is
Every word below is the caption track YouTube publishes for this video, pulled from the video itself and reproduced unchanged. It is not Prepublish's writing, not a summary, and not a re-transcription: it is the video's own published captions. English captions, published by the channel, in the video’s original language. Source: the video on YouTube. A channel that would rather this page did not exist can ask for its removal through the contact page, and it is removed.
- Here I have some bacon in a skillet, boiling in water. You might be thinking, "Boiling in water, what gives?" Counterintuitive as that seems, this water is gonna help the bacon go from this, to this, crisp, tender and beautifully brown. What if I told you that water could be the key to better browning in food? (Lan Lam crunching) (upbeat music) So there are two types of browning, caramelization and maillard browning.
Now, caramelization is what happens when sugars are heated past about 300 degrees. They'll start to break down and recombine, forming new compounds. Those compounds contribute beautiful brown color, and really wonderful aromas. Now, when I say sugars here, I'm not talking about table sugar, but the whole class of sugars that you would find in say, corn, that would be glucose, fructose is what sweetens honey and fruit, and lactose is the sugars you'd find in milk.
Sugars are also really important for maillard browning. In maillard browning, you need to heat your sugars and amino acids past 300 degrees. Amino acids are the building blocks of proteins. You can think of proteins as just long chains of amino acids. Now, with traditional cooking, if you're sauteing or roasting or frying, it's not actually too hard to get the surface of your food or the surface of your pan past 300 degrees, unless there's water.
Now, what happens when there's water around is the water molecules will kind of grab onto the heat, and use that heat to turn to steam. When they do so, they kind of keep the temperature in the pan and on the surface of your food low, around 212 degrees. And at those temperatures, it's practically impossible to get browning. That's why with traditional browning, you would see recipes call for patting surfaces dry, letting meats air dry in the fridge, and cranking the heat up.
So after all of this, why would I say that adding water can actually get you better browning? (upbeat music) So, let's take a look at a couple of recipes where this technique really shines. First up, caramelized onions. Now, traditional caramelized onions, they take a lot of time and patience, and they start with shimmering oil in a skillet. You add your onions to that skillet, and for the first 15, 20 minutes, there's not a ton going on.
The onions will wilt, water comes kind of gushing out of there, and that water keeps the temperature in that pan low, low enough so that you're not getting much browning. Once you start to see browning, that's about 20 minutes in, you need to stir diligently, and that's because you have a lot of little pieces of onion, and you want them to brown evenly. Recipes for caramelized onion sometimes lie, and they say it takes a lot less time than it does.
I'd expect caramelized onions to take maybe an hour, an hour 15 minutes to make. And even though you'd be tempted to speed it up by cranking the heat, you can't do that, that's gonna burn your onions, but let's take a look at what happens when we add water. A couple of years ago, I developed a recipe for caramelized onion, and it starts with a cold skillet, big pile of onions. (onions clattering) And I'm gonna season those onions with some salt, and also add a little bit of oil.
And the last ingredient, water. Why am I adding water? Well, when I was working on caramelized onions, I realized that I was spending a lot of time waiting for the onions to wilt, and I thought, "I bet I can make them wilt faster," and the way to do that is to crank the heat. After that water comes to a boil, I actually wanna pop a lid on here to trap all of that steam. What's going on in that skillet is that steam, water that's grabbed a bunch of heat to become steam, is gonna land on the cooler onions and condense.
When it condenses, that heat that it was holding onto gets transferred to the onions. All of this just means that my onions are steaming, they're cooking, they're wilting, and they'll do that in about 10 minutes, not 20, and I don't have to stir while any of this is happening, which is great. So after 10 minutes, I'm going to ditch the lid. The water will have done its job. It'll cook the onions, causing them to wilt and exude their juices.
And those juices, they're packed with the sugars and amino acids we need for browning. I'll then turn the heat down to medium high so that the onions don't scorch, and I'm gonna stir frequently so that they brown evenly. And after all of that, I'll have caramelized onions in like half the time. (upbeat music) These onions have cooked for about 30 minutes, and they're done. Now, there are a number of recipes out there that promise fast caramelized onions, but when you cut into what they produce, what you find is while the exterior is nicely browned, the interior is not, it's kind of wet, steamy onion, but that is not the case here.
These onions, they're concentrated and jammy, browned all the way through. They're sweet, delicious. But now, let's have a look at what water can do for another recipe, sauteed mushrooms. (upbeat music) I was taught a very traditional method for searing mushrooms. You need a lot of heat, and a lot of oil, kind of like searing a steak. What you do is wait for the oil to start smoking, and then you add your shrooms. Now, oil is really important when you're sauteing, because the surfaces of most foods, it's not even.
Coating that surface with oil helps the food make contact with the pan, and the oil actually conducts heat from the pan to the food to help it brown quickly and evenly. Mushrooms like to soak up oil like little sponges, and they'll pretty much absorb the amount of oil you've got in the pan. As they cook though, they shrink and collapse, and that oil that they've picked up, it gets pushed out. At the same time, you need need to be stirring vigorously because you've got the heat cranked up, and you don't want your mushrooms to burn.
The end result is spotty browning, and it's kind of greasy. Let's see what happens when we add water. A couple years ago I developed a recipe for sauteed mushrooms, for "Cook's Illustrated", and I really love that technique. It uses almost any type of mushroom out there. The ones you'd wanna avoid are enoki, black trumpets, or morels, the really tender ones that are quick to cook, but something like a maitake or an oyster mushroom, the ones I have here, they're perfect for this.
I'm just gonna get them into my skillet. And to that, I'm going to add water, this time a quarter of a cup. (stove clicking) So now I've got the burner set to high, and I want that water to start to boil so that it can cause these mushrooms to cook and collapse and shed their juices. Just like with the onions, what I want is the proteins and amino acids, my starting points for browning, to get out of the mushrooms and into the pan.
Once these start to steam, I'm just gonna stir them as they cook, and it usually takes four to eight minutes, depending on your mushrooms, to get them to fully collapse. This is looking like we're almost there. The mushrooms are already taking up a lot less space. They're flattening, they're starting to sizzle. That means that there's not a ton of water left in that pan, and that means it's about to get hot enough for maillard browning.
I'm gonna turn down the heat to make sure that it stays browning and doesn't turn to burning, that would be bad, but I also want to add some oil right now. Unlike traditional recipes that call for two tablespoons of oil, I'm gonna use half a teaspoon. And the reason I can get away with half of the teaspoon of oil is one, I'm in a non-stick skillet, so I don't have to worry about sticking, but two, the mushrooms have collapsed enough that they can't absorb the oil.
It sits on the outside of the shrooms, and helps conduct heat from the pan to the mushrooms to help them brown evenly. I'm gonna continue to cook these mushrooms until they are nicely browned, which will take four to eight minutes, and then we will finish 'em up with a quick sauce. (upbeat music) These have great color, it's time to finish this dish. I'm gonna clear a little space in the center, so I can cook my aromatics.
Because I use such a small amount of oil earlier, I can add a more flavorful fat to kind of round this dish out. I'm using some butter here. Just gonna let that melt. And to that melted butter, I'm adding shallots. These are just to kind of help flavor the mushrooms. Little bit of salt and pepper, and the reason I'm cooking the shallots in the center of the pan is they can get kind of trapped between all these mushrooms and stay raw, which is not what we wanna bite into.
By leaving them in the middle, I can make sure that they're cooked through. Now that these have softened, a couple more flavorings, I've got a little vinegar, and a touch of mustard. I just wanna cook them down until the pan feels a little dry, that concentrates the flavor. Next up, some broth. (pan sizzling) And we're almost done, I want to let that broth reduce a little bit, let its flavor concentrate. And then just to finish this, I've got a touch of parsley.
That's it. Glossy, glazing mushrooms with great color. We've seen how water can help vegetables brown, but it can work wonders with meat as well. (upbeat music) I'm making a chicken gravy today, and chicken gravy's like all gravies, they start with a really intense broth. To make that broth, you start with chicken scraps, and you cook them in a sauce pan. Now, as they cook, juices will leach out and hit the pan. And since that pan is really dry and really hot, they'll start to brown pretty much immediately.
But that browning, it's not uniform. To get really great flavor in your stock, you need a lot of browning. And in order to get that, what you want is to get all of the juices from these scraps to come out immediately before you start to try to brown them, that's where water comes in. I've got the beginnings of Steve Dunn's chicken gravy, and it comes from his recipe for broiled chicken and gravy. Now, because that chicken is butterflied before it's broiled, we removed the backbone, and I've cut it up into parts and thrown it in this pot.
There's no reason to throw it out. I also pulled some scraps of fat and skin that we didn't need on that chicken, and it also came with a neck, so I threw that in here as well. To this pot, I'm adding one cup of chicken broth. I'm gonna bring this to a simmer over high heat. Now, these pieces, some of them are fully submerged, and others are partially submerged. I'm probably gonna give them a couple of turns as they cook to help them heat through evenly.
As they heat through, their juices are gonna get pushed out. Those juices contain sugars and amino acids that we want for maillard browning. As this continues to cook, water's gonna evaporate from that pan. By the time that water's all gone, we'll have all of the starting materials for the browning that we want. (upbeat music) - Now it's just a matter of cooking up my aromatics, turning those brown bits into a broth, making a roux of thicken that broth, and from there, it's all gravy.
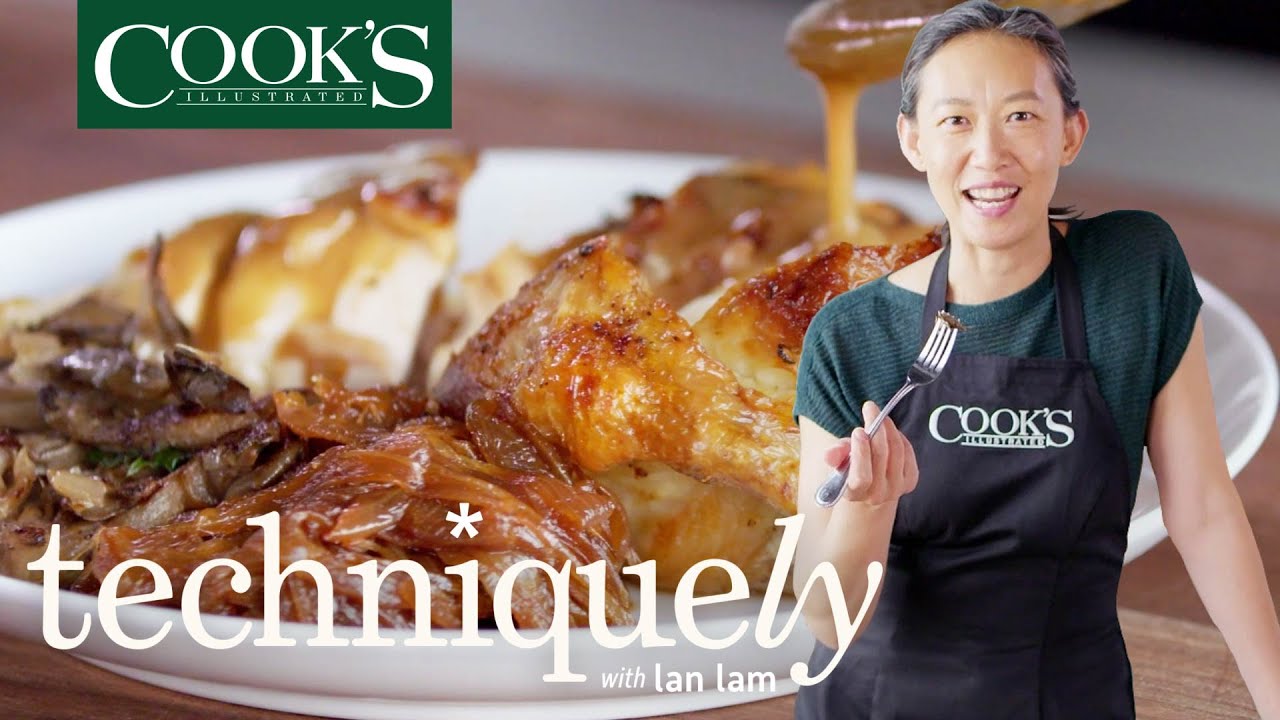
Because I'm making this gravy to go with some broiled chicken, I happen to have drippings from that chicken, and I'm going to incorporate them into this gravy for an extra boost of chickeny flavor. Let's see how it tastes. Wow, that is intense. It's just full of chickeny flavor. It's rich, it's savory. I could probably drink half of this, maybe all of it. Let's try it on some chicken. So, everything you see on this plate, these caramelized onions, the sauteed mushrooms with mustard and parsley, and this gravy for our broiled chicken, they got their amazing flavor and gorgeous color because I used water for better browning.
Enough talking, I'm going to eat. (upbeat music) This gravy is out of control. It's so intense. Like, I'm not a big fan of white meat, but it's perfect on here. That chicken kind of is a pallet for the gravy's flavor. These onions are just so jammy and soft. When we started talking about this concept, I didn't quite realize I'd get a meal out of it. This is great. After years and years of cooking, it still surprises me that water has such a big role to play in how food reacts to heat, and in this case, how water can even improve browning.
Are mushrooms really a vegetable? Maybe not. Fungus? Fungus. Anyway, I love them. (upbeat music) Can you think of any dishes whose browning could be improved by water? Let me know in the comments below, and go to cooksillustrated.com for more great recipes and techniques.
The words are the caption track's own and nothing is reworded or re-transcribed. Paragraph breaks are placed between sentences so the text reads as prose.
Free tools for your own script: paste a draft and see where it stands before you record it.
Paste your draft and see where viewers are likely to drop off, with a rewrite for each weak line.
Paste the first 30 seconds of your own draft for a hook score and rewrites.
Check your draft against YouTube's advertiser-friendly guidelines before you record it.
Read this channel's public videos and transcripts, and download a writing brief for it.