Getting the transcript
Reading the captions from YouTube. A video nobody has opened here before takes 10 to 30 seconds; this page fills in on its own.
Getting the transcript
Reading the captions from YouTube. A video nobody has opened here before takes 10 to 30 seconds; this page fills in on its own.
Jay E | RoboNuggets · @RoboNuggets
This video has no Most replayed graph yet: YouTube shows one only once a video has enough views. These are the moments viewers replayed most in Jay E | RoboNuggets's most watched videos.
Most replayed moment at 12:19
3.4x that video's typical replay level
has this accordion elements in here, right? Which is really responsive, really professional. And the reason why it was able to do that is because of this cinematic modules pack that we created in Robo Labs as well. Now, this one because it is quite hard to recreate, we are giving it away for free. So, you can just
Said at 12:12
The graph counts replays. It does not show where viewers stopped watching.
Words
3,254
Runtime
14:29
Speaking pace
225wpm
Reading time
14min
225 words per minute, above the 201 75th percentile of 349 measured videos. That distribution comes from the 349-video hook study.
Opening (first 30 seconds)
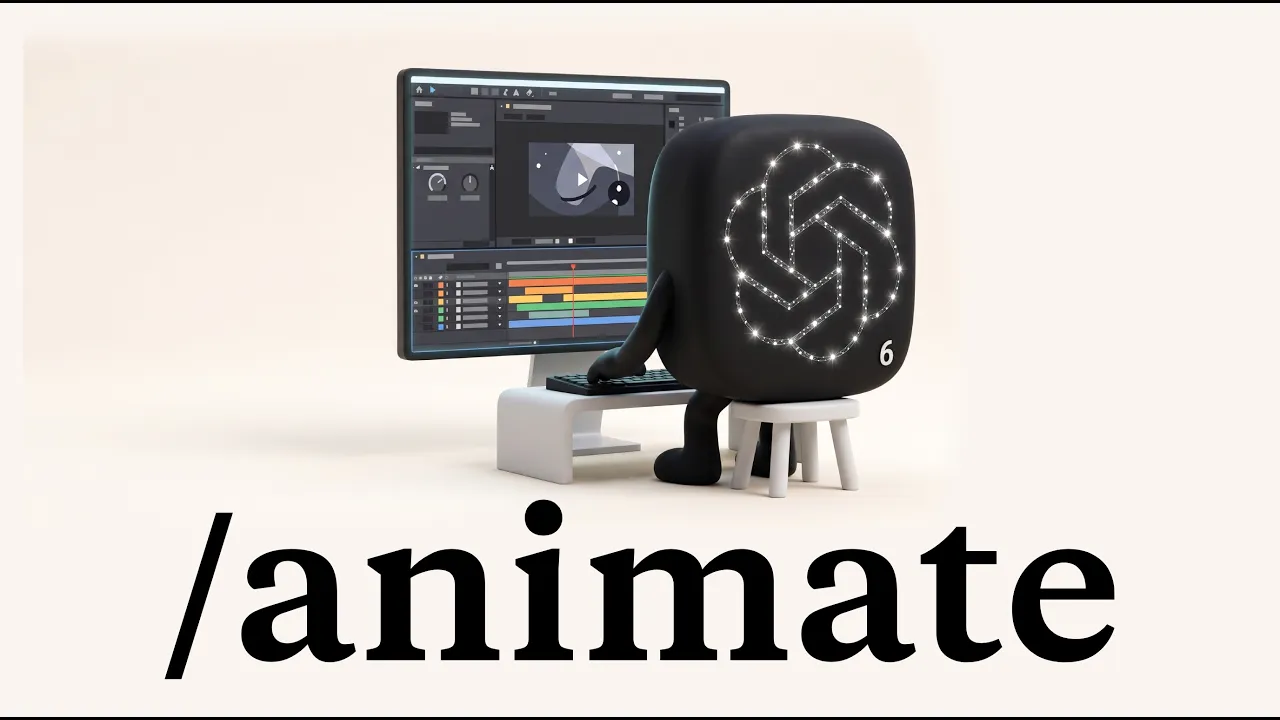
So, here I have a raw recording of myself just reading a script for eight Instagram reels. And over at the chat GPT app, I just asked GPT6 Astra to use this new/animate skill to create eight vertical videos from this raw footage. And these are some examples of what I got. This free AI tool clones any website from a single screenshot. It's called Screenshot to Code, and it's a fully open- source project with over 72,000 stars on GitHub. And it also takes more than screenshots because you can hand it, let's say, a Figma design, a few reference images, or even a screen recording of a site, and it turns
113 words, the words spoken in the first 30 seconds at 225 words per minute.
Free, no signup. See how the first 30 seconds hold attention, with rewrites.
Sentence shape
| Measure | This transcript |
|---|---|
| Sentences | 141 |
| Average words per sentence | 23.1 |
| Longest sentence | 93 words |
| Questions asked | 3 |
| Sentences containing a number | 19 |
Most used terms
Filler phrases
39 in total: like 17 · actually 15 · I mean 2 · sort of 2 · basically 1 · literally 1 · right? 1.
A literal whole-word count of the same phrase list the Prepublish browser extension uses, so a phrase inside another word is not counted and a phrase used in its ordinary sense still is. It is a count and not a judgement.
Free, no account. See where attention is likely to drop, with a rewrite for each weak line. The free check shows the scores and the one issue costing the most. Or run it on the words above first.
Free · No login · See a sample audit first if you prefer.
What this transcript is
Every word below is the caption track YouTube publishes for this video, pulled from the video itself and reproduced unchanged. It is not Prepublish's writing, not a summary, and not a re-transcription: it is the video's own published captions. English captions, generated automatically by YouTube, in the video’s original language. Source: the video on YouTube. A channel that would rather this page did not exist can ask for its removal through the contact page, and it is removed.
So, here I have a raw recording of myself just reading a script for eight Instagram reels. And over at the chat GPT app, I just asked GPT6 Astra to use this new/animate skill to create eight vertical videos from this raw footage. And these are some examples of what I got. This free AI tool clones any website from a single screenshot. It's called Screenshot to Code, and it's a fully open- source project with over 72,000 stars on GitHub.
And it also takes more than screenshots because you can hand it, let's say, a Figma design, a few reference images, or even a screen recording of a site, and it turns that into a working prototype in a few minutes. Someone just built the biggest prompt library on the internet and made it completely free and open- source. And it's got over 10,000 prompts for writing, for coding, images, video, and research, plus ready-made skills and workflows for pretty much any task you can think of.
And the great thing about it is you can plug the whole library straight into Cloud Code as an MCP server, which is basically a connector that lets Claude talk to another app. It's called agent ID from agent mail, and it lets an agent sign into a supported app using its own verified identity. So, the app can tell that an agent is signing in instead of treating it as your ordinary personal account, which can be risky. And so you can see all of the motion graphics, cutting out the clips from that raw longer video, creating these 3D assets and even taking this screen recording of the tool I'm talking about in the video.
That was all handled by GPT6 Astra and this /animate skill. So today I'll teach you how to build a skill like this that is customized for your work. So that by the end of it, you'll learn exactly how to automate your video production process, whether you need it for social content, for video explainers, or even for brand video assets. And if you're new, my name is Jay. I spent over a decade working with brands you may know have been in AI since my masters in data science.
Now I'm running an AI business and one of the largest AI communities globally. Let's dive into it. So the big question is how do we create animations like these? And just to make it easier, what I've done is create this PDF guide and this just serves as a good reference that you can either read through or send to your agent on everything that I will be teaching throughout this video. So you can just grab this down in the description if you need it.
But in a nutshell, if you want to have a skill that really automates the video production process for you, such that it gives you great output every time, you first need to understand the concepts of what I like to call refined skills versus unrefined skills. And if you notice for both of these skill types, they pretty much do the same thing. Because let's say we're building out this skill for animate, then what you expect this skill to do is to take in a raw footage video as an input and turn it into an edited video output.
But the big difference of these two, as you might have guessed, is the quality of the output that you are getting. Because to create an unrefined skill, it's actually really easy. In fact, you can get this in just a single prompt. For instance, if you want a/anime skill for yourself that you can try it out immediately that you can just copy this prompt or take a screenshot of it, send it to Astra and it will build out this skill for you along with the tools which I'll be going over in just a bit.
But in the beginning, when you start with an unrefined skill, which you just create with that single prompt, the common problem with that is that you will most likely get disappointed with the output, especially if you have a really high design bar. And just to show you what I mean, you can see I just used that same prompt that I just showed. And this is the video that we got, which to be clear is not necessarily bad, but because this is Astra's defaults, what ends up happening is that every other person who uses this prompt without refining their skills gets this same design aesthetic as well.
And that is how you end up with vibecoded slop. And so, yes, you were able to create that slan animate skill really quickly. But the real secret for you to get better results is for you to effectively learn how to refine that skill. So that whenever you invoke this skill that provides you a higher quality output that is also fine-tuned to what it is that you want. And this skill refinement process that I'm about to teach you is also the method that I use to create these reels, which to me personally, they're a major step up versus the unrefined generic videos that I was showing earlier.
So, the reason why my skill was able to create these browser style mockups, these 3D assets that animate in, as well as these different infographics is because I also underwent that skill refinement process to give me a more consistently good output. And by the way, if you want to learn how to build and sell AI systems that businesses actually pay for, then that's pretty much all we do over at the Robbernuggets community, where not only do you get access to the Claude Living Master Class, which we update every week and takes you from zero to mastery with the latest on AI, but you also get access to our agents as a service course, which walks you through how to actually get paid for all these AI skills that you are learning.
You also get to be part of a genuinely great community of AI builders. In fact, you can see just some of the recent wins our members are getting from the program right here. So if you want to start earning from AI then check that just in the pin comment below. Now back to the video. And the good news is that this process is actually really simple. It only consists of three steps which I follow every time I need to refine or improve a skill.
And the very first step is to be aware of the tools. And the great thing about the latest models that we use now like GPT6 Astra is that you actually don't need to understand how each of these tools work under the hood. Like you don't really know how to code for example. You just need to be aware of them so that you can invoke them in the prompt and actually create your initial unrefined skill. And so if you go back to that prompt that I shared earlier, you can see all we're really asking Astra to do is to use hyperframes, to use assembly AI, and it will do a lot of the heavy lifting in order to create that first skill for you.
And so at least for this exercise where we're trying to animate videos, what are the tools that you at least need to know? Well, the very first one that I personally like to use is Assembly AI. And this takes care of transcribing the recording. Because if you are editing raw footage, then you would need a way for your AI model to understand what is happening in that video. And at least for my use case where it's educational content, then the meat of the video is really what is being said.
And what we use personally is Assembly AI in order to do that because we just find that they have a good mix of speed of transcription visav the cost. And to be clear, they're not the only ones who do this. So Assembly AI is just one provider. If you do want something that is free that you can run on your own machine, Whisper is one option for you. But depending on the device that you're using, I just find that they can be really, really slow.
So, in some estimates, an hour of audio takes around 15 to 50 minutes to transcribe. Again, depending on your CPU, but for Assembly AI, an hour of audio takes only 42 seconds. And the cost to transcribe an hour of audio is around 21. So, it's not really that expensive. Also good to note that 11 Labs can do this as well using their scribe model. So if you have a subscription to 11 Labs, that might be something that you want to just use.
But if you were to look at the stats here, it does take roughly 40% longer to transcribe versus Assembly AI. So that's the only drawback if you are using this tool. So that takes care of the transcription. Next, we actually need an engine in order to create the videos and the animations themselves. And what I use personally is this tool called Hyperframes. It's free and open source and already has something like 49,000 stars on GitHub.
And essentially what Hyperframes does is it just turns HTML elements, which is the same elements that you would see in websites like this one into video. So it sort of in a way just screen records the websites that it creates. And it's also made specifically with agents in mind. That's why you can do things like overlay HTML elements on top of video, do animations, color grading, and whatever it is that you require. And then finally, of course, you would need your agent or the agent platform that you use.
So for this tutorial, we're using Codeex because we're featuring GPT6 Astra, which I found to be really good when it comes to these videos. But you can of course still use Claude Code and Fable because those are really powerful models as well. And so if you ask your agent to create an initial skill called /animate, let's say, using these three tools, then you will now have a base by which you can improve upon. Which now brings us to step two, which is probably the most important part of this whole process.
Because this is a part where you review the agent's output and actually give feedback. But when it comes to giving feedback, I actually find that a lot of users don't do this as effectively as it can be. So, what I'll be doing is to give you some techniques so that you can give better structured feedback to your agent. And without a doubt, the number one thing that can move the needle for you in terms of transforming your videos from a vibecoded look into something that is more unique is to give it some reference designs.
And there's several resources that can help you with this, but one of the best ones is styles.referero.design. So, in this website, there's 2,000 plus design systems that you can read here. And let's say you want to use Apple's reference design system. You can actually click through this design system. And the great thing about it is that you can just copy this whole markdown file and just send it to your agent in order to copy or reference this style.
For example, this demo reel for Dualingo I was able to get through this design MD straight from styles referral.designs which is this one. And this motion graphic demo is based on Figma's design system. So all of the animations here as well as the different fonts that came straight from this design MD from styles referero. But obviously if you're creating a brand system for real or for your clients, you probably don't want to just replicate what you see here, but you just want to take inspiration from this and iterate on the fonts or the color palettes and so on.
To give an example for RoboNuggets, this is an example site that we have live right now. And you can see this whole design system that I have, that is essentially what I ported into those motion graphics that you were seeing earlier. And if I shift to light mode because that is the one that we use, you'll find that the color palettes that are in this video created by the /an animate skill is directly influenced by our design system.
The second thing that you can do in order to refine your skill is to add new rules. And just to show you what I mean by that, for my own personal skill refine process, this is actually the session that I was doing it in. And initially when I asked Astra to create these videos, this is what it gave me, which is pretty good again. But you can see here that there's a lot of things that are different versus the final output.
Right? For example, there's all these unnecessary text at the eyebrow of the video. You can see most of the time it's defaulting to this browser graphic view instead of having it a bit more dynamic and change every time. And so the way that I refined this continuously is in that same session where I created this video, I just literally noted down in bullet points the different feedback points that I want to change. And this is quite similar to let's say if you're giving feedback to a video editor of how you want things to be done.
So you can see here for example I said that when a number is mentioned always show that big hero number counting up graphic. So when the transcript says something like four free plugins that will be represented as hero text. And I also mentioned here that in the browser mockup element I want the URL to be shortened because in this initial pass I was seeing that it was truncating that URL. And the other thing I remember mentioning is to take these screen recordings using a mobile browser because for this vertical video which are commonly viewed in your phone, this type of video where the text is really small is actually not ideal.
And so those are just some specific examples. But I think the larger pattern that I want you to take away is that when you have an unrefined skill, first create maybe one or two videos using that skill like what I did here and then take a look at those videos and write down the feedback that you would have as if you were talking to a video editor. And then in that same session where you created those videos, just provide your AI agent the additional rules that you would like this skill to have.
And finally, the last technique that I found to be really helpful is to create an element library. And to show you an example of an elements library which we built for our community, which is also the one that I refine and use as part of my personal/animate skill. You can see I have different 3D elements in here that are useful for the stuff that I usually talk about. So there's 3D graphics in here all created using Astra.
We have layouts like that browser mockup which you've seen in the videos. There's different motion elements here if you want to be specific on how objects are animating in. There's also different examples of infographics and diagrams in here which are pretty useful when it comes to explainers. And because Astra is part of OpenAI's ecosystem, and they have their own image generation capabilities, we can also store those different images here if you want to reuse any of them.
And you can store different icons and logos depending on your industry, different backgrounds for your videos and even sound effects and music that you use. And the reason why a library like this is quite important, especially to video production, is because a lot of these assets you can actually reuse for different videos. And so let's say if you're creating a video and you want to be really specific on the elements that you want, what you can simply do is to just add these different elements one by one, sort of like adding them to cart.
And what this will do is it will just add the specific path of this asset so that you can use it in the video that you're about to create using hyperframes. And so once you've selected the elements, you can just copy that for your agent and you can just include that command as part of your prompt. And so this whole library becomes more and more important for you as you refine your skill further because the more that you use this same skill, the more assets and components that you build up which you can then reuse to power future videos.
And all of these elements, as you might have guessed, have been made with GPT6 Astra. And since there's a lot of these, what I just did is include some starter prompts for you in that PDF guide, which you can grab below. So you can also start to create them yourself. And once you've given enough feedback to your agent to get to the output that you want. Step three is probably the simplest out of the three because all you need to do is to ask your agent to update your skill.
So saying something like calibrate my/animate skill with this feedback that we just talked about in the session is already enough for a model like Astra to fix and clean up that skill so that the next time you use it, it is much better and is much more refined than the one that you started with. And you actually don't just stop on step three because this skill refinement process, if this is a skill or a system that is important for you or your business, the way that you continuously improve your output is simply just by giving structured feedback every time you use that skill.
So that day by day, every time you review your agents output, you actually refine it further in order to get a higher quality skill. And of that, if you send it a raw video, you're almost instantly assured that you will get a really good output. And so there, that is really the entire process that I followed in order to craft and refine my own/animate skill. And if you're part of the community, remember that you can just grab my own personal/animate skill that I've already refined for you, including all of the files and all of the components there.
Or if you're starting from scratch, you can also just grab the free PDF guide, which you can send to your agent down in the description. I hope that was useful, and as always, thanks for watching until the end, and I'll see you all next time. [music] Thanks.
The words are the caption track's own and nothing is reworded or re-transcribed. Paragraph breaks are placed between sentences so the text reads as prose.
Free tools for your own script: paste a draft and see where it stands before you record it.
Paste your draft and see where viewers are likely to drop off, with a rewrite for each weak line.
Paste the first 30 seconds of your own draft for a hook score and rewrites.
Check your draft against YouTube's advertiser-friendly guidelines before you record it.
Read this channel's public videos and transcripts, and download a writing brief for it.