Getting the transcript
Reading the captions from YouTube. A video nobody has opened here before takes 10 to 30 seconds; this page fills in on its own.
Getting the transcript
Reading the captions from YouTube. A video nobody has opened here before takes 10 to 30 seconds; this page fills in on its own.
Reakol · @Reakol
This video has no Most replayed graph yet: YouTube shows one only once a video has enough views. These are the moments viewers replayed most in Reakol's most watched videos.
Most replayed moment at 4:55
11.8x that video's typical replay level
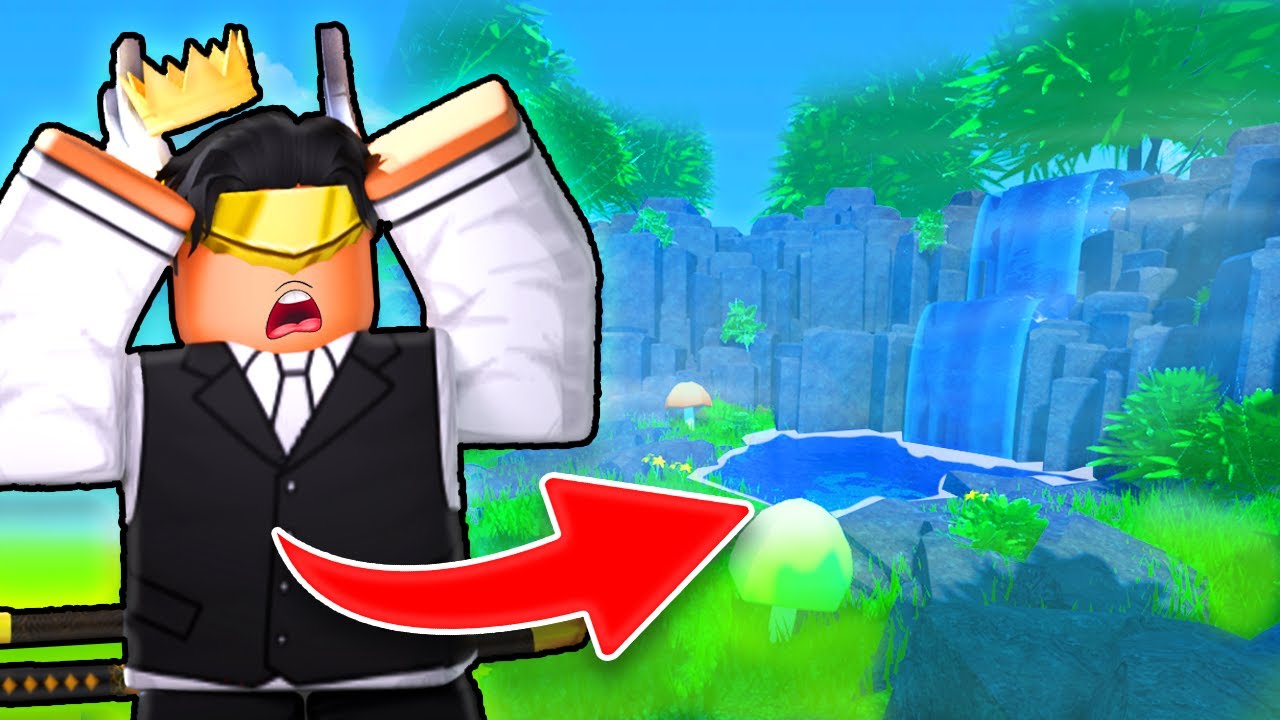
this map was revamped i believe a few times while i worked on weapon craft and what's great about it is you can see my own improvement throughout working on this project with the before and afters i mean look at this tree model [Music] whilst working on weapon craft i created
Said at 4:48
The graph counts replays. It does not show where viewers stopped watching.
Words
2,439
Runtime
11:41
Speaking pace
209wpm
Reading time
10min
209 words per minute, above the 201 75th percentile of 349 measured videos. That distribution comes from the 349-video hook study.
Opening (first 30 seconds)
yo yo guys welcome back to the channel now this video is going to be all about creating stylized environments and tips and tricks on what you could do to make them and improve upon your currently existing ones but before we get into the video make sure you do the usual subscribe like and comment and let me know what different types of videos that you want me to upload next so yeah let's get into the video okay so first things first when it comes to creating stylized environments uh you want a bright sky box which you can get out of the
105 words, the words spoken in the first 30 seconds at 209 words per minute.
Free, no signup. See how the first 30 seconds hold attention, with rewrites.
Sentence shape
| Measure | This transcript |
|---|---|
| Sentences | 1 |
| Average words per sentence | 2439.0 |
| Longest sentence | 2,439 words |
| Questions asked | 0 |
| Sentences containing a number | 1 |
Most used terms
Filler phrases
55 in total: like 29 · uh 17 · kind of 4 · basically 3 · um 2.
A literal whole-word count of the same phrase list the Prepublish browser extension uses, so a phrase inside another word is not counted and a phrase used in its ordinary sense still is. It is a count and not a judgement.
Free, no account. See where attention is likely to drop, with a rewrite for each weak line. The free check shows the scores and the one issue costing the most. Or run it on the words above first.
Free · No login · See a sample audit first if you prefer.
What this transcript is
Every word below is the caption track YouTube publishes for this video, pulled from the video itself and reproduced unchanged. It is not Prepublish's writing, not a summary, and not a re-transcription: it is the video's own published captions. English captions, generated automatically by YouTube, in the video’s original language. Source: the video on YouTube. A channel that would rather this page did not exist can ask for its removal through the contact page, and it is removed.
yo yo guys welcome back to the channel now this video is going to be all about creating stylized environments and tips and tricks on what you could do to make them and improve upon your currently existing ones but before we get into the video make sure you do the usual subscribe like and comment and let me know what different types of videos that you want me to upload next so yeah let's get into the video okay so first things first when it comes to creating stylized environments uh you want a bright sky box which you can get out of the toolbox if you need to this is out of the toolbox and then you need to make sure your terrain colors and like material colors and stuff like that should be a lot brighter like for example your grass if i go ahead and add some grass here it's quite dark and not really appealing and doesn't really fit a stylized art cell so if i go ahead and click on the grass here let's make it a little bit brighter as you can see you get that it starts to pop out a lot more and get that stylized feel from it once you're happy with your terrain colors you can go ahead and mess around with the lighting if you need uh change the ambient to something like blue and raise it a little bit just get a bluish tint on your terrain and stuff like that you can mess around with brightness outdoor ambience uh make that blue or whatever you'd like and just in general just mess around with these settings until you get this bright and vibrant look for your terrain once you've done that go ahead and make yourself a some terrain or your environment and just go ahead and sculpt your terrain however you'd like it so i'll be back when i have my terrain done okay so i'm happy here with my terrain i'm making a bit of a canyon here with hills either side i made the dirt color a little bit lighter and we're just gonna have a path straight down the middle now we're gonna need uh some specific assets for a stylized environment uh which is gonna be primarily cliffsides leaves uh slash bushes and we're gonna need the windshake script but we're gonna go ahead and start with the cliff edges and then go for the leaves and then add the windshake at the end as a final piece okay now that i'm in blender i'm gonna go ahead and make some cliff sides i'm going to show you a little trick on how to make some nice clips really simply uh i'm not going to make anything too complex i've got my keys on the bottom left here because some of you recommended me putting them there so if you need to check what key i've pressed and i've mentioned it it will be down here now first things first i'm going to delete this light and this camera i'm just going to use this default cube here i'm going to lift it up and then i just want a bit of a rectangle like so and then you just want to level a couple of edges like so i'm pressing ctrl b just to bevel this i don't want any of the sides even so i'm just going to bevel every single edge now if you're a little bit more experienced you can normal make this and sculpt it and all that kind of stuff but this is more of a simple style once you're happy with that you can go ahead and copy and paste it make it smaller make it wider you can flip it 180 you can do whatever you like just make sure it doesn't look too symmetrical as cliff sides are barely ever symmetrical and just go ahead and just duplicate these get a knife nice little clip side here once you are happy with this cliff punch here you can go ahead and kind of select all of it just copy and paste just do the same thing like so but don't go overboard because the poly count can go a bit nuts when you uh do this as you can see down here i'm already at 3 000 triangles but this is a little bit overkill but since this is just a little bit of a showcase uh it won't be too much of a big deal okay so i'm pretty happy with this so i'm gonna go ahead and select it all press ctrl j to join it and we can go ahead and export it just in case you don't know to export file export fbx okay so once you've imported it you can go ahead and color it whatever you'd like uh and then add a material on it if you want i'm gonna leave it as sandstone for now i might change it later on and then you can go ahead and bring it over here tilt it slightly um as cliffs are never almost almost never straight uh like a straight decline or incline or whatever you call it and then you can just go ahead and add these like this you can start to see a nice cliff edge being developed here make sure to rotate resize and all the rest of it to add variety if you want as well at the end of the cliff you can go ahead and flatten the end as a lot of games seem to do this and then if you want to add some smaller details you can go ahead and just grow the ends of it lower the strength and the scale and just grow and get a little bit of grass in between the cliff like so it just so it looks like the cliffs blend in with the mountain a little bit more or the terrain should i say okay since i'm happy with this i'm gonna go ahead and copy and paste it over to the other side and then i can go ahead and make use of it on this side if you want to add more verticality you can go ahead and just duplicate your cliffs maybe rotate them a little bit and then increase or move them around a little bit and just bring them down a little bit maybe not so much because the mesh is going to start to stretch a little bit too much but you can bring it down a little bit and then perhaps drop that down again just so it's a larger cliff and then you can go ahead and add your grass on the end again as you can see the result is already really really nice with these glyphs and they're not even too difficult to make okay once you're happy with your cliffs we can go ahead and make our leaves now first thing you want to do is open up your favorite photo editing software or just the one that you have here i'm going to go ahead and use photoshop here and the first thing you want to do is just draw a leaf shape i'm going to go for something very simple because uh for the second tutorial i don't want to drag it up too long but yeah just get a leaf shape like this and then fill it in and then you can simply just select it and then copy and paste it and go ahead and make the point a little bit sharper that'll do for now i don't think it's going to turn out too well in the studio but it should be fine and now i can just go ahead and copy and paste it like so you want kind of a circular motion ideally you want to fill like a circle up with these leaves okay i'm pretty happy with this um i'm going to go ahead and color it the same as the brass on the terrain i have some reason when you import the same color as the terrain for example if i copy this id here it's not going to come in as the same color it often comes in a little bit lighter so i'm gonna probably go layer layer style color overlay i'm gonna put this color in and then maybe bring it a little bit darker okay once i'm done with my texture i can go ahead and save it as a png now we want to head back into blender i'm going to move these clips aside and i'm just going to add mesh and then plain i'm just going to go ahead and lift this up and then rotate it like this and then i'm going to go ahead and go into shading and then new and i'm going to do shift a here and then search switch texture and then i'm going to go ahead and click open and find my leaf texture i'm going to drag the color into base color and then alpha into alpha and then since we want the transparency to appear through on the texture you want to click on this little red circle here material properties and then change this to alpha clip as you can see our texture is now transparent ideally the image of your texture you want it wants to fill in the uh the border here as much as possible but uh i'm not going to go back and mess around with it but once you've done that you want to go ahead and press shift d to duplicate it and just rotate it around and just create a bit of a criss-cross like this and then you feel free to just join them and then now you have your leaf cross once you've done that you can just keep pressing shift d and rotating randomly and you'll eventually have your bush another thing i like to do is once i have my leaves i can go ahead and move the top face like this and then just rotate it around the middle pivot and then it creates more of a shape in my opinion and then you can go ahead and lift it up and just create the shape of a bush now you can go ahead and select these and then go file export fbx once you bring these into studio you're going to see them look a little bit weird that's fine all you need to do is just click the little plus here and add a surface appearance and then once you add your surface appearance you can go into alpha mode here transparency and then change the color map and then find your image texture the leaves that you made once you've done that you want to make sure to click double sided so you can see both sides of the leaves and make sure to disable collisions of course because you're barely ever going to collide with things like this and now you can go ahead and spread it around your map okay now that i've placed all the bushes around that i'm i wanted i also went ahead and made the small leaves into kind of like hanging leaves for the cliffs just show just to show some love to the cliffs and fill in some empty gaps here and just get rid of all this grayness really as you can see your environment is starting to look stylized and really really nice already now the final thing we want to add of course is trees i'm not going to show too much of the process but basically uh what i tend to do is add and then curve then beige here and then basically flip it around it's facing the top i'm just going to show this real quick and now you can basically create a tree based on this curve if you go to this little icon right here and then geometry and then depth you add depth it starts to add thickness to it and then if you select the top vertice and then press the left out hold left out and then s you'll scale the top down and then you can curve this however you like and then you can just keep pressing shift d and just build the shape of a tree quite easily i've already made one so i'm going to go ahead and import this one now once you've imported your tree you can go ahead and copy the surface appearance on the leaves and then just paste it into then make sure it's double-sided and of course collisions are off now you can go ahead and anchor this and group them and you can go ahead and copy and paste it around the map and as you can see we have our stylized environment here obviously the leaves aren't ideal and you could probably make something a lot better and get a better outcome but other than that all we need to do is add the wind shake now if you go to toolbox and type in wind effect and then find wind effect by n b y t s s and then click on it import it now what this is going to make you do there's going to be a script in it that's going to tell you to put the wind controller in starter player scripts all you do is cut this and delete that and then put it in start a player script now once you have this in here the way the shake works is based off uh objects that are tagged windshake now i have a plugin called uh instance tagging i believe it's called i'm not sure don't quote me on it essentially all you have to do is go to the leaves and then add a tag to them called windshake with a capital w exactly and a capital s exactly is like this and then tick it and then you should have something like this as you can see we have the wind shake and the wind lines and here's our environment anyways i hope you guys enjoyed and learned something new from this video make sure to subscribe to my channel don't post notifications on and i'll see you in the next one have a great day peace
The words are the caption track's own and nothing is reworded or re-transcribed. Paragraph breaks are placed between sentences so the text reads as prose.
Free tools for your own script: paste a draft and see where it stands before you record it.
Paste your draft and see where viewers are likely to drop off, with a rewrite for each weak line.
Paste the first 30 seconds of your own draft for a hook score and rewrites.
Check your draft against YouTube's advertiser-friendly guidelines before you record it.
Read this channel's public videos and transcripts, and download a writing brief for it.