Getting the transcript
Reading the captions from YouTube. A video nobody has opened here before takes 10 to 30 seconds; this page fills in on its own.
Getting the transcript
Reading the captions from YouTube. A video nobody has opened here before takes 10 to 30 seconds; this page fills in on its own.
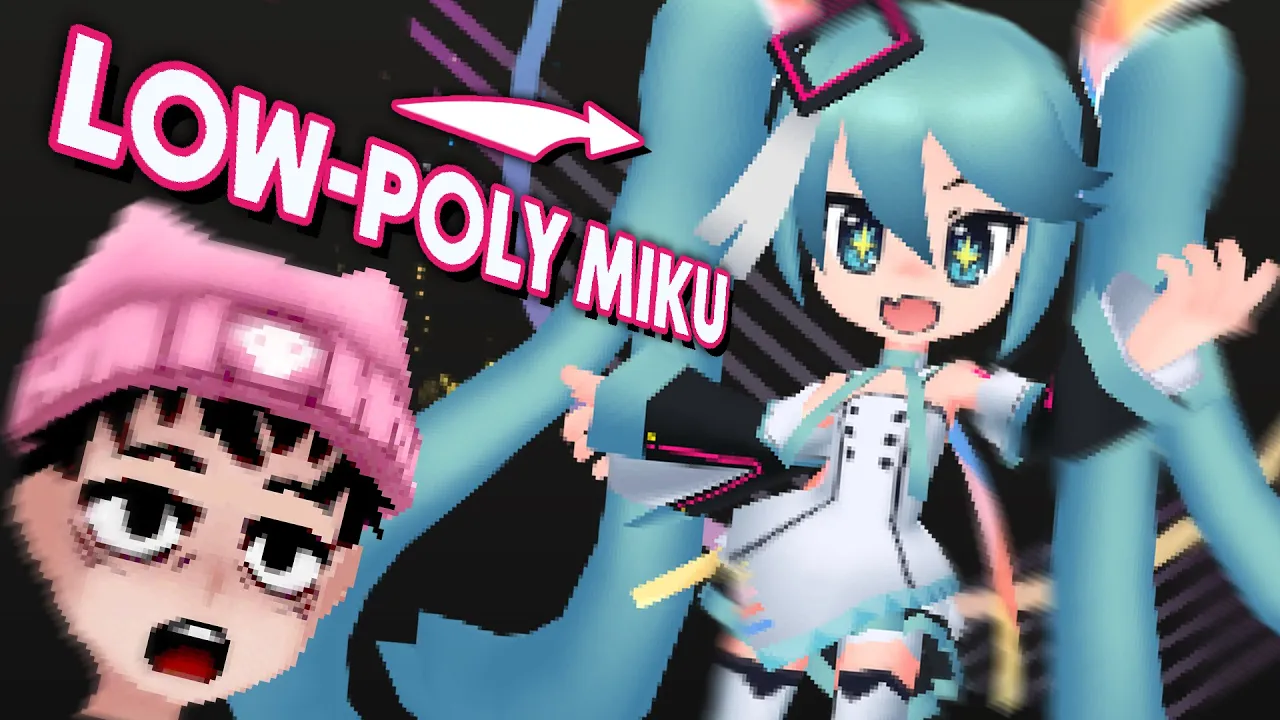
KeyframeChef · @KeyframeChef
Where viewers went back to watch this video again, from YouTube's public Most replayed graph, lined up with what was said at that moment.
Most replayed moment #1
3:274.0x the video's typical replay level
concept as our guide I'll focus in nailing one section at a time and later merge them together once I'm happy with the overall shapes to give it to some extra depth we'll also add in a solidified modifier that will give it some slight thickness I'll eventually
Said at 3:20
Most replayed moment #2
2:203.6x the video's typical replay level
enough of me rattling on it's time to boot a blender I'm going to use a modified version of my Basse mesh where all I've done is just change the proportions and detached the head completely I'll be posting the Bas mesh and the funnel working files for free on
Said at 2:15
Most replayed moment #3
2:333.1x the video's typical replay level
and the funnel working files for free on gumroad link is in description so with our sketch imported we can now get a start on blocking out the larger shapes I'm not going to worry too much about topology or UVS here but just focus on
Said at 2:28
The graph counts replays. It does not show where viewers stopped watching.
Words
1,785
Runtime
11:07
Speaking pace
161wpm
Reading time
7min
161 words per minute, between the 160 25th percentile and the 181 median of 349 measured videos. That distribution comes from the 349-video hook study.
Opening (first 30 seconds)
I ain't going to lie I'm still going through a retrase well not really so on the last episode we took a look into the past exploring Graphics from the early consoles I went knee deep into some PS1 and N64 lore but Midway through the video what was meant to be a deep dive into that era and end up skipping a few generations and evolved into something you'd most likely see on the 3DS today I wanted to continue
81 words, the words spoken in the first 30 seconds at 161 words per minute.
Free, no signup. See how the first 30 seconds hold attention, with rewrites.
Sentence shape
| Measure | This transcript |
|---|---|
| Sentences | 1 |
| Average words per sentence | 1785.0 |
| Longest sentence | 1,785 words |
| Questions asked | 0 |
| Sentences containing a number | 1 |
Most used terms
Filler phrases
11 in total: like 8 · actually 1 · kind of 1 · you know 1.
A literal whole-word count of the same phrase list the Prepublish browser extension uses, so a phrase inside another word is not counted and a phrase used in its ordinary sense still is. It is a count and not a judgement.
Free, no account. See where attention is likely to drop, with a rewrite for each weak line. The free check shows the scores and the one issue costing the most. Or run it on the words above first.
Free · No login · See a sample audit first if you prefer.
What this transcript is
Every word below is the caption track YouTube publishes for this video, pulled from the video itself and reproduced unchanged. It is not Prepublish's writing, not a summary, and not a re-transcription: it is the video's own published captions. English captions, generated automatically by YouTube, in the video’s original language. Source: the video on YouTube. A channel that would rather this page did not exist can ask for its removal through the contact page, and it is removed.
I ain't going to lie I'm still going through a retrase well not really so on the last episode we took a look into the past exploring Graphics from the early consoles I went knee deep into some PS1 and N64 lore but Midway through the video what was meant to be a deep dive into that era and end up skipping a few generations and evolved into something you'd most likely see on the 3DS today I wanted to continue on with that style so watch along as we go from this to this but hey I'm Kevin it's like Kevin but it's [Music] Kevin previously I was getting pretty bogged down by a bunch of silly technical things but this was mostly a result of me originally wanting to do a PS1 inspired character and changing my mind Midway through the project but now that I know what kind of style I'm after I think this time will be a much smoother experience but first I need a concept and there happen to be this little Expo celebrating its 10th anniversary and would you know it featured a special design of everyone's favorite Idol I've got my concept locked in now but I want to quickly discuss the previous fan art I made this was based off the the Popular mesmerizer Song by 32 key and to be honest I don't really like what I made here I tried being too faithful to the original Source material which ended up cooking me I feel like I didn't fully utilize the low poly style what I should have done is made some adjustments to the concept to better suit what I was going for which is why for this piece I decided to modify our design a bit and changed it into a more stylized version to achieve this look I've heavily referenced the proportions and style from the Disguise series I absolutely love the Sprites and character designs from that game so I'll be using that as a massive inspiration for this piece but enough of me rattling on it's time to boot a blender I'm going to use a modified version of my Basse mesh where all I've done is just change the proportions and detached the head completely I'll be posting the Bas mesh and the funnel working files for free on gumroad link is in description so with our sketch imported we can now get a start on blocking out the larger shapes I'm not going to worry too much about topology or UVS here but just focus on nailing my primary forms like before I'll be adding in some flat colors to the model just so I can get a better overview on how the shapes are playing out due to the simple low poly style the modeling stage isn't too intensive the only thing that I had some slight issues with was the skirt but we'll come back to that later for now all I need to do is lock in and focus on one section at a time for modeling the hair it's a fairly simple process we start off with an empty flat plane as our base and we'll roughly get it into shape by using the concept as our guide I'll focus in nailing one section at a time and later merge them together once I'm happy with the overall shapes to give it to some extra depth we'll also add in a solidified modifier that will give it some slight thickness I'll eventually apply this modifier so we're able to better Define the thickness we want it to get thinner towards the end of the hair I'll keep repeating this process until the hair is finished now let's talk about that skirt I was having some slight issues with modeling it as I was a bit Unsure how I wanted to approach it if we take a look at the original concept you can see that the skirt has these large folds I had originally made it to be a simple round skirt with some extra edges at the bottom for some added depth however after spending a day to mul over it I felt like it was a pretty big part of the design so I decided to redo this section and actually add in those larger fults this was a bit difficult as I still wanted to keep it relatively low poly so that I could later merge this section to the body but with some cheeky triangles towards the upper end of the skirt I managed to reduce the amount of edges and got something that I was relatively happy with and with that final huddle complete we've finished blocking out our model so we can now take a look into the [Music] UVS I'm approaching my UVS a bit differently here and I'm just going to embrace going higher in Fidelity in the last episode I had mentioned that I thought I made a mistake with using a higher texture resolution but today I'm doubling it instead of shying away from the extra pixels I'm going to embrace it this time I'll be using a 512 size map and splitting it into four sections body clothing hair and the face keeping everything in the one texture is going to be so much better for my sanity as switching across the two maps before was killing me so with us doubling the resolution and that means we're going to have a ton of space now for our UVS and oh boy we have a lot I'm still trying to keep the overall pixel resolution for my UVS quite small so I'm not fully utilizing the maximum space available here there's quite a large amount of gaps in my UVS and that's totally fine I'm not really worried about optimization here since I won't be plugging this into a game engine and even if I did I doubt it matter that much but with our UV is looking sharp and clean I'll run some quick tests inside of blender to make sure it's all good to go and ready for substance let's now lay the foundation for our textures which will be baking the stylized lighting so we'll first f it into substance painter and use my stylized lighting material to set up our initial baked lighting you can find a more detailed video on that process in the description with that done we're ready to move into 3D coat we'll import our model and polish off the texture we made from substance with some basic painting all I'm really doing here is just smoothing out the arrows that came out looking a bit too harsh for my bake it's during this stage that I start to notice a few issues with my UVS I've spotted a couple of areas that need a bit more love the dress and the sleeves have some noticebly bad UV defamation which I wanted to clean off to fix this I went back into blender and added in some extra Edge Loops to help better support the UVS I also use some cheeky triangles to terminate the edges so everything still connects with this sorted we go back into fry coat and repport our model with our fixed UVS and continue on with painting our baked lighting once that's done we're ready to plug it into Photoshop and apply some color despite working as a motion designer color is the absolute Bane to my existence previously I applied color for using a Flats layer set a hard light but this time I wanted more control with my colors so I'll be using gradient Maps instead the gradient maps are going to be so much more helpful since they'll allow me to have absolute control I'm also going to add in a levels adjustment layer beneath the gradient map so I can start to really dial things in thanks to the way I've set up my UVS at this point I can primarily stick to working inside Photoshop I only go back into fru coat when I need to adjust my baked lighting but I try to avoid going back where I can as I just want to stick to painting inside a Photoshop once I'm happy with how things are we're finally ready to start rigging and rev up some key frames like before we'll be using Auto rig Pro to set up our rig we'll do a basic humanoid setup and adding some extra tailbones for the hair and ribbons our weights need some slight Minor Adjustments but it's nothing a bit of weight painting can't fix I'm also going to set up a little 2D face rig we'll separate our Expressions into their own texture and add in a bone which will drive the UV offset of the face this will allow me to easily swap the Expressions I recommend watching this video for a more detailed overview on that process with it all good to go we can now finally get our character into pose and cook up a little animation and once that's all done this is our final [Music] result hey [Music] if you'd like to check out the final model yourself I will be posting the final working files up on my gumroad and the model on sketch faab I've also included the working Photoshop file in case you're curious about how I set up the textures in Photoshop overall I'm pretty bloody happy with how this one turned out I love the the styz interpretation I made of this design and I feel like this style really works well for the look I was after now I didn't want to focus on this too much as I wanted to keep the Vibes high but I was mad disappointed with myself over my last piece it just felt lacking in Soul and didn't give me that sparkle of joy you get from when you make something you're truly proud of I'm mentioning this here because failing is the best thing that can happen don't be afraid to make mistakes fail upwards your biggest learnings come from your biggest failings I'm so happy with how this piece turned out and I don't think it would have happened if it weren't for me making this so don't be scared of taking those big leaps and falling face first at least for me that's the only way where I know I can truly learn something but that's been me have a wonderful day everyone and remember stay safe and stay creative l [Music]
The words are the caption track's own and nothing is reworded or re-transcribed. Paragraph breaks are placed between sentences so the text reads as prose.
Free tools for your own script: paste a draft and see where it stands before you record it.
Paste your draft and see where viewers are likely to drop off, with a rewrite for each weak line.
Paste the first 30 seconds of your own draft for a hook score and rewrites.
Check your draft against YouTube's advertiser-friendly guidelines before you record it.
Read this channel's public videos and transcripts, and download a writing brief for it.