Getting the transcript
Reading the captions from YouTube. A video nobody has opened here before takes 10 to 30 seconds; this page fills in on its own.
Getting the transcript
Reading the captions from YouTube. A video nobody has opened here before takes 10 to 30 seconds; this page fills in on its own.
ProxyBrewer · @proxybrewer
Words
455
Runtime
3:35
Speaking pace
127wpm
Reading time
2min
127 words per minute, below the 160 25th percentile of 349 measured videos. That distribution comes from the 349-video hook study.
Opening (first 30 seconds)
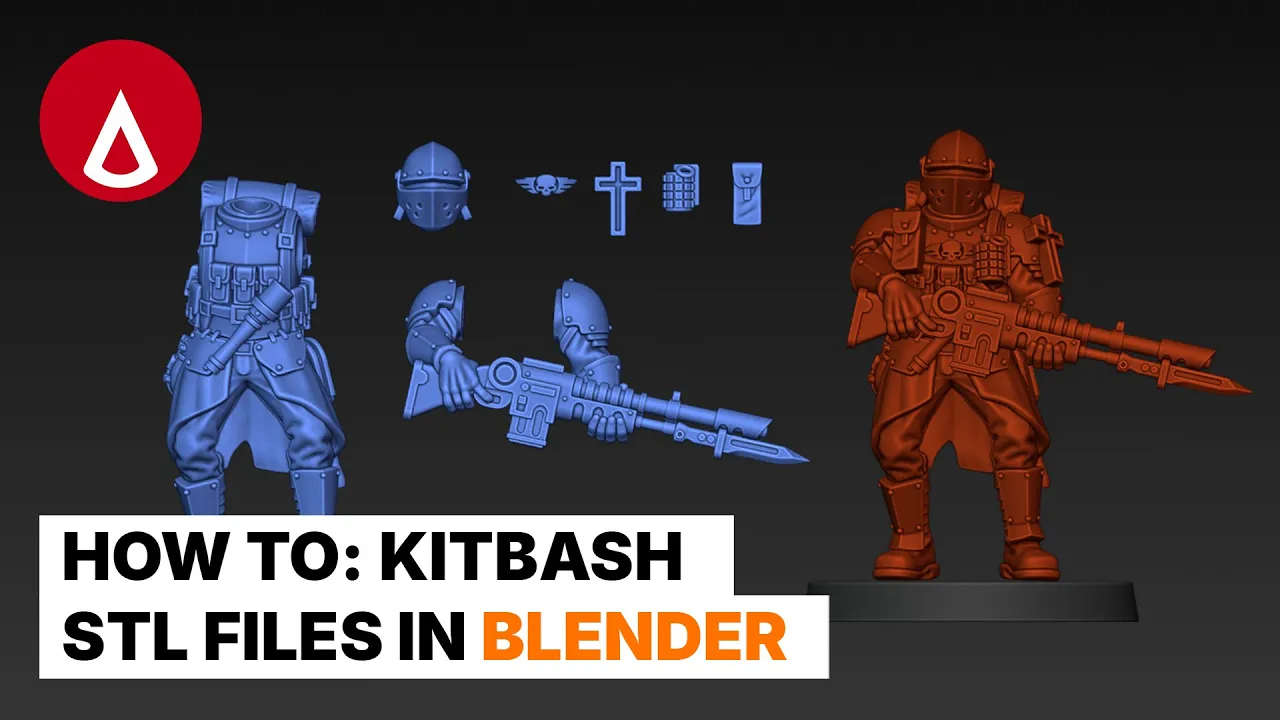
So, you want to easily kit bash your SDL files in Blender like this. Let me make it easy for you. We're going to make use of the patented Proxy Brewer magnet cube technique. Step one, import your kit bashing files into Blender. You can get files like these on proxybrewer.com. Step two, create a cube with shift and A and scale it down
64 words, the words spoken in the first 30 seconds at 127 words per minute.
Free, no signup. See how the first 30 seconds hold attention, with rewrites.
Sentence shape
| Measure | This transcript |
|---|---|
| Sentences | 41 |
| Average words per sentence | 11.1 |
| Longest sentence | 37 words |
| Questions asked | 0 |
| Sentences containing a number | 5 |
Most used terms
Filler phrases
5 in total: like 4 · you know 1.
A literal whole-word count of the same phrase list the Prepublish browser extension uses, so a phrase inside another word is not counted and a phrase used in its ordinary sense still is. It is a count and not a judgement.
Free, no account. See where attention is likely to drop, with a rewrite for each weak line. The free check shows the scores and the one issue costing the most. Or run it on the words above first.
Free · No login · See a sample audit first if you prefer.
What this transcript is
Every word below is the caption track YouTube publishes for this video, pulled from the video itself and reproduced unchanged. It is not Prepublish's writing, not a summary, and not a re-transcription: it is the video's own published captions. English captions, generated automatically by YouTube, in the video’s original language. Source: the video on YouTube. A channel that would rather this page did not exist can ask for its removal through the contact page, and it is removed.
No Script X-ray for this video: YouTube shows a Most replayed graph only once a video has enough views.
So, you want to easily kit bash your SDL files in Blender like this. Let me make it easy for you. We're going to make use of the patented Proxy Brewer magnet cube technique. Step one, import your kit bashing files into Blender. You can get files like these on proxybrewer.com. Step two, create a cube with shift and A and scale it down with S. Step three, select the cube. Press tab to go into edit mode and select the bottom face.
Step four, insert the bottom face with I and extrude with E. Then go back into object mode with tab. We've now made our magnet cube with an extrusion that serves as the orientation direction. Step five. At the top of your screen, set the transform orientation to normal. And under the snapping properties, select the following settings according to what is displayed on screen. Now, step six, select your object and move it with G.
Place its backside against the magnet cube so the extrusion faces outwards. Step seven, parent your kit bashing object to the magnet cube with control and P. Step eight, select the magnet cube. Press G to move and hold control while dragging the mouse over your model. And watch your kit bashing object magically project onto the model in the correct orientation. To more precisely place your object, also include holding the shift key while dragging.
Step nine, adjust your object or magnet cube once you're satisfied with the position by using the G into X, Y, and Z, R into X, Y, and Z, or S into X, Y, and Z combinations. Step 10. Once satisfied, select all objects and remove parenting with Alt and P. Clear and keep transformation. You can decide to keep the magnet cubes as intersection pieces or delete them at this point. Step 11. Select your objects. Apply visual geometry to mesh with Ctrl and A.
Join your objects with Ctrl and J. And export your model as SDL. Bonus step. Step 12. To merge your objects together and reduce file size, select your object, add a remsh modifier with a foxel size of 0.05 and add a decimate modifier with a ratio of 0.1. Apply visual geometry to mesh with control and a and export the model as SDL. I recommend running the object through a program like 3D Builder or Meshmixer to fix any non-manifold mesh issues.
That's it. Now you know how to easily kit bash your STL files in Blender. Like this video, subscribe to my channel, and leave a comment if this video was helpful. Also, buy my models via my website, proxybwer.com. Alternatively, subscribe to my Patreon to receive early access to monthly models.
The words are the caption track's own and nothing is reworded or re-transcribed. Paragraph breaks are placed between sentences so the text reads as prose.
Free tools for your own script: paste a draft and see where it stands before you record it.
Paste your draft and see where viewers are likely to drop off, with a rewrite for each weak line.
Paste the first 30 seconds of your own draft for a hook score and rewrites.
Check your draft against YouTube's advertiser-friendly guidelines before you record it.
Read this channel's public videos and transcripts, and download a writing brief for it.