Getting the transcript
Reading the captions from YouTube. A video nobody has opened here before takes 10 to 30 seconds; this page fills in on its own.
Getting the transcript
Reading the captions from YouTube. A video nobody has opened here before takes 10 to 30 seconds; this page fills in on its own.
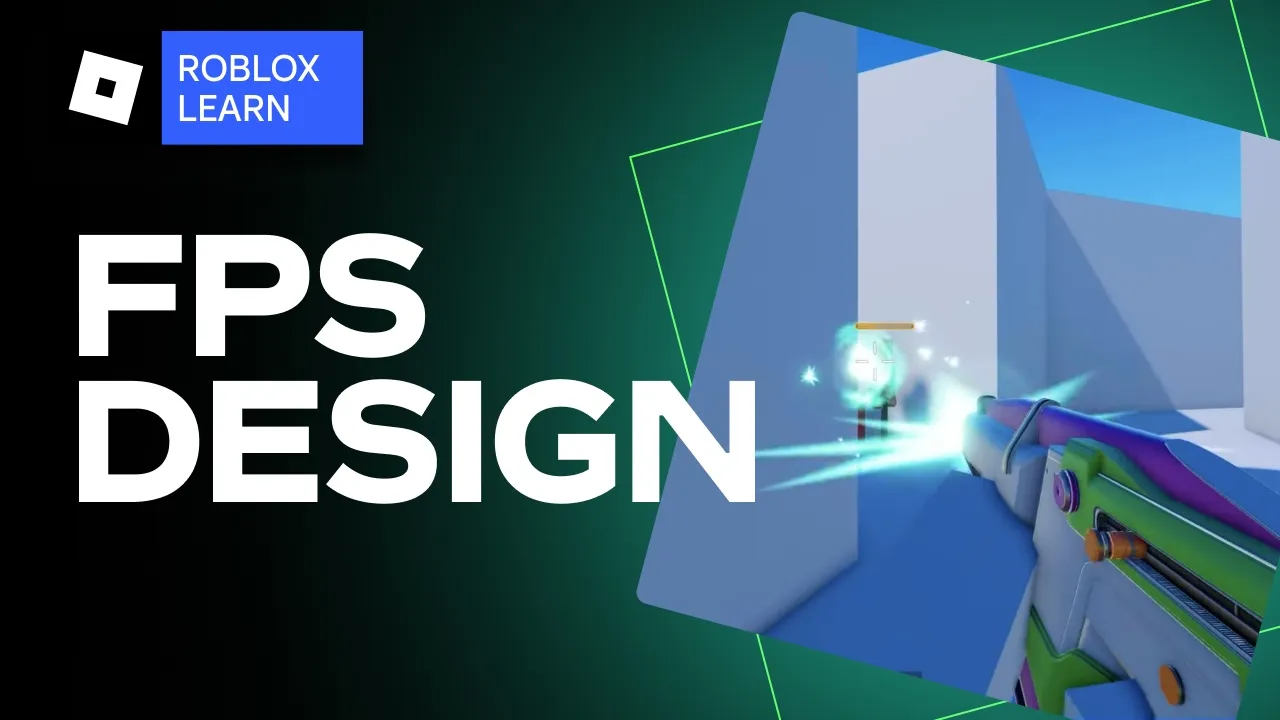
Roblox Learn · @RobloxLearn
Where viewers went back to watch this video again, from YouTube's public Most replayed graph, lined up with what was said at that moment.
Most replayed moment #1
6:25417.0x the video's typical replay level
to set up all the lanes. As we go through, we may also realize our scale is a bit off, and that's all right. A whiteboard is almost never perfect, so let's just make sure to adjust as we go.
Said at 6:19
Most replayed moment #2
7:586.1x the video's typical replay level
Said at 0:00
Most replayed moment #3
9:524.8x the video's typical replay level
If you're happy with the base layout, we
Said at 9:58
The graph counts replays. It does not show where viewers stopped watching.
Words
1,654
Runtime
11:52
Speaking pace
139wpm
Reading time
7min
139 words per minute, below the 160 25th percentile of 349 measured videos. That distribution comes from the 349-video hook study.
Opening (first 30 seconds)
Hey there, I'm Jalapeno and we're going to learn how to design a threelane map for a first person shooter. I'm going to show you what a threelane design is, how to whiteboard it in studio, and how to box it out. So, let's dive in. Most popular games use a three-lane design system to lay out their maps, some more literally than others. At its core, a map made
70 words, the words spoken in the first 30 seconds at 139 words per minute.
Free, no signup. See how the first 30 seconds hold attention, with rewrites.
Sentence shape
| Measure | This transcript |
|---|---|
| Sentences | 79 |
| Average words per sentence | 20.9 |
| Longest sentence | 50 words |
| Questions asked | 0 |
| Sentences containing a number | 5 |
Most used terms
Filler phrases
9 in total: like 6 · actually 1 · literally 1 · you know 1.
A literal whole-word count of the same phrase list the Prepublish browser extension uses, so a phrase inside another word is not counted and a phrase used in its ordinary sense still is. It is a count and not a judgement.
Free, no account. See where attention is likely to drop, with a rewrite for each weak line. The free check shows the scores and the one issue costing the most. Or run it on the words above first.
Free · No login · See a sample audit first if you prefer.
What this transcript is
Every word below is the caption track YouTube publishes for this video, pulled from the video itself and reproduced unchanged. It is not Prepublish's writing, not a summary, and not a re-transcription: it is the video's own published captions. English captions, generated automatically by YouTube, in the video’s original language. Source: the video on YouTube. A channel that would rather this page did not exist can ask for its removal through the contact page, and it is removed.
Hey there, I'm Jalapeno and we're going to learn how to design a threelane map for a first person shooter. I'm going to show you what a threelane design is, how to whiteboard it in studio, and how to box it out. So, let's dive in. Most popular games use a three-lane design system to lay out their maps, some more literally than others. At its core, a map made this way has three main paths connecting both spawn points, as well as secondary paths that connect them in more complex ways.
This allows players to easily remember the map layouts, understand where they're meant to go, and provide fast-paced, competitive gameplay. Now that we know what a threelane design is, let's whiteboard a map for a game following it. Many people whiteboard by actually drawing or sketching the map. However, I'm a 3D thinker, so I love to just whiteboard directly in Roblox Studio. Now, whiteboarding is very similar to gray boxing, except instead of making all of the walls and details, we're just going to do the floor plan, height differences, and maybe major details like doors or windows that would contribute to gameplay.
To make it even easier, we're going to use the first person shooter template to give us a solid base to test with. Since we're going for more fast-paced combat, though, I do want to increase the walk speed to 30 before we begin. You can do this by navigating to starter player in your explorer window, then scrolling down to character walk speed in the properties window and setting it to 30. You should also decide on a theme for the map.
In this case, I want to make a sci-fi office building. Let's start by setting up the spawn points for both teams. I think I'm going to put team one on an outdoor prominade to set the mood of the sci-fi office vibe and give them a short set of stairs back down into the main building, which we can represent with a wedge part. Team two's spawn will go in a corner office that is rounded looking out over the city and also get a short set of stairs down.
Make sure distances stay rather symmetrical. Your map itself doesn't need to be mirrored, but the time it takes to get to the center of the map should be equal. It's okay if the teams have a slight advantage on the left or right lanes, though, as long as the opposite lane is inverted. Now add in the path to the center lane, which will be the main fighting area between the two teams. As I mentioned, this should be as close to equidistant as possible from the spawn points, so make sure to adjust as needed.
In this case, the paths to the point will be office hallways. So, I'm trying to keep the layout of real offices in mind when whiteboarding. You should always feel free to grab plenty of references when planning a map. While we work on the center lane, I want to keep sight lines in mind. Sight lines in games are a direct unobstructed path in which a player can see their targets. In the center of the lane itself, there should be some cover and sight line breaks since it's a primary combat point.
So, I'm going to add a concrete core for elevator shafts and two concrete support pillars, one per side. That way, players can push into the room gradually, ensuring the gameplay here can stay competitive. By controlling the player's line of sight, we can encourage their ability to break off a fight if needed, or loop around to get the drop on their opponent. If the room was left open, victory would just go to whoever had the better weapon or clicked first rather than being a competitive game of cat and mouse.
With that said, let's move on to the left lane. And here we want to take advantage of verticality. Verticality adds complexity to a map that creates more dynamic combat and strategic advantages via height differences in the layout. In the case of this map, I'm imagining the left lane is going through some winding path of office corridors, meeting a small breakroom section with glass windows and a staircase up to a cafe that will serve as a secondary path and add some verticality over the center point.
For this, we are going to add in some of the extra details like the break room walls and windows, but we're going to keep them fairly flat at the moment. As I work on this section, I will also extend out a few of the hallways. And in the detailing stage, I'll put a locked prop door that both adds some immersion to the map as well as corner cover points for players assaulting or defending the area. Team one definitely has the advantage of getting to the choke point of this lane and will have a strategic advantage over the center point.
So, we want to make sure we give team two the advantage on the right lane. Now, for the right lane, I don't want to stick just to blocky shapes, unless you're doing something with a very specific Roblox aesthetic. Players want to be immersed and feel like a location can be real. It's okay to add in some angles and unique layouts to the map to do this. When you only have 90° angles, the tactical options of your players are significantly reduced, and your map isn't nearly as atmospheric as one that adds some depth to the environment.
Even in something like an office building that's primarily straight lines, there could be some great opportunities to add in more shapes in a few of the spaces. I think it'd be interesting if our right lane leads to an outer wall of the building, which could be angled inwards with glass windows so players can see and shoot at each other through them. And it also can have a path into the center. This time with a set of double doors and a little vestibial area.
To make the glass windows more interesting, let's also add some scaffolding to the outside they can walk out on. I'll have to raise the existing level to account for this. I can do this by selecting everything and using the move tool on a grid of 10 studs. With the basics of the level planned, let's take a more zoomed out view and look at one thing that is important to any threelane map design, loops. We mentioned earlier that cover sets up an opportunity for players to disengage or loop around on their opponent.
But your map overall should encourage that as well. If we look at this map design, you can see there are multiple ways a player or a team can loop around a point to get the drop on their enemies. You should always ensure that despite your threelane map encouraging fast-paced action, the players aren't ever forced to just run at each other and see who can defeat their opponents the quickest. So, with our whiteboarding done, let's begin turning this into a playable gray box of the map.
We could start the gray box by adding walls to the simple paths to set up all the lanes. As we go through, we may also realize our scale is a bit off, and that's all right. A whiteboard is almost never perfect, so let's just make sure to adjust as we go. Then let's add in the important details like the windows, doorways, and other opportunities we already knew we wanted to for player cover or to increase and decrease sight lines.
And finally, let's test the layout. Make sure it doesn't take too long to get anywhere and that it feels interesting even without any props. It may even be fun to add in a few of the target objects from the template to test sight lines and accuracy. If you're happy with the base layout, we can take it to the next level and begin adding in more graybox details like desks, hallway props, and any other objects that could be used for cover or otherwise affect gameplay.
As you're going through, you can remember from our previous gray boxing videos to think about opportunities to do some environmental storytelling as you go through adding cover objects and props that you should already have prepared in your asset repo. In my case, instead of crates or barrels and other objects that don't really make sense for an office building, maybe instead I should put some smaller box deliveries on a mail cart that got abandoned when the fighting started.
Or add in a section of hallway that was under repairs and has some larger toolboxes lying around. And don't forget, if you're making new props on the fly, make them packages and add them to your repository for updating later. Continue to test the layout as you're adding these things and iterate on it as needed to keep the map fun and engaging. Don't just settle for your first draft. Your props shouldn't block gameplay and instead should always enhance it.
Something as simple as a piece of cover coming out one or two studs too long and blocking a player's natural path could be hugely detrimental to gameplay. Always put gameplay first and visuals second. You shouldn't move on to any final detailing for your map until you're confident it plays well in the gray boxing stage. Once you're happy with it, you're well on your way to making an amazing map for your experience. So, now that you know how to design a map for a firstperson shooter, check out our other videos to learn more about creating on Roblox.
The words are the caption track's own and nothing is reworded or re-transcribed. Paragraph breaks are placed between sentences so the text reads as prose.
Free tools for your own script: paste a draft and see where it stands before you record it.
Paste your draft and see where viewers are likely to drop off, with a rewrite for each weak line.
Paste the first 30 seconds of your own draft for a hook score and rewrites.
Check your draft against YouTube's advertiser-friendly guidelines before you record it.
Read this channel's public videos and transcripts, and download a writing brief for it.