Getting the transcript
Reading the captions from YouTube. A video nobody has opened here before takes 10 to 30 seconds; this page fills in on its own.
Getting the transcript
Reading the captions from YouTube. A video nobody has opened here before takes 10 to 30 seconds; this page fills in on its own.
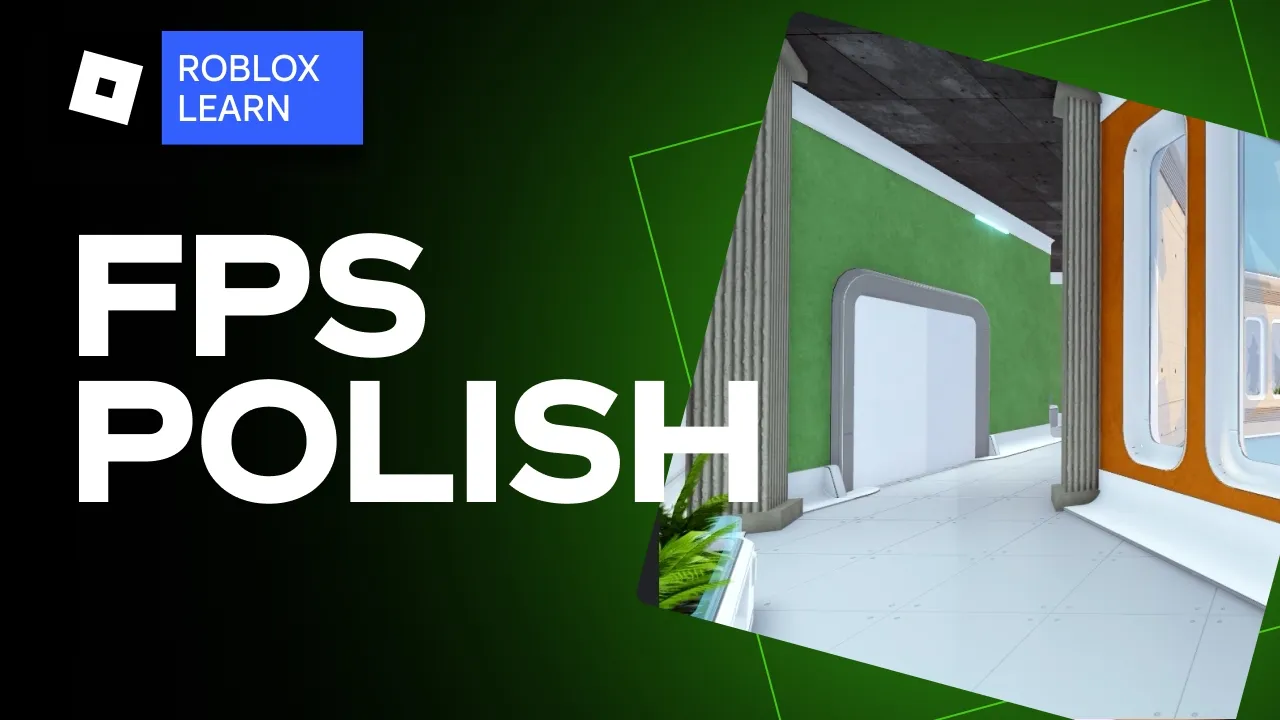
Roblox Learn · @RobloxLearn
This video has no Most replayed graph yet: YouTube shows one only once a video has enough views. These are the moments viewers replayed most in Roblox Learn's most watched videos.
Most replayed moment at 2:44
7.7x that video's typical replay level
validation is unable to project landmarks from the cage or not detecting movement from the landmarks when testing animations. Let's dive into the first issue, unable to project landmarks. In this case, the validation tool is unable to use your cage to project all 18
Said at 2:38
Most replayed moment at 6:25
417.0x that video's typical replay level
to set up all the lanes. As we go through, we may also realize our scale is a bit off, and that's all right. A whiteboard is almost never perfect, so let's just make sure to adjust as we go.
Said at 6:19
Most replayed moment at 0:54
5.3x that video's typical replay level
lots of unique meshes, the Roblox engine has to make draw calls for each mesh. On mobile, you can quickly get into a situation where your device is struggling to keep up. If you were to look closely at the beautiful stone walls of Ireland, you'd of course see lots and lots of unique rocks. But what
Said at 0:48
The graph counts replays. It does not show where viewers stopped watching.
Words
1,361
Runtime
11:28
Speaking pace
119wpm
Reading time
6min
119 words per minute, below the 160 25th percentile of 349 measured videos. That distribution comes from the 349-video hook study.
Opening (first 30 seconds)
Hey there, I'm Jalapeno and we're going to learn how to polish our three-lane map for a first-person shooter. I'm going to walk you through the process using these steps. So, let's jump right in with detailing the environment. When beginning to polish your map, the best first step is adding materials to the floors and walls. I'm going to
60 words, the words spoken in the first 30 seconds at 119 words per minute.
Free, no signup. See how the first 30 seconds hold attention, with rewrites.
Sentence shape
| Measure | This transcript |
|---|---|
| Sentences | 74 |
| Average words per sentence | 18.4 |
| Longest sentence | 55 words |
| Questions asked | 0 |
| Sentences containing a number | 1 |
Most used terms
Filler phrases
7 in total: like 7.
A literal whole-word count of the same phrase list the Prepublish browser extension uses, so a phrase inside another word is not counted and a phrase used in its ordinary sense still is. It is a count and not a judgement.
Free, no account. See where attention is likely to drop, with a rewrite for each weak line. The free check shows the scores and the one issue costing the most. Or run it on the words above first.
Free · No login · See a sample audit first if you prefer.
What this transcript is
Every word below is the caption track YouTube publishes for this video, pulled from the video itself and reproduced unchanged. It is not Prepublish's writing, not a summary, and not a re-transcription: it is the video's own published captions. English captions, generated automatically by YouTube, in the video’s original language. Source: the video on YouTube. A channel that would rather this page did not exist can ask for its removal through the contact page, and it is removed.
Hey there, I'm Jalapeno and we're going to learn how to polish our three-lane map for a first-person shooter. I'm going to walk you through the process using these steps. So, let's jump right in with detailing the environment. When beginning to polish your map, the best first step is adding materials to the floors and walls. I'm going to use several custom materials for this, including a ribbed concrete and metal floor tiles.
If you remember from our world building series, custom materials are stored in the material service. I've already gathered these ones from multiple Roblox Studio templates for us to use here. Starting with the floors, we'll select each part and in the properties window, swap the material to the metal tile texture. Next, I want to color code the map to help players easily identify where they are based on which team primarily occupies that side of the map.
Once I find the exact shades I like, I'll go through and apply them consistently across the hallways. While doing this, I also begin aligning wall corners and correcting overlapping pieces that are causing Z fighting or not touching. This already looks great, but the walls could use more definition. To fix that, I'm using trim pieces from the laser tag Roblox template to add clean top and bottom edges. For corners that don't align perfectly, I'll position them as closely as possible and then use covering pieces like this support.
When I reach 90° corners, I'm going to use these two rounded pieces to make their transition seamless. In some areas, I'll also introduce alternate textures like ribbed wall panels to add visual variety across the map. When players just see one texture repeatedly, they tend to get bored, even if they don't realize it. Color changes and props help with this, but having an alternative larger piece of wall texture just gives us more options to keep the player's mind active.
Once all the walls are detailed where I feel it's needed, I can start adding elements like door frames and windows, which I already made out of modular pieces. However, I will need to resize them to fit in each frame type. To ensure the glass isn't repetitive, I rotate it and resize it occasionally to create different shapes. During the process of detailing your map, you may realize certain elements are unnecessary. For example, I decided the exterior scaffolding was too distracting for players when giving them so many options to run through.
While working on the windows, I also begin creating an outer facade using a mix of parts and modular window pieces. This helps sell the idea that the map exists inside a larger building, adding to the immersion that players experience when they're running through this corridor. I also decided to simplify the spawn rooms for the same reason I removed the scaffolding. For younger audiences, too much visual noise may distract them from their primary objective.
Hey, hey, hey. Now, let's move on to lighting. First, we'll adjust the skybox and global lighting settings. Following what we learned in our previous worldbuing series, I'm using the skybox in the studio city template and modifying it to create a golden hour look outside paired with a cool blue sci-fi tone inside by editing the ambience, outdoor ambience, color shift, and other properties of the lighting service. Next, I'll begin placing lighting objects throughout the map.
I'm modifying the small lights from the laser tag template into large wall support lights. simply by scaling them up and spacing them evenly and alternating sides to maintain balanced illumination. In certain areas, I'll swap in smaller blue accent lights to create variation and break up the repetition of a single light source. With lighting complete, we can begin adding our finalized props. You might think replacing all the chairs, couches, and environmental pieces will take forever, but remember, we converted them into packages in the last video.
So, over in our asset repository, I've already prepared my finished props, but we still need to add them to the packages. To do this, we'll align the new geometry with the originals and parent them in Explorer to the correct models. After that, we delete the old geometry and publish the package. Once this is done for all packages, we return to the map. Find each package model in the explorer window, rightclick, select package options, and update all packages.
When we do this, the placeholder models for that package seamlessly transform into finished props. Continue to do this for all remaining package links. Some objects may still need some manual adjustment, but most will already be placed exactly where we need them. You can adjust a package's position and scale without triggering a package update. So, let's fix all the objects that need a little bit of adjustment. Now, now that the replacements are finished, let's add details we didn't consider during the gray boxing phase.
I have these greenery planters that add a great splash of color. So, I'll place them between light sources and pair them with a sci-fi backdrop to break up long wall sections. As I place them in new areas, I will occasionally rotate the backdrop or slightly adjust its color to break up players pattern recognition. The human brain is excellent at recognizing patterns. So, when we reuse assets, we need to be mindful of that to avoid a repetitive map.
Next, we can add non-functional doors to help the space feel more natural and believable. I'll do this by placing it up against the wall, then duplicating the trim piece and resizing both the duplicated piece and the original trim to make room for the door. We can also improve overlooked areas by doing things like adding these ribbed wall accents to elevator shafts to give them a bit of depth and variation. We could also add in new support pillars that add cover and concealment for players while adding depth to the open spaces to give some creative visuals to the room and even change the texture of these walls around the cafe so that it has a unique appearance compared to the rest of the map.
Now, this map is almost complete, but let's add storytelling elements to eliminate the last bits of visual monotony. We have this area where there are repairs happening. I'm adding a fallen ceiling tile and exposed wiring. This helps the ladder feel like it's part of the world rather than a random object in a hallway. By grounding these props in the world, players won't question why they're there, even if they stand out from the environment around them.
It may be subtle, but merely placing them on their own can make players subconsciously focus on them when they should be focusing on the fight. Over in the cafe, I'll place some food and drink props around, including some knocked onto the floor to suggest that this was once a busy office space where things went bad in a hurry. Next, I'll add a ceiling and union any parts that require seamless materials, mainly the ceiling itself and the floor.
And set them to precise collisions. Finally, I'll place buildings outside the windows and add parts that mimic fog below them. This helps sell the illusion that the structure exists in a larger city rather than floating in an empty void. For this version, I'm using buildings in the city template. I'm also going to place some buildings on top of the walls in the structure of the map itself to make it seem like the main map building is taller as well.
This immersion and realism makes the world feel larger and impacts the player's perception of detail, even if they can't explore it all. We've taken this map from a mere blockout to a polished threelane map for a firstperson shooter. Make sure to continue to test and iterate on your maps as things are almost never perfect on the first try. And be sure to check out our other videos to learn more about creating on Roblox.
The words are the caption track's own and nothing is reworded or re-transcribed. Paragraph breaks are placed between sentences so the text reads as prose.
Free tools for your own script: paste a draft and see where it stands before you record it.
Paste your draft and see where viewers are likely to drop off, with a rewrite for each weak line.
Paste the first 30 seconds of your own draft for a hook score and rewrites.
Check your draft against YouTube's advertiser-friendly guidelines before you record it.
Read this channel's public videos and transcripts, and download a writing brief for it.