Getting the transcript
Reading the captions from YouTube. A video nobody has opened here before takes 10 to 30 seconds; this page fills in on its own.
Getting the transcript
Reading the captions from YouTube. A video nobody has opened here before takes 10 to 30 seconds; this page fills in on its own.
Roblox Learn · @RobloxLearn
This video has no Most replayed graph yet: YouTube shows one only once a video has enough views. These are the moments viewers replayed most in Roblox Learn's most watched videos.
Most replayed moment at 2:44
7.7x that video's typical replay level
validation is unable to project landmarks from the cage or not detecting movement from the landmarks when testing animations. Let's dive into the first issue, unable to project landmarks. In this case, the validation tool is unable to use your cage to project all 18
Said at 2:38
Most replayed moment at 6:25
417.0x that video's typical replay level
to set up all the lanes. As we go through, we may also realize our scale is a bit off, and that's all right. A whiteboard is almost never perfect, so let's just make sure to adjust as we go.
Said at 6:19
Most replayed moment at 0:54
5.3x that video's typical replay level
lots of unique meshes, the Roblox engine has to make draw calls for each mesh. On mobile, you can quickly get into a situation where your device is struggling to keep up. If you were to look closely at the beautiful stone walls of Ireland, you'd of course see lots and lots of unique rocks. But what
Said at 0:48
The graph counts replays. It does not show where viewers stopped watching.
Words
2,959
Runtime
14:55
Speaking pace
198wpm
Reading time
12min
198 words per minute, between the 181 median and the 201 75th percentile of 349 measured videos. That distribution comes from the 349-video hook study.
Opening (first 30 seconds)
Hey there, I'm Jalapino and in part three of our world building series, we're going to be finalizing our fantasy world with detailed props and VFX. We're going to cover six topics to accomplish this. Finalizing assets of Blender, utilizing the AI assistant, additional terrain polish, final prop polish, adding particle effects, and adding global wind. We're going to start out with polishing some of our props in Blender. To do this, we'll be exporting from Studio, importing to Blender, basic modeling in Blender, exporting from Blender, and importing to Studio. If you're interested in a more detailed tutorial
99 words, the words spoken in the first 30 seconds at 198 words per minute.
Free, no signup. See how the first 30 seconds hold attention, with rewrites.
Sentence shape
| Measure | This transcript |
|---|---|
| Sentences | 175 |
| Average words per sentence | 16.9 |
| Longest sentence | 45 words |
| Questions asked | 0 |
| Sentences containing a number | 24 |
Most used terms
Filler phrases
17 in total: like 15 · kind of 1 · sort of 1.
A literal whole-word count of the same phrase list the Prepublish browser extension uses, so a phrase inside another word is not counted and a phrase used in its ordinary sense still is. It is a count and not a judgement.
Free, no account. See where attention is likely to drop, with a rewrite for each weak line. The free check shows the scores and the one issue costing the most. Or run it on the words above first.
Free · No login · See a sample audit first if you prefer.
What this transcript is
Every word below is the caption track YouTube publishes for this video, pulled from the video itself and reproduced unchanged. It is not Prepublish's writing, not a summary, and not a re-transcription: it is the video's own published captions. English captions, generated automatically by YouTube, in the video’s original language. Source: the video on YouTube. A channel that would rather this page did not exist can ask for its removal through the contact page, and it is removed.
Hey there, I'm Jalapino and in part three of our world building series, we're going to be finalizing our fantasy world with detailed props and VFX. We're going to cover six topics to accomplish this. Finalizing assets of Blender, utilizing the AI assistant, additional terrain polish, final prop polish, adding particle effects, and adding global wind. We're going to start out with polishing some of our props in Blender.
To do this, we'll be exporting from Studio, importing to Blender, basic modeling in Blender, exporting from Blender, and importing to Studio. If you're interested in a more detailed tutorial in Bender, you can check out intro to modeling in Blender for Roblox. So, we're only going to cover the surface level. Now, before we can dive into Blender, we first need to get our gray box model from Roblox. Now, I've already prepared these assets, but I still need to make my obelisk.
So, let's do that together. Let's click on our model and explorer. Then we will clear the origin to zero so that it's centered when we import to Blender. Next, we can right click on the model in the explorer tab, mouse over save/export, and click export selection and save the OBJ file in a place you'll remember later. Then we could head over to Blender and navigate to file, then import, and make sure we click on the OBJ file extension.
Now, I like to go to the data tab, then scroll down to geometry data and clear custom split normals data as well as switch to edit mode tab. Select all with the A key and hit alt N and reset vectors. Finally, while we still have everything selected, we'll hit M and merge by distance. I normally set this to about 01. Merging will ensure all of our triangles are connected as they should be. And we can then hit tab to go back to object mode and rightclick and then select shade auto smooth to smooth the shading.
Now we're ready to begin modeling this into a final prop. First, I'll insert a cube using add mesh cube and make it the same dimensions as the gray box using the transform tool and then drag it to the side with the movers. Tabbing back into edit mode, I'll select the top face and then hit I to insert the face and drag it up slightly with the move tool. Then hit S and move our mouse to scale it slightly in to create an angle along the whole body.
We'll then select the top face again, right click and poke faces. This will create a central verticy we can then pull up to create the point. I still want to add a bit of detail though, so let's use the loop cut tool to add a ring just before the point. Then select the four new faces and hit E, then S to extrude and scale outwards to give a bit of depth to the top of the obelisk. Then we can select the four edges of the main obelisk and hit B to bevel them slightly, giving a bit of a softness to the cubic shape.
Finally, we can add some engravings by selecting the four main faces. Then once again inserting them with I and right clicking and extruding by normals to bring them in slightly. Now that we have the shape, we can quickly texture the model. Now, I already have the texture prepared as it shared with a previous model, but you'll want to make this in another texture or image eding program like Photoshop or Substance Banner.
To add a quick color map for the sake of setting up our UVs, we can navigate to the material tab and we can click the new button. Then click the yellow button next to base color and select image texture. Then we'll click open and select our texture. Now you can see it's on the object, but it's not aligned in any sort of way. So let's go to the UV editing tab and unwrap the mesh. You can see we now have two viewports.
The left is for our texture and the right is for our 3D model. If our camera resets on the right viewport, that's okay. We can hit A and then the home key to center the object in our right viewport. We can then also hit Z and two to make sure we see our material. Now let's unwrap the engravings first. We can click on the face you want to unwrap, then rightclick, hit U and unwrap conformal. You will now see that we have the face on our left viewport.
We can click on that viewport, then click A to select all vertices. We can click G or use the arrows to move around the face. And you can see in the right viewport the image moves around. So, let's line this up with the engravings we want, like so, being careful the vertices are relatively pixel perfect to avoid color bleed on the main object. Once happy, we can click C to copy the UV, then unwrapping the next engravings all at once by selecting all three remaining faces in the right viewport and right clicking as before and unwrapping conformally.
Now, in our left viewport, we can select all verts again. Hit Ctrl +V to paste the UV data to them. And as you can see, all four faces now share the same engraving on the texture. Now I'm going to use the exact same techniques to finish unwrapping the rest of the obelisk. Great. Now that that's done, we can export back to Roblox by going back to layout mode, then hitting file, export, and this time we'll select FBX. Then we can save the model to a place to remember it.
Back in Roblox Studio, we can now navigate to the avatar tab and click import 3D. We can select our model. And if we're working in a group, we'll want to make sure to set the creator to the group pan. I also like to make sure to add a workspace and anchor it as well. Then click import. Once it is done, it'll add our mesh to the workspace and we can drag it over to our asset pile. Now for the next step, I'm also going to make sure it has a primary part the same size as our gray box prop and name that gray box route because now it's time to utilize the AI system.
If you're recalling our gray boxing video, I told you that if you organized your workspace now, it'd save you time later. This is how I put all of our finished props the AI assistant can replace for us into a folder titled finished props. We'll then give the following precise instructions to the AI assistant. Now, as you can see, a lot of the work is done for us already. This time allow us to be more creative and really fine-tune the world faster than if we were replacing all these models by hand.
Now, I don't like how all these forest trees are the same texture of green. So, let's also ask the AI assistant to cycle through and randomly choose to change some trees to a yellow color with a 25% chance or have a 25% chance to change the color of the textures to something a little bit darker. We'll do it by telling it the following prompt. As you can see, our trees look a lot more natural now with multiple colors mixed in to simulate the diversity of a real forest.
Now, let's do some additional terrain polish. In this case, terrain won't just be the actual terrain we use the tools to edit, but also terrain provided by our mesh assets, such as the big cliff rocks. Let's first manually go through and make sure all of the rocks adequately cover up the borders of the terrain that the larger cliffs come down into the water rather than floating above it. Just like the gray boxing stage, we'll be using duplicates often here, as well as rotating and scaling from time to time to create a bit of texture and visual noise rather than just relying on the same pattern.
Once that is done, we can take our terrain tools and finish up these hills that we had connecting to the cliffs and other areas. Carefully blending the terrain into mesh rocks with the sculpting tools. We can also go into some of the areas that we had less detail in before, like the forest, and add in some new paths, as well as touch up the village, creating some room for garden beds and other details using the paint tool.
Our terrain is looking great. So, let's move on to some final prop polish. We're going to separate this into two steps. Foreground detailing and background detailing. Foreground detailing will be anything that the player can directly interact with. Background detailing will be anything outside the map borders as purely there to serve as a visual aid and make the world feel large and immersive. Let's tackle foreground detailing first.
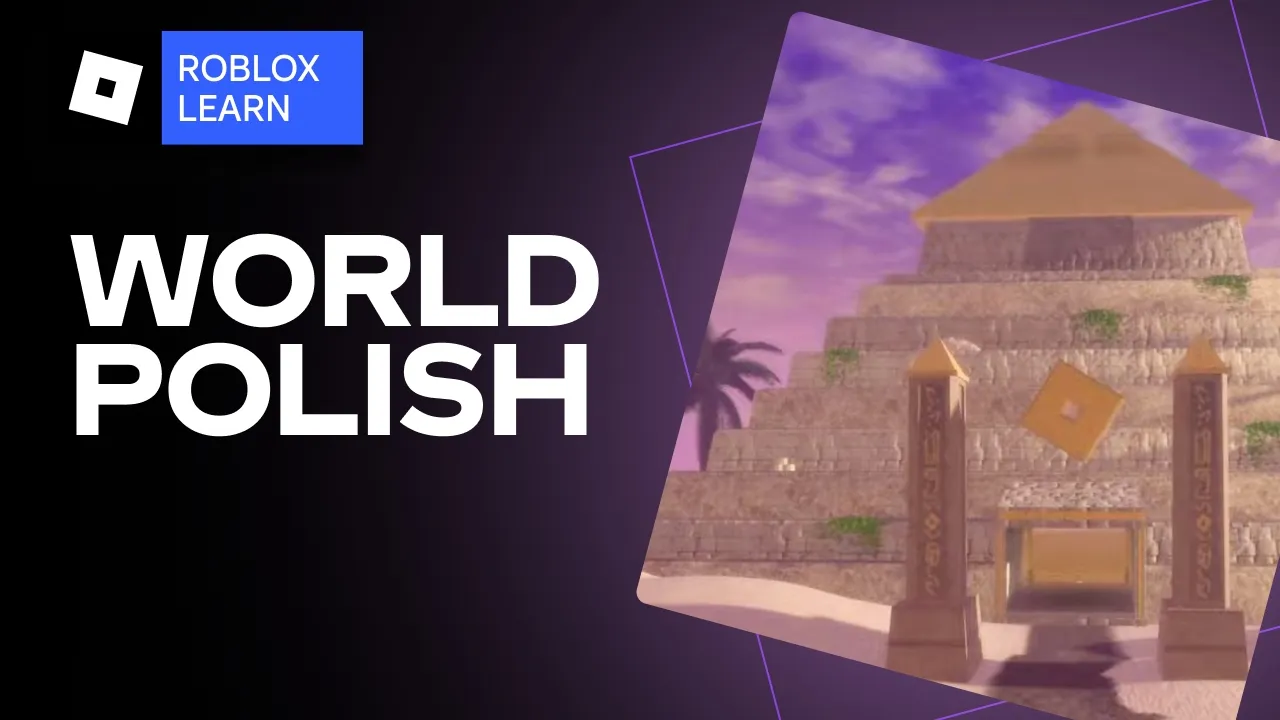
Manually placing in the props that we didn't want the AI to replace, like the pyramid and a new ruin structure I decided to add to the forest. We could also take this time to add things like the flower gardens to the village houses and the natural growth in the forest and any other small details we may have thought of since we first gray box the map. I'm even going to add a staircase to the temple rather than just the hill.
I also want to add this cool ruin to the spawn area to help ground it in the world. But I just realized I forgot to make myself a temple for the mountain. We could do this right in Studio though. Not everything needs to be a mesh asset. First, let's find a material we like to start as a base for the design. Then we can replace all the pillars with the new one from the spawn point. We can add some definition to the roof by adding two more pieces to the top of it and connecting them at the point of a wedge.
Then we can scale in a piece for the floor and a piece for the ceiling and make those different materials than the rest of the temple. Just like that, the base structure is complete from gray box to a decent final product. Let's add a little more detailing though with some vines in the spawn area and some brazers I already made to go inside. This is kind of dark for all those brazers though. So let's add an invisible light source part and add a surface light.
Make sure it is set to the bottom face. Give it an orang-ish color with a range of about 54, an angle of 45°. This will help the temple feel warm and full of mystique. Later on, we can use particles to really make the brazers pop with some lingering smoke. But for now, let's move on to background detailing. You may have noticed I have some large mountains lying around with my prop assets. We can utilize these to really extend the cliff area as well as place out in the ocean.
By doing this strategically by playing with scale and utilizing fog, we can make it seem like the world really goes on forever despite the player having a small playable area. We'll also use the terrain tools to help blend the mountain in where players can get close to it. That way, their immersion isn't broken by the lower level of detail. With all of our props now finalized, we can start adding in the last bit of detail we need.
Let's take a look at particle effects. For this map, we'll focus on smoke, mist, sand, and fireflies. And the best part is most of these will use the exact same particle, just applied in slightly different ways. Starting with smoke, let's head over to the light source part we made earlier. Insert a new particle emitter into it and set the texture to this ID that you feel free to use. Now, we're going to set the orientation to face the camera and the size to 12.
The light emission and influence can both be set to one and the color can be set to 40 40 to give a little bit of a darker tone. Now we are going to set the transparency which uses what's called a number sequence. We'll let the particle start out fully transparent slowly easing it into about 75% before making its way back to being invisible. Now I want this smoke to linger on the ceiling of the building. So to do that, we'll give it a lifetime of 3 seconds, a rate of 75 particles a second to really make it smokey, and a speed of two.
Smoke tends to swirl as well. So we can set the rotation to990, so it chooses any angle between those points and a rotation speed of -10 to 10. Then we'll make sure the shape is set to box. Then I'm going to give a slight acceleration downwards of 2 to simulate it bouncing off the roof of the building. Let's also set the drag to one and check the box so that the global wind we'll be adding will affect the smoke. And to help the smoke linger, we can put the time scale down to 0.25.
Now let's duplicate this same volume to make some forest mist. Making sure to remove the light source. There are only a few things we need to change here to make it a feel a bit more mistike and less like burning. First, we'll change the light influence to zero. and instead manually set the brightness to three. We'll adjust the number sequence of the transparency so it only gets about 25% opaque rather than 75 it was before.
And we'll make sure the time scale of this particle is 0.15. Just like that, we now have a forest mist of smoke with the exact same particle. And we can do it again with the desert sand. For sand, we'll put the time scale back to 0.25. And this time for acceleration, we'll have a.2 yaxis and a - 20 z-axis to simulate the wind blowing it. We'll lower the rate to 50 a second and increase the speed to 10 and the rotation speed to 100 100 to simulate a swirling wind.
Then we will change the size to 8 and the light influence to 2 and change the color to a more sandy tone. We can now sync the spart slightly into the sand to simulate being picked up by the wind. Now, let's try a new particle, fireflies. We can add them to our forest and really give it some life. So, first let's duplicate a new particle block. We'll rename this particle to firefly particle and then change the texture to this ID, which once again you can use.
We'll then change the light influence to zero and the brightness to 50. Then adjust the size to 0025. We'll make sure the light emission is at one and then adjust the number sequence of the transparency to something a bit more lifelike. Starting at one, then dropping down to zero, then easing back up to about 25% before dropping again, then finally easing itself back up to being fully invisible. Then we can adjust the color into a sequence as well by clicking the three dots next to it.
We'll want to create a mix of hues such as a bright yellow, orange, black, and even a bit of green in the middle to help recreate a fireflyy's natural luminosity. That looks good. So now, let's randomize the lifetime by choosing two numbers like two and five. Let's make sure they emit from the top. And then we'll set the rate to one firefly a second and change the rotation and rotation speed both to zero. Fireflies can be slow or fast since they're alive.
So let's randomize the speed between.5 and two. And since they're living creatures and they can fly any direction, let's do a spread angle of - 360 to 360. We'll remove all acceleration, but we will give them a bit of drag at 2 and change the time scale to one. And finally, wind won't affect these guys. So, let's change that to off. Now that we brought our map to life with a bit of VFX, we can finalize it with global wind.
Now, I'm not a programmer, but Roblox makes it very easy to add global wind by providing a script you can find here. It's also going to be linked down below. So, first I'm going to add a script to my server script service and name it global wind. Then I'll open it and copy and paste the code found at the end of the global wind tutorial and close the script. Now, if I click play and test, you can see the global wind blowing around the grass and particles in our map as I run around it.
Well, that's that. We managed to create a whole fantasy world together. Thanks for coming with me on this journey. And if you're interested in checking out this place for yourself, you can head to the Roblox Learn Experience linked below.
The words are the caption track's own and nothing is reworded or re-transcribed. Paragraph breaks are placed between sentences so the text reads as prose.
Free tools for your own script: paste a draft and see where it stands before you record it.
Paste your draft and see where viewers are likely to drop off, with a rewrite for each weak line.
Paste the first 30 seconds of your own draft for a hook score and rewrites.
Check your draft against YouTube's advertiser-friendly guidelines before you record it.
Read this channel's public videos and transcripts, and download a writing brief for it.