Getting the transcript
Reading the captions from YouTube. A video nobody has opened here before takes 10 to 30 seconds; this page fills in on its own.
Getting the transcript
Reading the captions from YouTube. A video nobody has opened here before takes 10 to 30 seconds; this page fills in on its own.
Roblox Learn · @RobloxLearn
This video has no Most replayed graph yet: YouTube shows one only once a video has enough views. These are the moments viewers replayed most in Roblox Learn's most watched videos.
Most replayed moment at 2:44
7.7x that video's typical replay level
validation is unable to project landmarks from the cage or not detecting movement from the landmarks when testing animations. Let's dive into the first issue, unable to project landmarks. In this case, the validation tool is unable to use your cage to project all 18
Said at 2:38
Most replayed moment at 6:25
417.0x that video's typical replay level
to set up all the lanes. As we go through, we may also realize our scale is a bit off, and that's all right. A whiteboard is almost never perfect, so let's just make sure to adjust as we go.
Said at 6:19
Most replayed moment at 0:54
5.3x that video's typical replay level
lots of unique meshes, the Roblox engine has to make draw calls for each mesh. On mobile, you can quickly get into a situation where your device is struggling to keep up. If you were to look closely at the beautiful stone walls of Ireland, you'd of course see lots and lots of unique rocks. But what
Said at 0:48
The graph counts replays. It does not show where viewers stopped watching.
Words
2,811
Runtime
16:30
Speaking pace
170wpm
Reading time
12min
170 words per minute, between the 160 25th percentile and the 181 median of 349 measured videos. That distribution comes from the 349-video hook study.
Opening (first 30 seconds)
Hi, I'm Mark. I'm on the studio builder tools team and made a whole bunch of 3D space tooling for Roblox. I made the core draggers in studio. I made the pivot to scale two APIs and today I'm going to talk to you about another 3D space API that we've put together. Earlier this year as we worked on generative AI features, we realized there's an opportunity where we want to give creators more control to their features. So we needed engine level primitive
85 words, the words spoken in the first 30 seconds at 170 words per minute.
Free, no signup. See how the first 30 seconds hold attention, with rewrites.
Sentence shape
| Measure | This transcript |
|---|---|
| Sentences | 143 |
| Average words per sentence | 19.7 |
| Longest sentence | 88 words |
| Questions asked | 4 |
| Sentences containing a number | 16 |
Most used terms
Filler phrases
44 in total: like 24 · uh 10 · you know 3 · actually 2 · kind of 2 · basically 1 · sort of 1 · um 1.
A literal whole-word count of the same phrase list the Prepublish browser extension uses, so a phrase inside another word is not counted and a phrase used in its ordinary sense still is. It is a count and not a judgement.
Free, no account. See where attention is likely to drop, with a rewrite for each weak line. The free check shows the scores and the one issue costing the most. Or run it on the words above first.
Free · No login · See a sample audit first if you prefer.
What this transcript is
Every word below is the caption track YouTube publishes for this video, pulled from the video itself and reproduced unchanged. It is not Prepublish's writing, not a summary, and not a re-transcription: it is the video's own published captions. English captions, generated automatically by YouTube, in the video’s original language. Source: the video on YouTube. A channel that would rather this page did not exist can ask for its removal through the contact page, and it is removed.
Hi, I'm Mark. I'm on the studio builder tools team and made a whole bunch of 3D space tooling for Roblox. I made the core draggers in studio. I made the pivot to scale two APIs and today I'm going to talk to you about another 3D space API that we've put together. Earlier this year as we worked on generative AI features, we realized there's an opportunity where we want to give creators more control to their features. So we needed engine level primitive that lets people parameterize parts of the data model to give them that control.
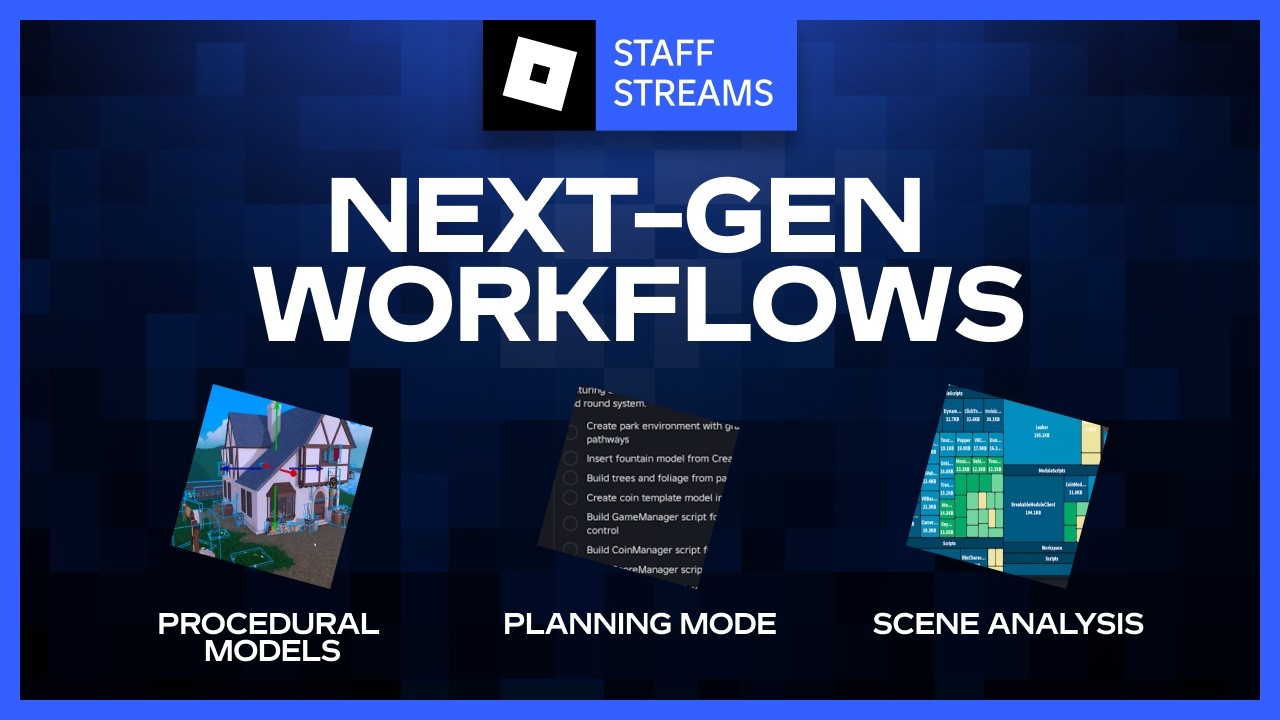
And for that we're introducing procedural model where you have effectively a wrapper around one function that's written as Lua code that's able to generate instances from parameters. So you just write one function that takes in some parameters and writes out an output and it will naturally work at edit time in studio for you to have a parameterizable object. That can be kind of hard to write Lua code for. So we've also introduced features to the assistant where you can type /generate procedural model and give a prompt and have this code written for you either from that prompt.
You can also put in an image and this gives you the ability to have a very quickly parameterizable piece of procedural content in studio to work with. And now I'll pass it over to Michael to show you what this can do in the hands of an actual artist rather than my simple ladder model here. >> Is this thing still rolling, huh? >> Yeah. >> Um hi, I'm I'm Mike Paleshi. I'm a technical 3D artist here at Roblox. I've been here for about 5 years.
Worked from Avatar and now I'm in Foundation AI helping out wherever I can and with the launch of the product I got in there and and tried to mess around with it and and poke and prod and make it the best that it is and I'm excited to show you a process that I did to build this thing called an alchemist lab and the goal was just to build an environment, make something that showed off procedural models and show you what it can do.
Kind of first off what I did is I wanted some inspiration so I generated an image of of the lab itself and then from there I was like, oh I need more rooms and what the building might look like and the environment. So then I started generating [music] some more images to get my mood board and then from there I extracted out all of the objects that were in the scene and made this JSON list of the object, the prompt and then any parameters that it would need >> [music] >> when generating the procedural model.
And then here you can see like the prompt, the room that it was from, the image that was generated for that object and then other rooms, more of the objects continuing on. After that I had that list I just began building it out in the experience. The first thing I did was like let's build the house. Let's see how well this thing works. And obviously, you [music] know, it's AI. Sometimes you're not going to get exactly what you want, but it was a really really good start point with like color scheme, materials, you [music] know, the door, things like that and I ended up having to go and just modify the building itself to get the layout I needed to express the room or the different rooms.
And [music] then once I had that I jumped in and started decorating and building the windows for it. And >> [music] >> I don't know most people like go, oh windows aren't very exciting, but like to build these like Tudor style windows with the little diamond patterns and being able to scale and stretch those and change the the rows and columns of the diamonds [music] to get what you want is super powerful. Like these little tiny things add up hours.
So you know, when you go to to make something that looks cool like those are the little details that people don't notice. The another another really cool set time savings was like things like the the bookshelf, but there's tons of them in here. Uh being able to build a bookshelf, say, as I scale it, add more books, or as I remove shelves, [music] you know, take away books, etc. It It does that for you. It also you can set up the parameters for like the materials on the books, the materials on the paper of the books, the wood for the, you know, the structure.
And you can swap through those. And then, uh lastly, was just going through and doing all the decorations. So, here's just a quick video of me walking through the experience that I built and uh showing some of the functionality that Assistant can also bring, like opening the door and uh turning on a a cauldron for fire and things like that. I look forward to seeing what the the community builds with it. And uh Lynn, it's all up to you next. >> Can you hear me? >> yeah.
There we go. >> Perfect. Thank you, Michael. My name is Elin. I'm a principal product manager on Roblox Studio. I have been at Studio for 5 years. Today, I'm go proudly introduce you planning mode. At Roblox, we would like to build the AI that truly understand your workflow and help you accelerate your game creation. The core of this Studio AI is this plan, build, and test agentic loop. In the past 2 years, we have launched a lot of features around build and test, such as scripting insertion, execute Lua, and mesh generation for build, and also test agent for test.
In this months, we introduced the planning mode, which is the first step about plan and helps close this whole agentic loop. How this works for creators? You have two ways to access this plan, build, test loop. The first is through Roblox Assistant, which is all-in-one stop shop one stop shop in studio. And then the other one is via studio MCP servers. So, either you are using cursor or cloud or any other third-party AI tools connecting to studio MCP server, you're going to get exactly the same functionalities.
So, this month we introduced planning mode for plan and also just as Mark and Michael introduced, we introduced procedural models for building, which is a big step towards a 3D 4D workflow. And also we introduced the play test sub agent for test. Why don't we take a look of a quick demo of the entire play build test loop. So, in this planning mode, you can insert an image and ask AI to make a plan. The creator want to create a park mini game with a fountain and foliage collection.
As you can see here, to better understand creator's intent, assistant going to ask you three questions. And then to help you polish what you really want and then to make sure the plan aligns with your intent. And then assistant going to go ahead and finalize approach, generate a task list, which will be the exactly the plan we follow. Then move on to build. It started to insert 3D asset, insert a script, and finally take a screenshot of the final scene.
Next, I'm going to try test. So, I ask play test a sub agent to debug the game we just have created. It find some bugs, fix the bugs, and then started the real testing mode. We just did a of the happy path. Plan, test, build, and test. Of course, we know in the real game creation, it's very iterative, not just like automation work. So, here I'd like to provide some several tips to help you better figure out what's the right tool to use in your real workflow.
First, when should we use plan? We highly recommend you to use plan when you have a relatively ambiguous task, relatively complicated. Don't use it for a simple task such as change the color of the part. And the plan by /plan assistant can better understand what you really want, and also goes to our second tip. You can review and edit your plan. As we just did a demo, you can see the plan as a several task list of the as a to-do list.
Very soon in the next coming weeks, we're going to introduce plan as a file. We're going to showcase a You can click the tip chip here, game plan, and open the markdown file, and then you can review and edit the plan, which can give you more freedom, more control of your workflow. Before that, as today, you can prompt to change your plan instead of just the click build. Last but not least, image input. A picture is worth of 1,000 words.
So, using image to express your intent helps you better represent what you really want. By the way, this is not only for planning mode. As Mark and Michael presented procedural model generation, by click the same icon, the plus icon here, you can also add a image as your input for procedural model generation. All right. That's all I have for today. Next, I'm going to hand it over to Peter to introduce you scene analysis. >> Hi.
My name's Peter McNeal. I work at Roblox, and today I'm going to be giving a bit of a quick of the scene analysis tools that we've been working on here in the performance and optimization pod. Now, what this set of tools does is gives you direct insight into the memory usage of your Roblox projects both on the client and server. And it we've got views for audio memory, animation memory, script memory, and unparented instance memory, which is really useful for tracking down memory leaks.
We have two other views as well. The first view here, which I'm showing right now, which is the instance composition view, which is really great for when you've just jumped into a project that you're not familiar with and you want to see how it's put together. It's basically mirroring the same view that you have here in the workspace, but it's divided down into the number of instances of each instance type and in each category, and it has the raw counts for it.
So, we can see in this project it's mostly made up out of parts. If we run the project and we switch to say the audio memory view, you can see straight away why this whole system is useful because we can now see that we have about 8 MB of audio memory loaded on the client. And we can see proportionally by size which ones are the biggest consumers of memory. And so, we can see that this freefalling sound here is taking up nearly 2 MB, so roughly a quarter of the whole budget.
And I can go select instances on it and it will take me directly to the sound instance that it was referring to. That works for all of the views that have instances available in them. And you can always jump straight from those instances here over to where they are in Explorer. We also have animation memory. Now, this is probably surprising to learn, but animation memory is very conservatively managed inside of Roblox.
So, when your character is just standing here, you have only three animations loaded in this whole game. And as we run forwards, you can see all of these creatures as it loaded in. Their their animations are loaded and using up more and more memory as it's running along. And then as the enemies are cleared and the garbage collection kicks in, we can see we've gone back to a stable amount of memory. If your project has animation memory leaks, it will be very easy to track them down with this view.
And then my favorite view in all of this so far is the script memory view, which gives you a detailed analysis of all of the memory usage in your project being used by Lua, broken down by both scripts and module scripts. And as we can see here, we can see one of these modules named leaker, how suspicious, is slowly growing in memory usage over time. As you can guess, I wrote a script to deliberately do that for this demo.
Normally, you'd just see things like the module scripts and how much memory each one of those is using. Or in this case, the breakable module client would normally be what you'd want to go and have a look at. You can jump straight to it. The other view that is super useful is the unparented instances view. Any instance that exists in Roblox but is has a reference held onto it by a script, but it isn't in the workspace, will show up here.
So, if you are leaking parts or instances because you forgot to delete them but the scripts are still holding onto them, you'll be able to find them quite easily with this. This mirrors functionality we already have in the dev console, but the view here is much easier to follow around because it's sorted by script. So, if we can see here that the breakable module client has 1,000 parts and 134 mesh parts held onto, but that's just how this functions.
So, this is actually totally expected for this project. And the last view that I want to show today is the scene triangles view. The scene triangle view is just a enhanced version of the existing draw call and triangle breakdowns that we already had in the scene. Like if you use the famous F2 menu, but this one also has, well, maybe it's not so great in this project, but it also has your breakdowns via terrain, grass, particles, and other effects end up in this list as well, which is a bit more detailed than what we had previously.
But you can see proportionally that most of the rendering going on for this project is for shadows. This is all very useful if you already understand how to optimize things once you have these views, but if you don't, one of the great new features of Roblox is our focus on AI and having MCP hookups and agentic hookups for all of our new services, and scene analysis is no different. So, if we quickly switch over to Cloud Code to demonstrate this, I've already connected into this project with Cloud Code, and I've run a brand new command, which is like sci-fi magic to me called scene health.
Now, what scene health has done, it has it's run through, hit play mode, and run through all of the queries, and applied optimization knowledge that we've provided to the system, and the scene analysis, if you use the same views we were just looking at, and has come up with some assessments for this project. So, it's been able to tell us that the rendering is very light, where most of the most of it is opaque and it's under 30,000 triangles.
So, this is very well very well optimized, and it has some comes with some rough estimates about where most devices stay on 60 frames a second, so it can sort of push you towards a better optimization and performance guidance if that's what you want it to do. It's also able to uh find the big buckets of instances, just like we said. It's uh found the leaking module uh 350 kilobytes. And I just go through and find bits and pieces that it may be able to optimize for you.
It understands that the wood breaking sounds are shared across multiple effects, a good use of reference counting, and etc. So, if you have a Roblox project, it'll be able to give you an overview of things you can optimize, and then it can jump into >> [music] >> more elaborate things like fixing memory leaks where it can actually go in and read the scripts. It can op- do an optimized rendering where it can do sweeps around the map from different viewpoints to try and find possible points where the point of view isn't super great.
And uh yeah, that that brings me to the end of where we're at with it right now. Uh if you have any questions, just grab me after this. Thanks very much.
The words are the caption track's own and nothing is reworded or re-transcribed. Paragraph breaks are placed between sentences so the text reads as prose.
Free tools for your own script: paste a draft and see where it stands before you record it.
Paste your draft and see where viewers are likely to drop off, with a rewrite for each weak line.
Paste the first 30 seconds of your own draft for a hook score and rewrites.
Check your draft against YouTube's advertiser-friendly guidelines before you record it.
Read this channel's public videos and transcripts, and download a writing brief for it.